-ћетки
-–убрики
- рукоделие (497)
- в€зание крючком (114)
- ¬ышивка (80)
- декор (66)
- вышивка (66)
- идеи (57)
- в€зание (44)
- вышивка лентой (43)
- цветы из ткани (34)
- канзаши (29)
- бутылочные (18)
- заколки (16)
- бисер (16)
- лепка (12)
- переделки (11)
- ’олодный фарфор (8)
- дизайн одежды (4)
- видео (3)
- Ѕумага (201)
- открытки (116)
- скарбукинг (48)
- квиллинг (21)
- шаблони (18)
- Ўитье (199)
- идеи шитье (73)
- штори (31)
- разное (28)
- фото-идеи (25)
- игрушки (19)
- шьем дет€м (16)
- «доровье (183)
- ѕсихологи€ (136)
- ѕри€тности (36)
- симорон (20)
- вера (17)
- Ќорбеков (10)
- гороскоп (4)
- гадани€ (3)
- расота (120)
- волосы (23)
- улинари€ (115)
- “орты (57)
- выпечка (11)
- ѕрически (40)
- ѕолезности (35)
- ”ютный дом (21)
- комнатные цветы (19)
- омпьютер (21)
- мода (19)
- ƒл€ дневника (15)
- мастер - класс (11)
- –исуем (8)
- ѕоздравлени€ (8)
- Ќогти (7)
- фильмы (6)
- автомобиль (6)
- ѕутишевстви€ (6)
- музыка (5)
- онфетные букеты (2)
-ћузыка
- Mariah Carey - I want to know what love is
- —лушали: 3533 омментарии: 0
- јртур
- —лушали: 158 омментарии: 0
- ќооофигенна€ музыка,спер у »нтресс:)
- —лушали: 393454 омментарии: 0
- музыка, которую € могу слушать 24 часа в сутки
- —лушали: 2797 омментарии: 0
- јндрей Ѕандера.¬ огромном мире € и ты.
- —лушали: 1268 омментарии: 0
-ѕоиск по дневнику
-—татистика
—оседние рубрики: шаблони(18), открытки(116), квиллинг(21)
ƒругие рубрики в этом дневнике: Ўитье(199), фильмы(6), ”ютный дом(21), рукоделие(497), –исуем(8), ѕутишевстви€(6), ѕсихологи€(136), ѕрически(40), ѕолезности(35), ѕоздравлени€(8), Ќогти(7), музыка(5), мода(19), мастер - класс(11), улинари€(115), расота(120), онфетные букеты(2), омпьютер(21), «доровье(183), ƒл€ дневника(15), Ѕумага(201), автомобиль(6)
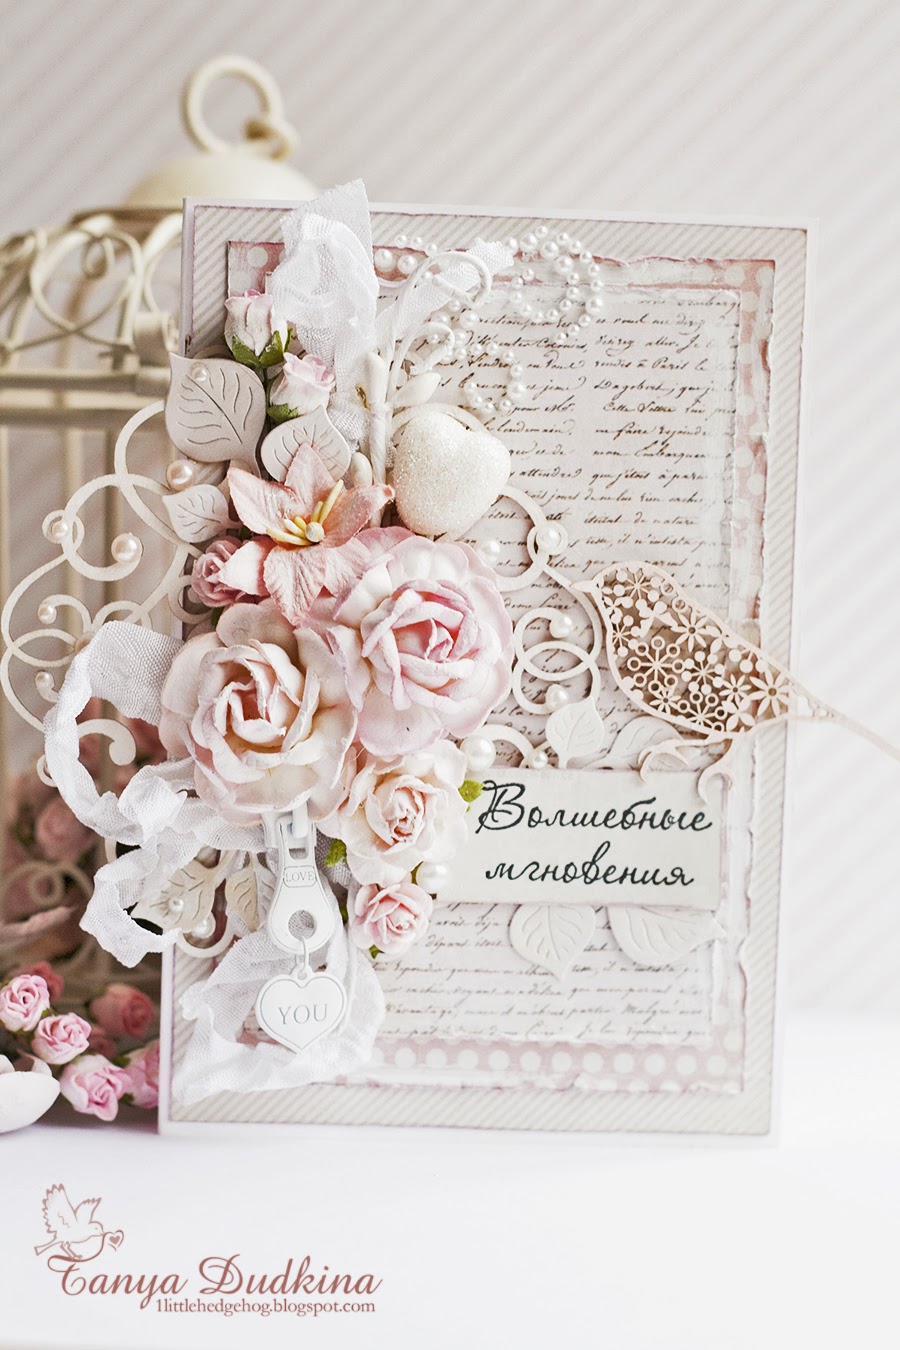
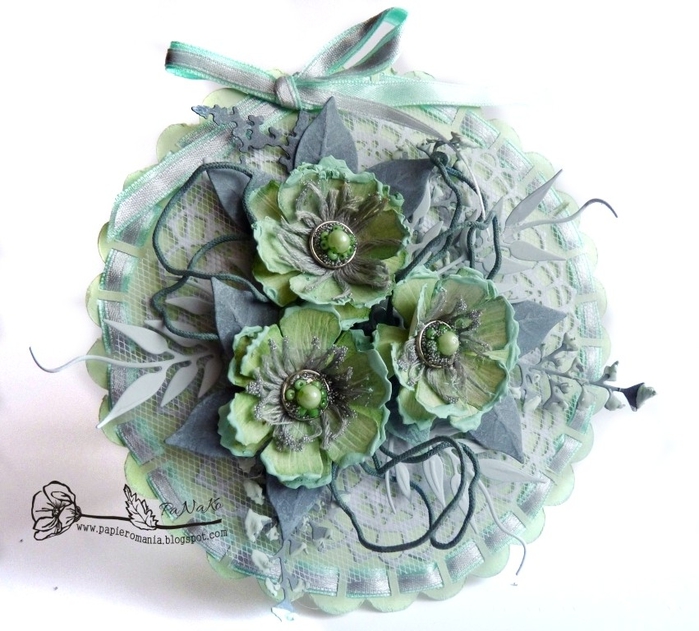
ћ ÷веточна€ открытка |
Ёто цитата сообщени€ A_k_v_a_r_e_l [ѕрочитать целиком + ¬ свой цитатник или сообщество!]
|
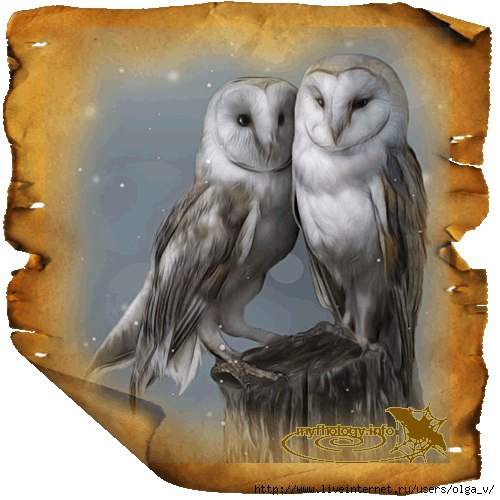
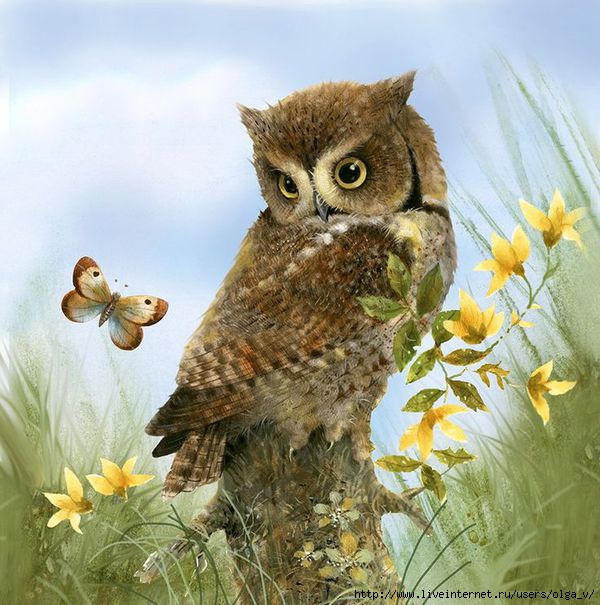
—овушки (картинки) |
Ёто цитата сообщени€ ќльга-¬ [ѕрочитать целиком + ¬ свой цитатник или сообщество!]
ћетки: совы |
оробочки, теги, открытки и ÷¬≈“џ »« Ѕ”ћј√». Ќеверо€тно красиво |
Ёто цитата сообщени€ ћарриэтта [ѕрочитать целиком + ¬ свой цитатник или сообщество!]
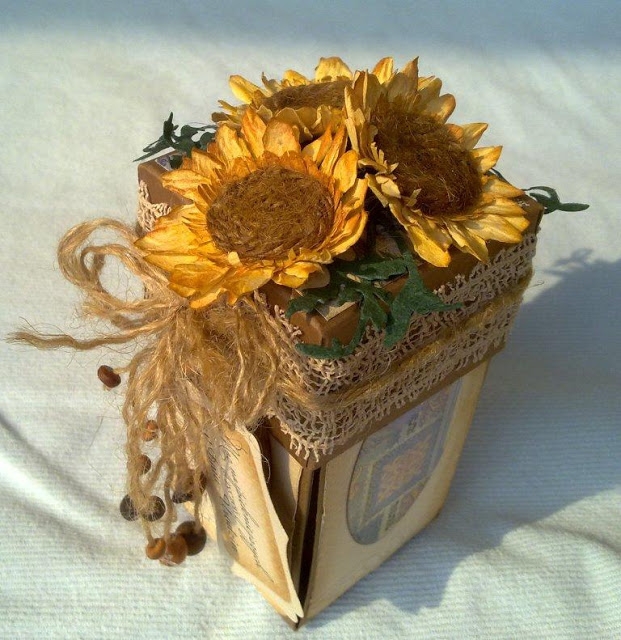
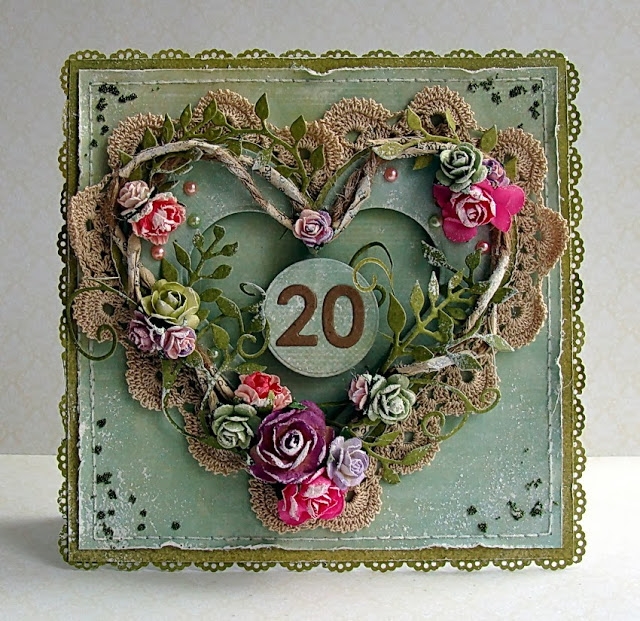
оробочки, теги, открытки и ÷¬≈“џ »« Ѕ”ћј√». Ќеверо€тно красиво. ѕодборка идей дл€ вдохновени€
ћетки: бумага открытки скарбукинг |
ѕодборочка забавных рисунков и иллюстраций с изображением рукодельниц |
Ёто цитата сообщени€ галина_краснова [ѕрочитать целиком + ¬ свой цитатник или сообщество!]
ћетки: бумага скарбукинг |
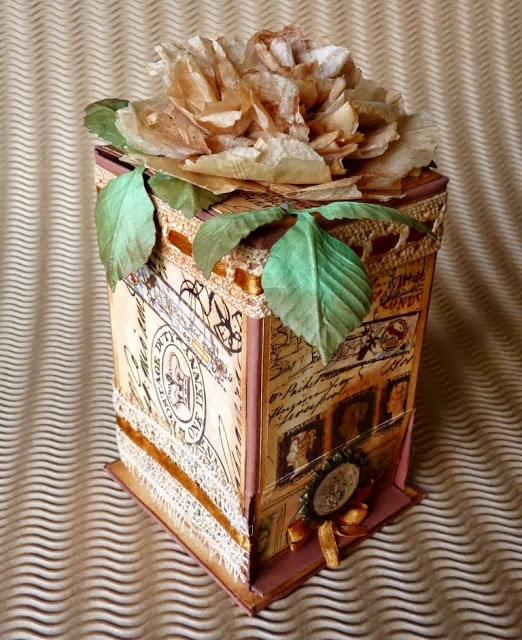
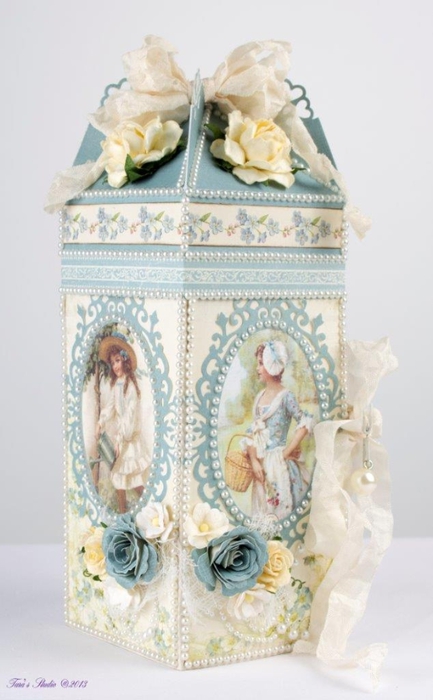
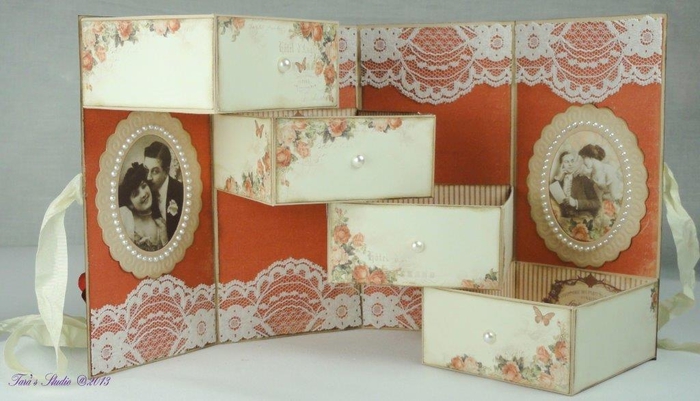
омодик раскладной - ћ |
Ёто цитата сообщени€ ћарриэтта [ѕрочитать целиком + ¬ свой цитатник или сообщество!]
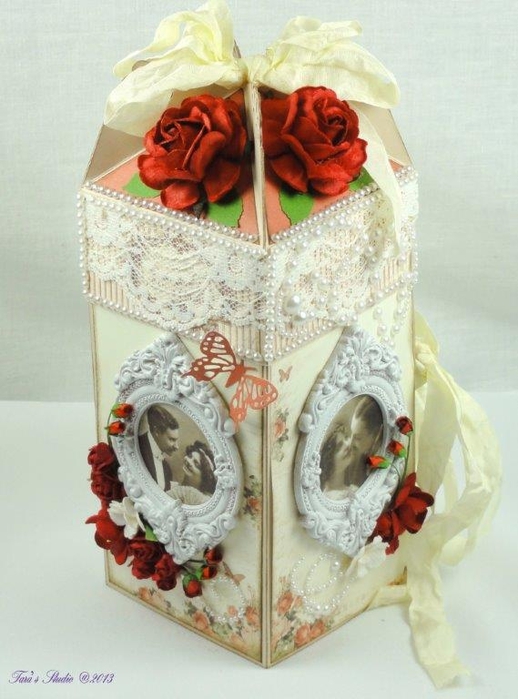
—крапбукинг. ќчень красива€ коробочка с €щичками. Ўаблон и фото мк
ћетки: скрап коробочки |
Ќадписи воспитателю и учителю от ћарины јбрамовой. |
Ёто цитата сообщени€ фыр [ѕрочитать целиком + ¬ свой цитатник или сообщество!]
http://marina-abramova.blogspot.com







—ери€ сообщений "надписи":
„асть 1 - Ќадписи новогодние(58шт)
„асть 2 - Ќовогодние надписи ћарины јбрамовой
„асть 3 - Ќовогодние надписи ћарины јбрамовой.
„асть 4 - Ќадписи дл€ мамы от ћарины јбрамовой.
„асть 5 - Ќадписи воспитателю и учителю от ћарины јбрамовой.
„асть 6 - надписи — Ќовым √одом
„асть 7 - Ќадписи
...
„асть 10 - Ќовогодние надписи.
„асть 11 - Ќадписи - дл€ любимых
„асть 12 - ћужские надписи ћарины јбрамовой.
ћетки: бумага открытки скарбукинг |
«амечательна€ открытка-сумочка |
Ёто цитата сообщени€ Svetlana_DuArt [ѕрочитать целиком + ¬ свой цитатник или сообщество!]
“акой интересной открытки € еще не видела! ѕосмотреть ее во всей красе можно здесь

ћетки: бумага скарбукинг открытки |
‘оны, заготовки дл€ писем, открыток, рамок |
Ёто цитата сообщени€ Inmira [ѕрочитать целиком + ¬ свой цитатник или сообщество!]
¬ рамке не "красоты ради", а не видно иначе - белое на белом :-)
¬се увеличиваютс€, кликом. ‘ормат Jpeg.
|
ћетки: бумага скарбукинг открытки |
ћ ÷веты из бумаги |
Ёто цитата сообщени€ Svetlana_DuArt [ѕрочитать целиком + ¬ свой цитатник или сообщество!]
ѕри копировании статьи, целиком или частично, пожалуйста, указывайте ссылку на источник! http://asti-n.ya.ru/replies.xml?item_no=358
¬ текст изменени€ не вносить! ≈сли обнаружите ошибку, пожалуйста, сообщите мне.
–азмер компостера 37мм. ≈сли у ¬ас такого нет, воспользуйтесь шаблоном — ј„ј“№
ак пользоватьс€ шаблоном, писала “”“
Ѕерите бумагу поплотнее, у мен€ плотность бумаги 116.
—мотайте проволоку в пучок, самую обычную ( у мен€ от кабел€). «акрепите , чтобы не разъезжалась и придайте покатую форму, как показано на рисунке. — выпуклой стороны, придайте проволоке лЄгкую волнистость ( обозначено красной стрелкой).
“аким вот незатейливым инструментом будем теснить лепестки, придав им некоторую натуральность, чего мне всегда хотелось.
Ќадрезать, раздел€€ лепестки.
¬озьмите мокрую тр€пку, заверните заготовки между сло€ми и прижимайте, можно оставить на врем€. ƒетали нужно увлажнить, чтобы бумага стала достаточно влажной, м€гкой, но не очень мокрой. ”влажнЄнна€ бумага более сговорчива€, как завернЄшь, так и высохнет.
Ќа м€гком коврике, с хорошим нажимом, прокатыва€ проволоку сделаем прожилки на каждом лепестке. ≈сли бумага хорошо увлажнЄнна€, то тиснение будет без морщинок. ƒетали необходимо высушить ( € кладу их на батарею, так быстрее).
”глубл€€ серединку, мне понравилось использовать линейку с окружност€ми, лепестки потом не разваливаютс€. ƒиаметр 6 оказалс€ самым подход€щим. ƒетали соединила тоже с помощью линейки дл€ надЄжности.
огда клей высохнет, шилом проколоть отверстие, приклеить тычинки.
Ќу вот собственно и результат.
материал вз€т здесь
ћетки: бумага открытки |
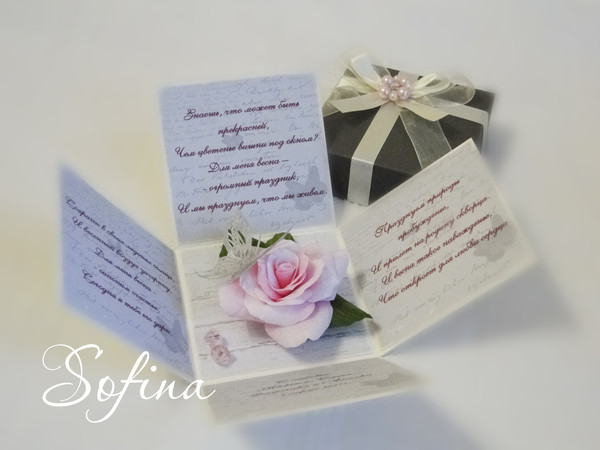
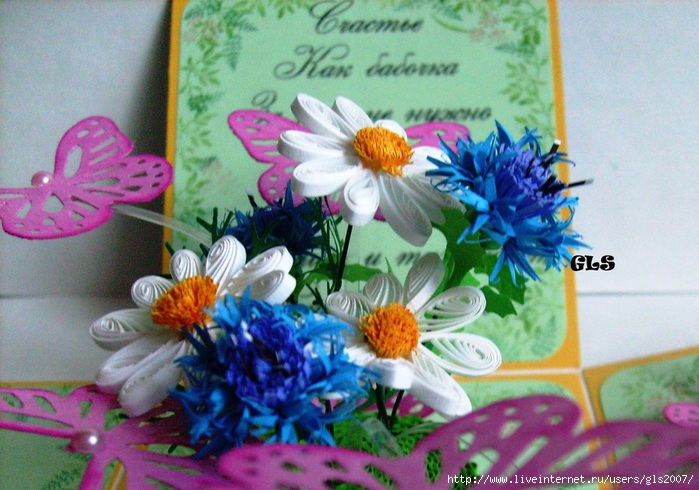
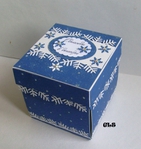
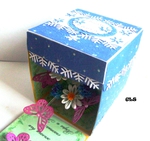
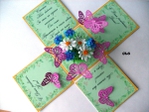
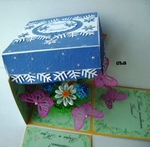
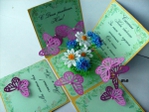
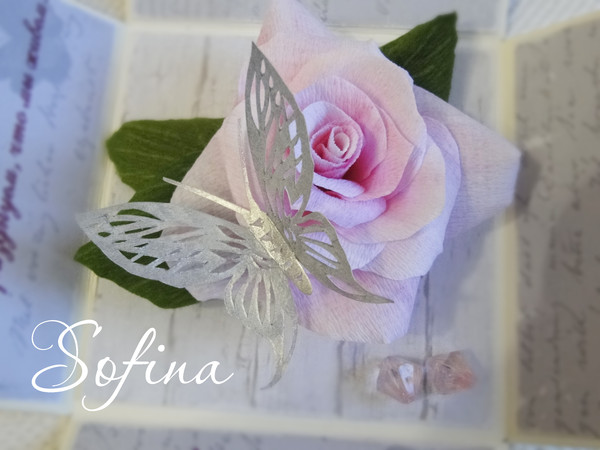
ќткрытка-коробочка. ћагик-бокс |
Ёто цитата сообщени€ GLS2007 [ѕрочитать целиком + ¬ свой цитатник или сообщество!]
»сточник этой красоты http://blogs.mail.ru/mail/mwns/75600FA4D3F2E820.html
ћетки: бумага скарбукинг |
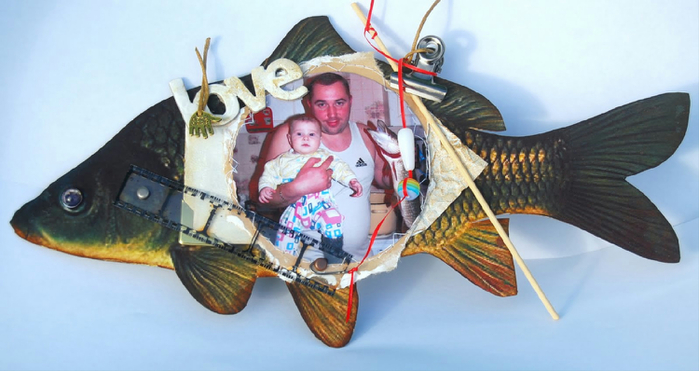
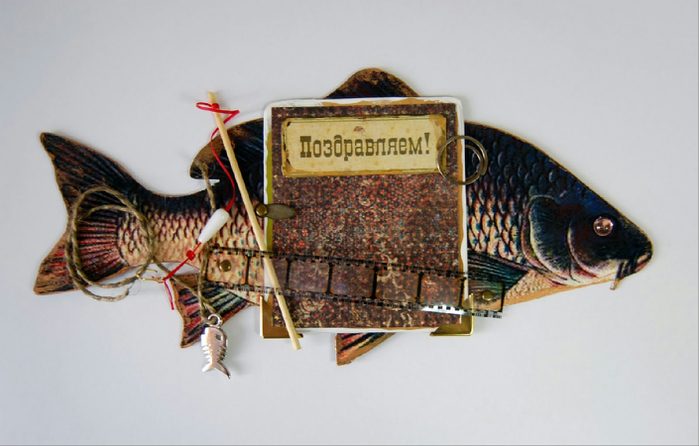
—крап-–ыбки-магниты |
Ёто цитата сообщени€ GLS2007 [ѕрочитать целиком + ¬ свой цитатник или сообщество!]
ћетки: бумага скарбукинг |
ќднажды в декабре |
Ёто цитата сообщени€ GLS2007 [ѕрочитать целиком + ¬ свой цитатник или сообщество!]
ћетки: бумага скарбукинг |
—тишки дл€ оформлени€ детского альбомчика |
Ёто цитата сообщени€ oll-ka [ѕрочитать целиком + ¬ свой цитатник или сообщество!]
÷итиру€ пост, оставл€йте пожалуйста свои коментарии!!! —пасибо за понимание!!!
Ќайдено все в интернете
ћама кормит
я сижу, а мама кормит,
я внимательно слежу.
√лазками смотрю на маму,
≈Є взгл€дом ворожу.
***
ћои первые игрушки -
Ќу конечно, ѕогремушки!
—мотрю на них внимательно,
јх, как же занимательно.
***
–€дом с мамой € усну,
ней ресницами прильну.
¬ы, ресницы, не моргните,
ћамочку не разбудите.
***
” мен€ сегодн€ праздник:
ѕо€вилс€ первый зуб!
¬се родные захотели
о мне в ротик загл€нуть!
***
” мен€ уже два зуба!
–азрешите вас спросить,
ћожно мне совсем не сильно
¬ас за палец укусить?
ћетки: бумага скарбукинг открытки |
“ать€на Ћаптева. —крапбукинг. ќсновы искусства оформлени€ фотографий |
Ёто цитата сообщени€ принцеска_1 [ѕрочитать целиком + ¬ свой цитатник или сообщество!]
ћетки: бумага скарбукинг |
—умочка превращаетс€... |
Ёто цитата сообщени€ танул€ [ѕрочитать целиком + ¬ свой цитатник или сообщество!]
ћетки: бумага открытки скарбукинг |
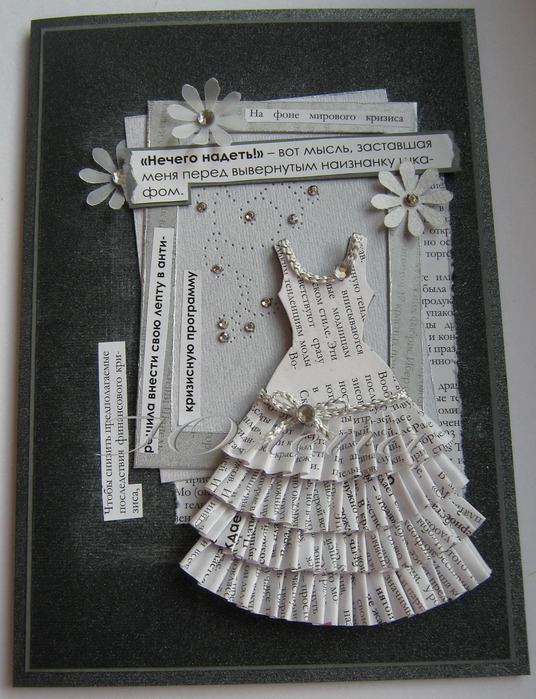
Ѕумажные плать€ на открытках - идеи и варианты |
Ёто цитата сообщени€ Ќата—еваса [ѕрочитать целиком + ¬ свой цитатник или сообщество!]
¬ поисках открыток с плать€ми нашла много интересных идей и несколько мастер-классов и описаний изготовлени€, не могу удержатьс€ - приведу самые понравившиес€. ≈сли автора нашла, то под работой ссылка на пост с работой, где ее можно рассмотреть в подробност€х.

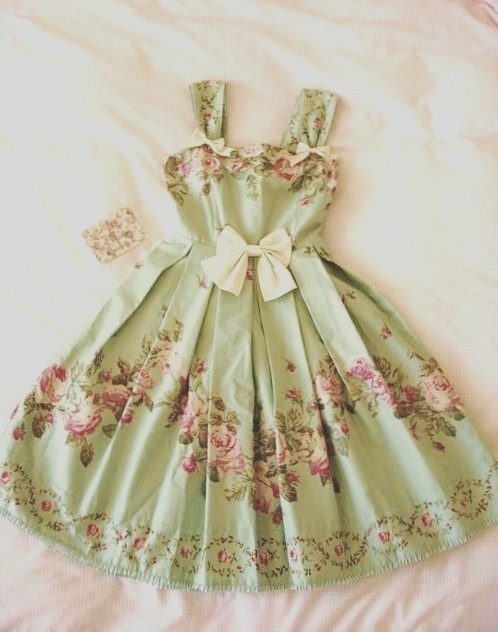
¬идеоћ к работе слева можно увидеть тут: http://gabriellepollacco.blogspot.com/2013/02/video-tutorial-vintage-dress-canvas.html

ћетки: бумага открытки |
орзиночки к ѕасхе |
Ёто цитата сообщени€ “анюшкј_5 [ѕрочитать целиком + ¬ свой цитатник или сообщество!]
ћетки: бумага пасха |
¬ќ—’»“»“≈Ћ№Ќџ≈ — –јѕ-–јЅќ“џ —¬≈“ЋјЌџ »Ќ«≈–— ќ…! |
Ёто цитата сообщени€ _≈_л_о_ч_к_а_ [ѕрочитать целиком + ¬ свой цитатник или сообщество!]

1.

2.

ћетки: альбом |
ћ : ƒекорирование фоторамки-домик в деревне |
Ёто цитата сообщени€ Ќата—еваса [ѕрочитать целиком + ¬ свой цитатник или сообщество!]
http://sokrovishnica.blogspot.com/2013/03/blog-post_11.html
ƒекорирование фото-рамки. ƒомик в деревне)) ћ
Ўаг второй. ƒекорирование.
— помощью бумажных уголков, приклеиваем забор к подставке.
”крашаем цветами, бабочками, вместо травы € постелила сизаль и даже сделала сад камней))
¬ общем, дальше только ¬аша фантази€.
—пасибо за внимание))
—ери€ сообщений "‘оторамка":
„асть 1 - ‘оторамка
„асть 2 - рамка с квиллингом
...
„асть 8 - ћ - рамка-панно с использованием бобинок от скотча
„асть 9 - ќбалденное оформление работ
„асть 10 - ћ : ƒекорирование фоторамки-домик в деревне
ћетки: бумага |
ћ на англ. по использованию акварели дл€ создани€ фона скрап-страниц |
Ёто цитата сообщени€ Ќата—еваса [ѕрочитать целиком + ¬ свой цитатник или сообщество!]
источник: http://gabriellepollacco.blogspot.ca/2013/02/water-color-effects-with-bo-bunnys.html
јкварельные эффекты с коллекцией Isabella от Bo Bunny. ћ по рисованию.
Water-color Effects with Bo Bunny's Isabella! Paint Tutorial!!!
Cardstock: Tutu Double Dot (matting and small blooms)
Brads: Isabella
Blossoms: Daisy (Blush)
Jewel Flourishes: Chocolate Jewels
Stamps: Distressed Textures Stamps
Paper Doily: Small
ћетки: скарбукинг открытки |


