-�����
-�������
- ����� (10)
- ������� (5)
- ����� (1)
- ������ (1)
- �������� (1)
- ������ (19)
- �������������� (10)
- ������� (1)
- �������� (2)
- ������� (5)
- ������� (1)
- ������� (112)
- �������� (3)
- ������� ������� (3)
- ������ (6)
- ������� (2)
- ��������� (58)
- ������� (12)
- ������� (2)
- �������� ������� (1)
- ������ (10)
- ������� (5)
- ��������, ������... (8)
- ��������� (6)
- ������� (856)
- ���������� (24)
- ������� ������� (52)
- ������� ������� (69)
- ��� ����� (116)
- ��� ���� (113)
- ��� ������ (329)
- ��� ������ (3)
- �� ������ � �� ��� (119)
- ����� (70)
- ������ (18)
- ��������� ������ (3)
- ������ (5)
- ��� �������� ���������� (10)
- ������� (4)
- ������� (85)
- ������� ������� (1)
- ������� ������� (35)
- ����� (20)
- ������ (1)
- �������� ������� (13)
- ��� ������� (26)
- ������� ���� (245)
- �� ���� ��... (3)
- �������, ����� (20)
- ����� ������� ������� (24)
- ���������, ��������... (62)
- ������ (11)
- ����� ��� (52)
- ����� (4)
- ��������� (21)
- ������ (45)
- ���� (14)
- ����� (9)
- ���������� (2)
- ��������� (83)
- �����... (2)
- ��� ���� (14)
- ��� ���� (34)
- ��� ��� (1)
- ��� ��� � ������ (10)
- �������� (7)
- �������� ������ (4)
- ������� (15)
- ������ (6)
- �������� (6)
- �������� (11)
- �������� pop-up (2)
- ������ (6)
- � �������� (4)
- ������ (81)
- ��� (5)
- �����, ����... (11)
- ���������� (31)
- ��� ����� (11)
- ������� (3)
- ���� � ������ (16)
- ������� (453)
- ������� (3)
- ������ ����� (132)
- ������ (17)
- ������� (25)
- ������� (75)
- ������� (15)
- ��������� ������� (42)
- ������ (28)
- ������� ������� (119)
- ���� (6)
- ���� (15)
- ���������� (19)
- ��� (3)
- ��������� (8)
- ����� (3)
- �� ����� (5)
- ������� (24)
- ���� (4)
- ������� (13)
- ����� (8)
- ���� (2)
- ��������� (37)
- ����� (272)
- ���������� (25)
- ��� ������ (130)
- ��� ������ (3)
- �������� �������� (47)
- ����� (11)
- ������� (11)
- �����, �������... (41)
- �������� (7)
- ��� ����� (23)
-�������� �������� ��������
-����� �� ��������
-����������
�������� �������: ����(2), �������(13), ����(4)
������ ������� � ���� ��������: �����(272), ���������(37), �������(24), ���������(8), �������(453), ������(81), ��������(11), ��������(6), ���������(83), ������� ����(245), �������(85), �������(4), ��� �������� ����������(10), �������(856), �������(112), ������(19), �����(10)
������� ��� ���������� - ������ ��� ���� - ��������� ������� |
��� ������ ��������� gar333 [��������� ������� + � ���� �������� ��� ����������!]
��������� - ������ ��� ����
PSD, 2 PNG | 600 dpi | 2000x3000 | 19,3 Mb
�����: Eva
1.

|
��� ������ |
��� ������ ��������� alina1980 [��������� ������� + � ���� �������� ��� ����������!]
|
��� ������� ���������� ������������ ����� � Photoshop |
��� ������ ��������� -HochuVseZnat- [��������� ������� + � ���� �������� ��� ����������!]
� ������� ����� ���������� ����� ����� ���������������� � ��������� ��������� ������������ �����, ������� ����������� �������� � �������� �������� ��� ��������, ����������������, �������, � ��� �� ��� �������� ����������� �� ��������� ����������� � ����� �������. ������� ����������� �����.
|
������� �� Photoshop |
��� ������ ��������� ����_����_������_��_������ [��������� ������� + � ���� �������� ��� ����������!]
|
������� � ������������ ��������� |
������� |
|
������������� � �������������� �������� � �������� |
��� ������ ��������� Lidia52 [��������� ������� + � ���� �������� ��� ����������!]

|
������ |
������� |
��������: http://abduzeedo.com/reader-tutorial-create-vintage-traveler-diary-photoshop
Reader Tutorial: Create Vintage Traveler Diary in Photoshop

August 12, 2009 from guest's blog
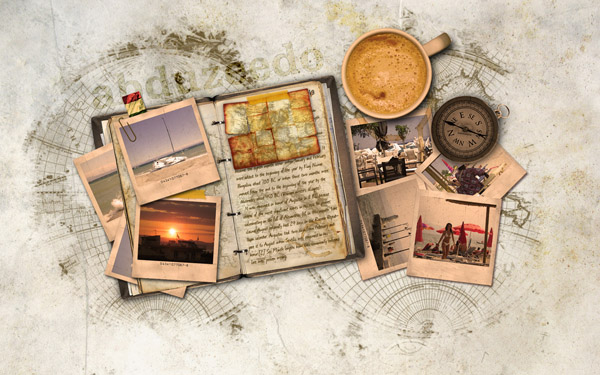
In this reader tutorial Nikola Lazarevic aka Colaja from Nis, Serbia will show us how to create a very stylish vintage traveler diary in Photoshop. We will mix brushes with stock photos and blend modes to achieve the effect.
Let's take a look at our final image.
STEP 1:
Let's start by creating new document in photoshop. Mine is 1680x1050 pixels. Name this file diary.psd. Fill the background with #e5dfd3.
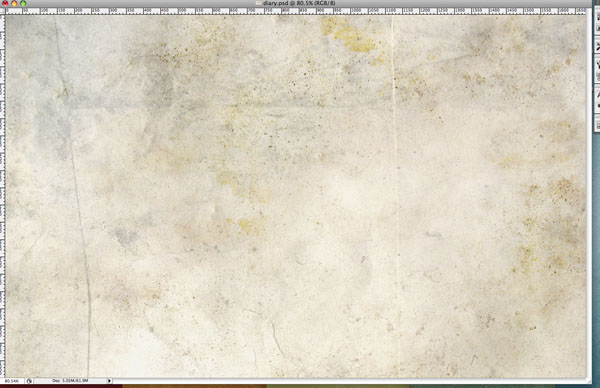
Download soft grunge texture from Bittbox. I picked up second one (free_high_res_texture_102), and palce it above the background layer. Command + T to resize it the way You like, and lower the opacity to 70%. Let's name this layer "background texture".
Now download Waterlogged Map Brushes by ~Arbenting. Create new layer above "background texture" and name it "map". Set foreground color to #463003. Now pick up the brush tool (B), load Waterlogged Map Brushes by ~Arbenting, choose map3, set master diameter to around 1557 and place the map in the middle of layer "map". Lower the "map" opacity to 75%.
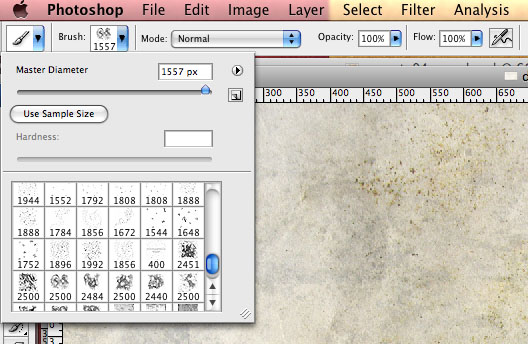
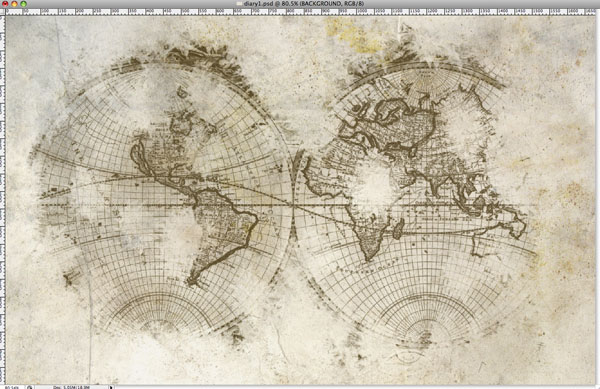
Select all three layers (background, background texture and map) by holding the command key (or control on PC) and left mouse click on every layer, then hit command + G (ctrl + G on PC), and group these layers in Group and named this Group "BACKGROUND".
STEP 2:
I found excellent picture of old Notebook. Download it and open in photoshop. Now we're going to cut out the notebook. Use Magic Wand Tool (W) to select white background, hit command + shift + I to inverse selection, so that the nootebook is now selected. Command + C to copy selection, and paste it into our diary.psd file. Name this layer "notebook", resize it and rotate a bit (Command + T) and place it somewhere in the center, but a little on the left.
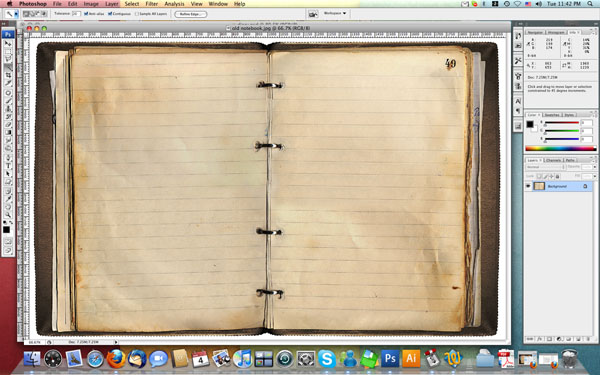
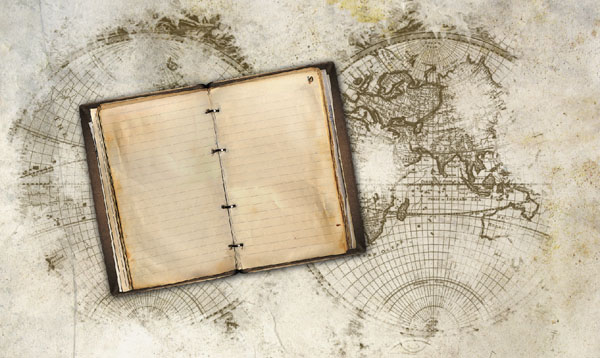
Now, we want to have same pictures between pages. To achieve that effect we need to do the following steps:
- Duplicate "notebook" layer (Command + J);
- Name this layer "notebook top";
- Now pick up the Polygonal Lasso Tool (L) and start selecting around notebook pages.
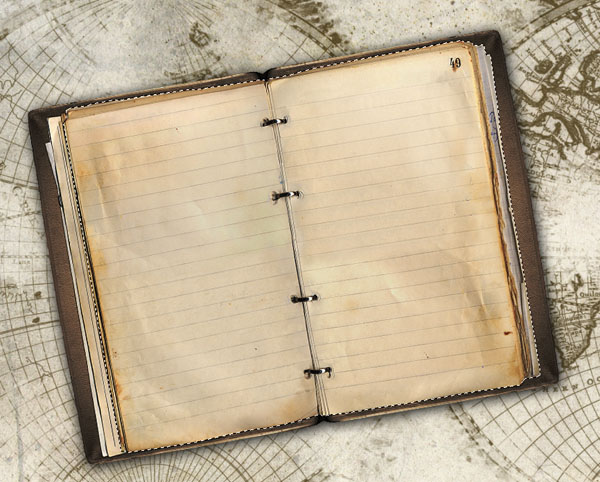
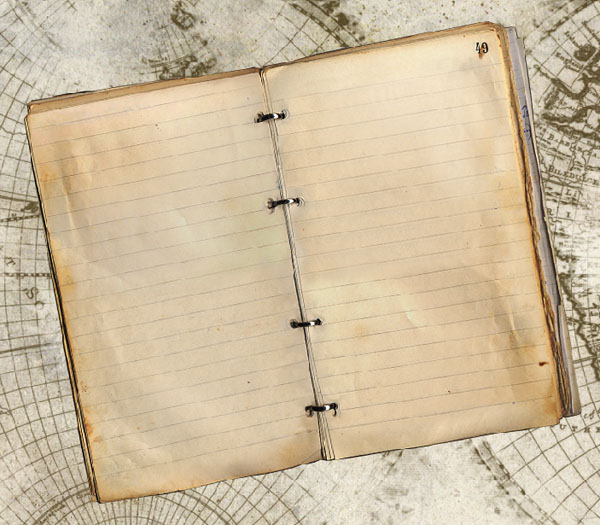
Inverse the selection by pressing Command + Shift + I and delete the part that we don't need.
We'll going to give a life to a pages. Set the foreground color to #463003, create new layer above "notebook top", pick up the brush tool (B), and choose the map you like, I picked it map2, set diameter around 330px and paint with this brush in the lower right page part of notebook. Rotate this layer to match notebook paper orientation, lower opacity to 50% and name this layer "right page 1".
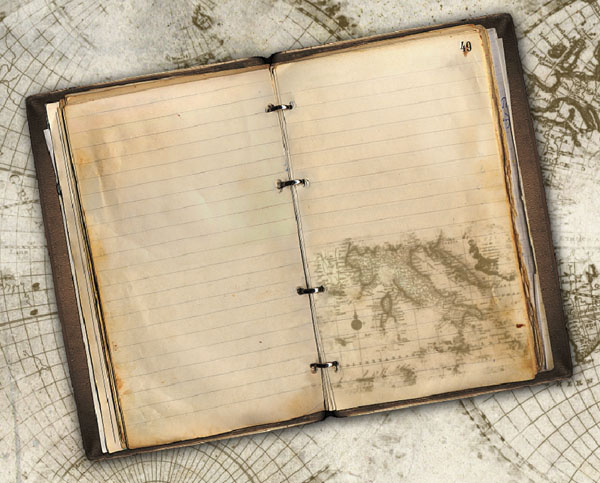
Create new layer, name it "right page 2", use the brush tool (B), choose another map, I choose map3, set the diameter around 450px, and paint upper part of right notebook paper. Rotate this layer to match notebook paper orientation. Lower the opacity to 50%.
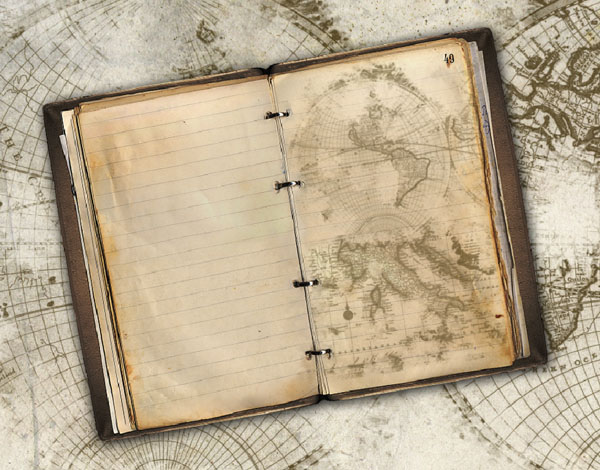
Create another new layer, name it "left page", pick up the brush tool (B), choose another map, I choose map4, set the diameter around 600px, and paint over left notebook page. Rotate and move this layer so you get something like this.
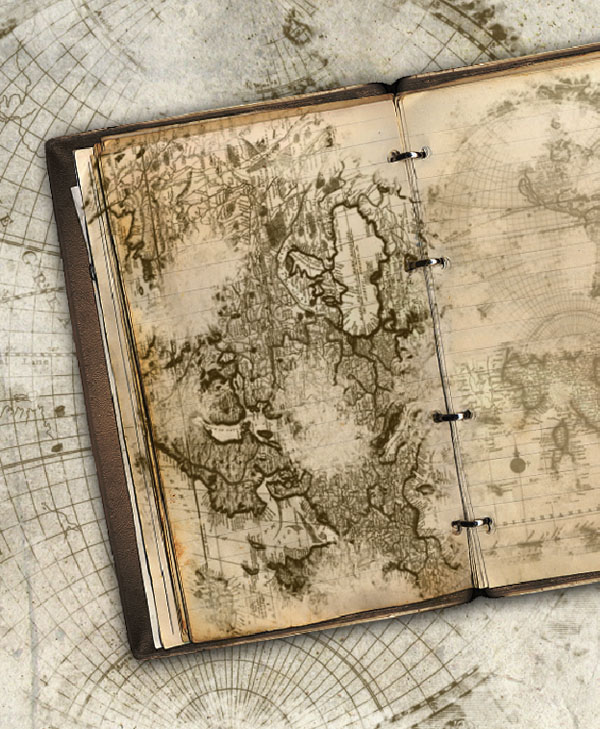
Lower the opacity to 50%. Now we should have something like this.
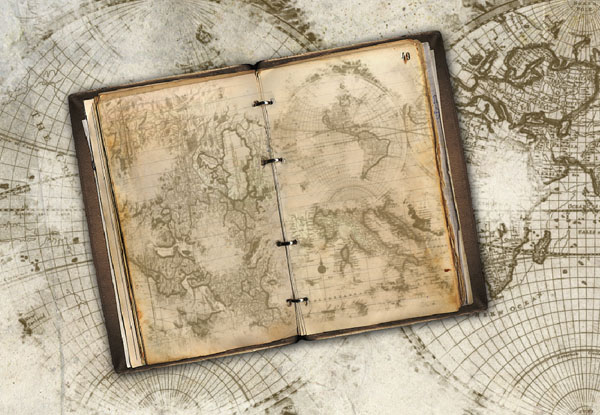
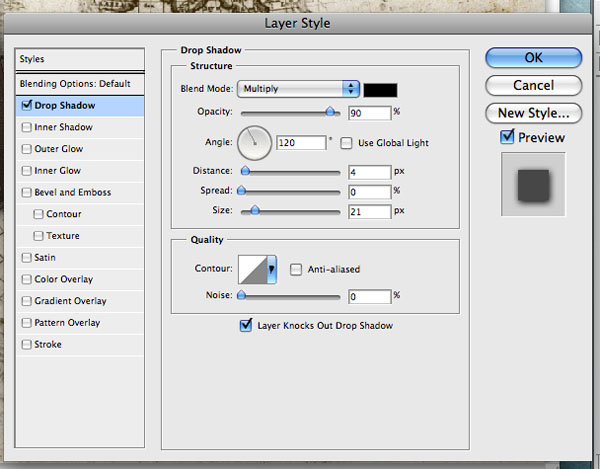
Apply the following layer style to "notebook" layer:
STEP 3:
Download the polaroid photo and open it in photoshop. Double click on background layer and then clik OK so that this layer become editable. Save this file as ploaroid.psd because we will be using it for creating our polaroid photos.
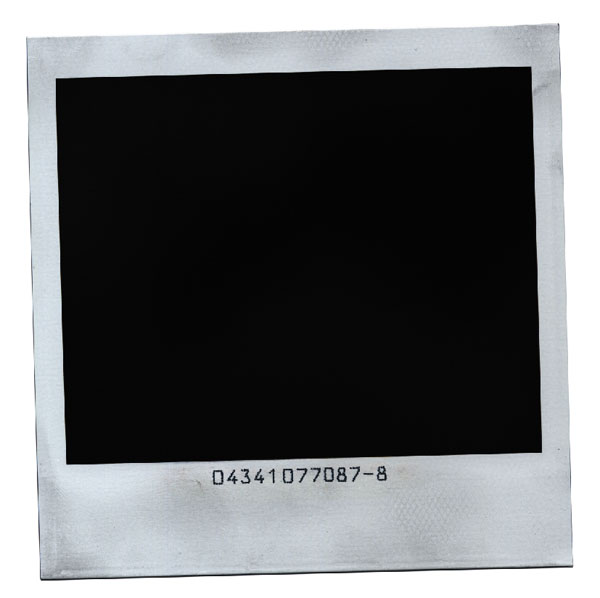
For creating polaroid photos I used some of my pictures that I took this summer in Greece. You can find some of them on a flickr. So picked up photo you want, open in photoshop, copy and paste it in polaroid.psd. Command + T (Ctrl + T) to rotate a bit to catch polaroid orientation. Name this layer "photo".
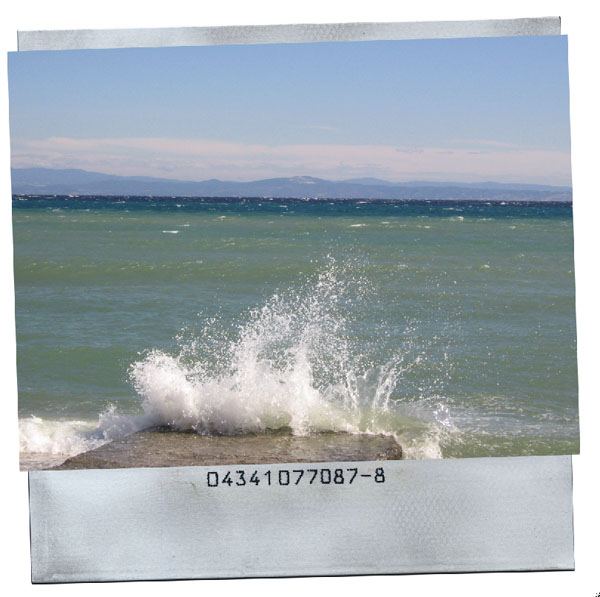
Now hide photo layer, click on layer0, use magic wand tool (W) to select black square in polaroid.
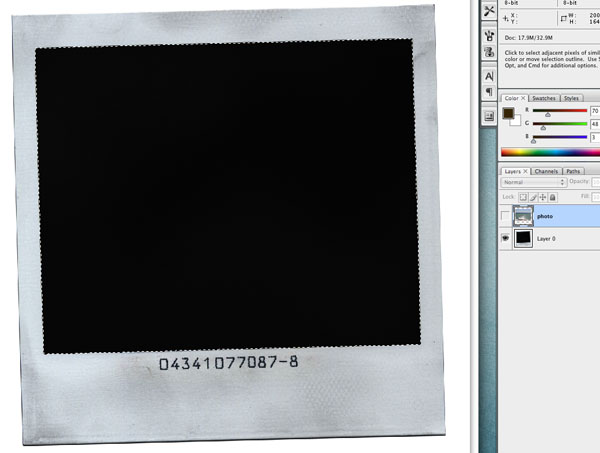
Unhide photo layer, select it, inverse selection with Command + Shift + I, and hit backspace to delete unwanted parts of photo. Now deselect (Command + D). You should have something like this.
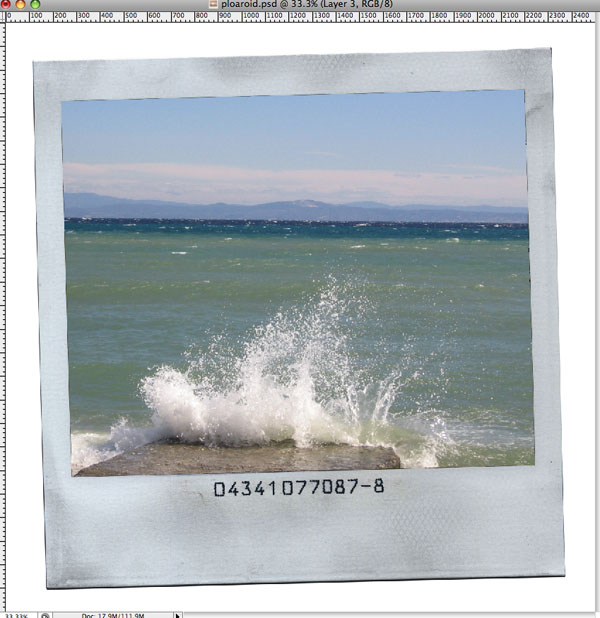
We want our photo to look old, so download Heavy Scratch brushes, open the brush tool (B), load Heavy Scratch brushes, pick up Scratch Heavy brush, set diameter to max 2500px, create new layer above "photo" layer, and paint with brush tool. Name this layer "scratch". Resize it to be bigger then the polaroid.
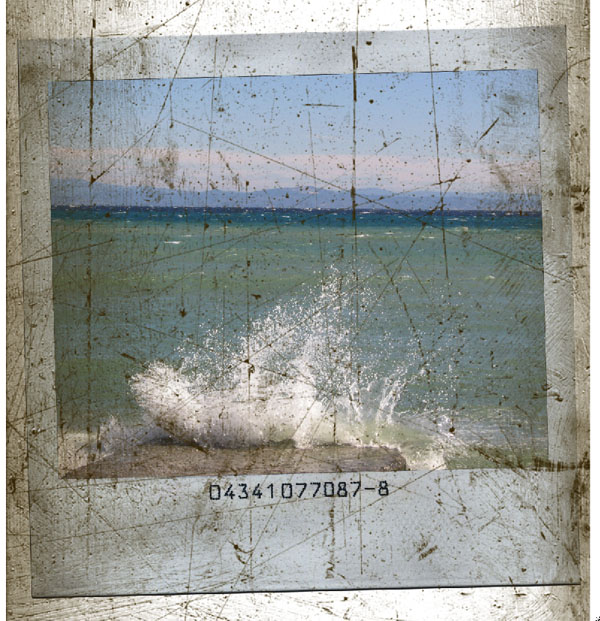
Then hide "scratch" layer, select "layer0", use magic wand tool (W) to select white background, Command + Shift + I to inverse selection, unhide "scratch" layer, select it, inverse selection once again and hit backspace to delete unwanted part of "scratch" layer. Lower the fill to 30%.
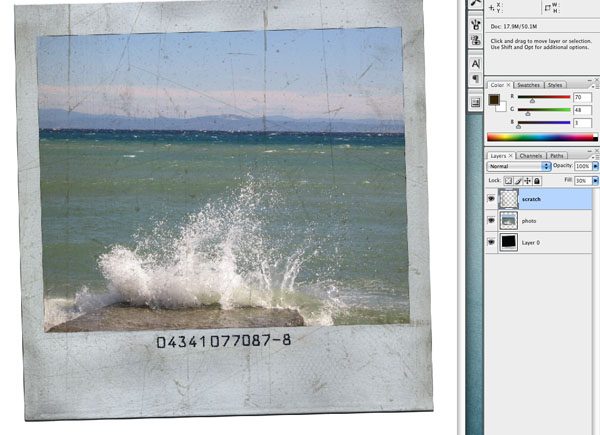
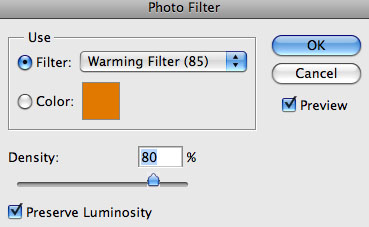
Photo now look scratchy but not old enough. To give more vintage look do next: Choose Create new fill or adjusment layer, choose photo filter, warming filter (85) for filter, set Density to 77% and click OK.
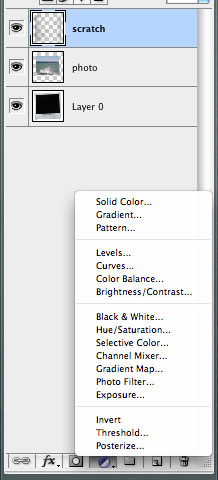
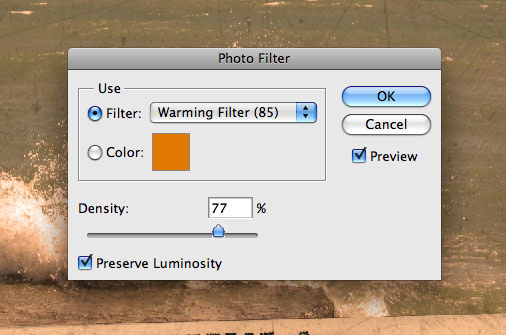
This one is now look pretty good and old enough.
STEP 4:
Select all layers, choose Layer>Merge Layers. Now pick up magic wand tool (W), select white background, inverse selection,
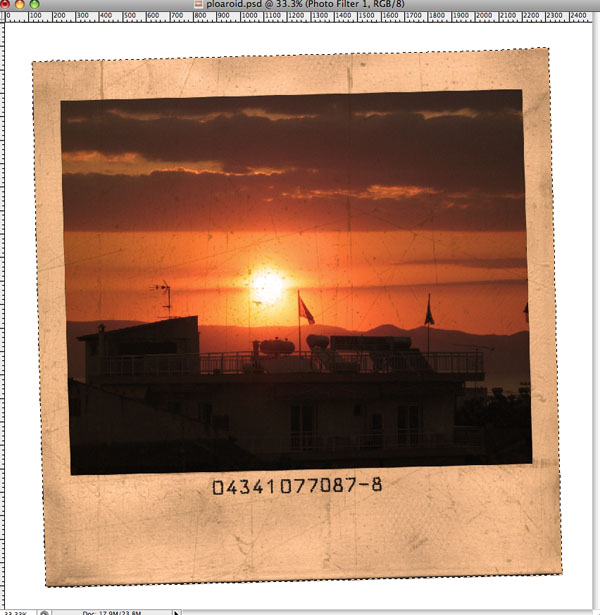
Copy it, and paste it in diary.psd between "notebook" and "notebook top" layers, and name this layer "photo 01 bp". Resize it and rotate, and place it on the left between pages like this.
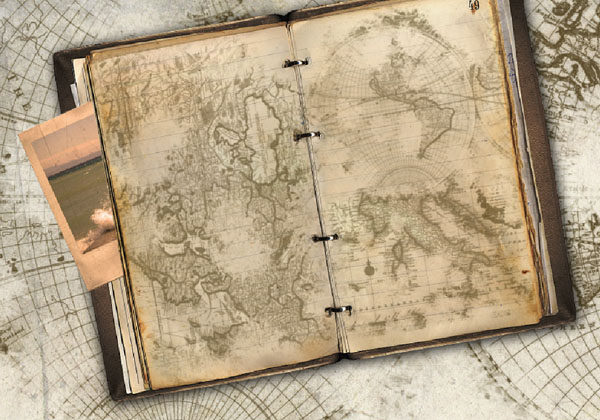
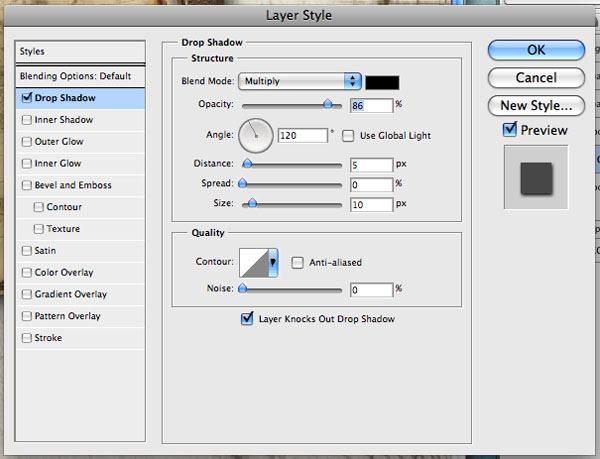
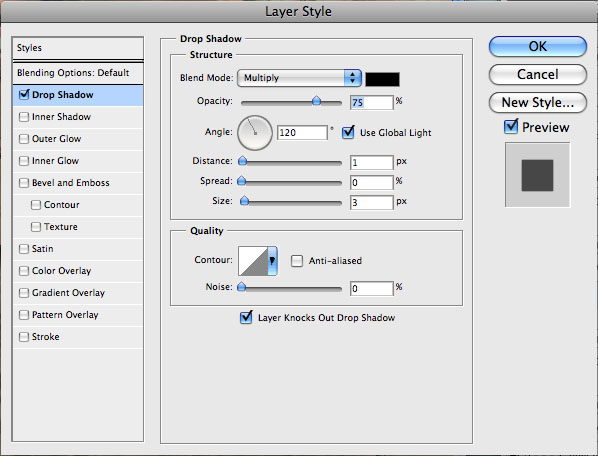
Apply drop shadow layer style to "photo 01 bp".
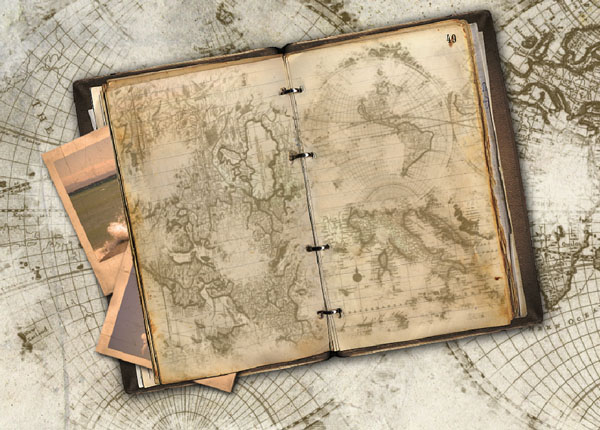
Now create another polaroid photo and place it also between pages, using the above method. Name this layer "photo 02 bp" and apply Drop Shadow layer style to this layer, same as previous. We should have something like this.
Create another polaroid photo using the above method and this one we're going to place it on open pages. Name this layer "photo03".
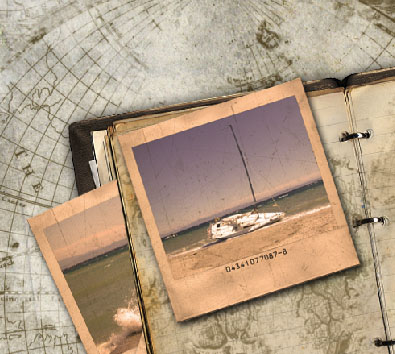
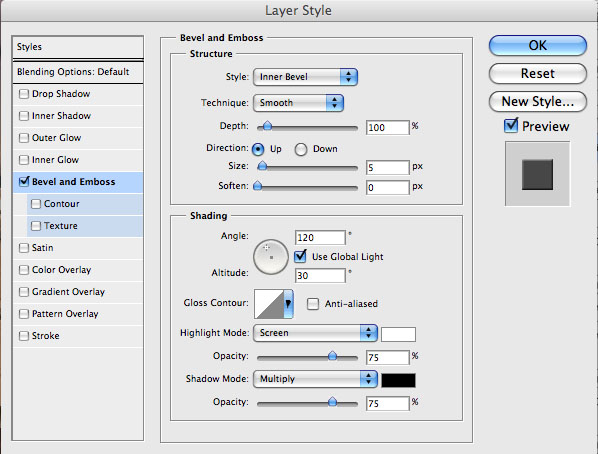
Create paperclip to hold this photo. Set the foreground color to #583f0d, open custom shape tool, find paperclip shape, and draw paperclip. Hold Shift key to constrain proportions. Resize it and rotate. Name this layer "paperclip". Be sure that this layer is above "photo03" layer. Rasterize this layer and apply following "Bevel And Emboss" style to this layer.
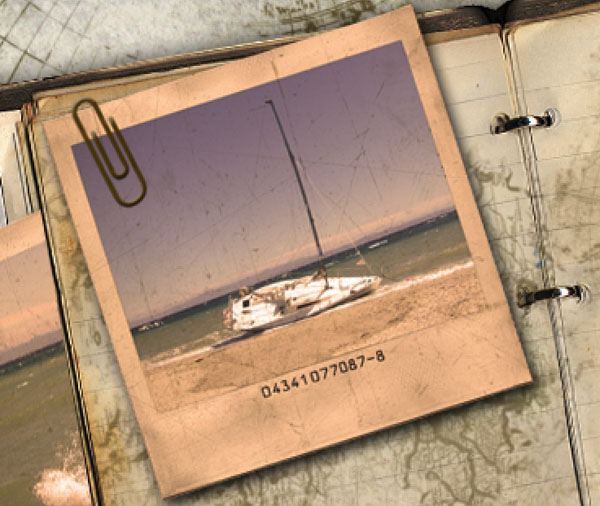
We need to delete some parts of paperclip, choose eraser tool (E), pick Hard Round 5px, and start erasing.
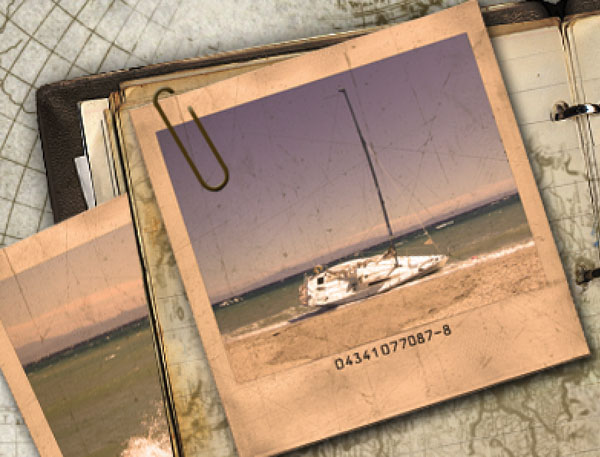
Ok, let's continue. Create another polaroid photo, insert it in diary.psd, name this layer "photo04", and place it below "photo03" layer.
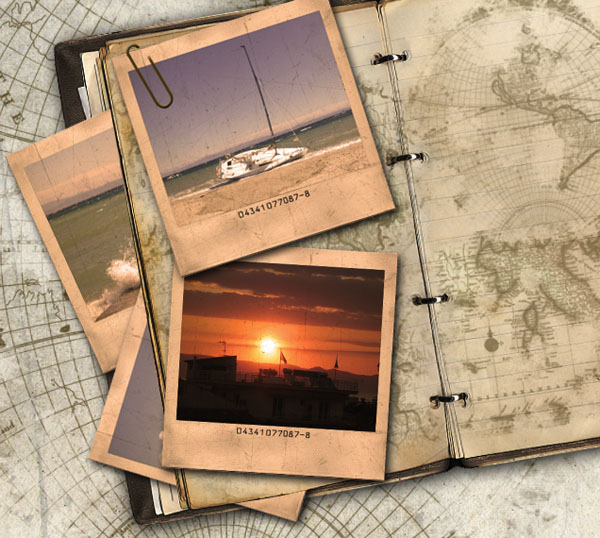
Let's add more details. Download Sticky Tape Photoshop Brushes, load into photoshop, set the foreground color to #dab05d, pick up brush tool (B), then pick up brush SpoonGraphics Tape2, set diameter to 116px, create new layer above "photo04", paint with brush tool. Name this layer "sticky tape 1" and apply drop shadow effect.
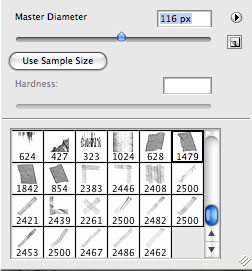
Duplicate "sticky tape 1" layer and clear layer style. We should have something like this.
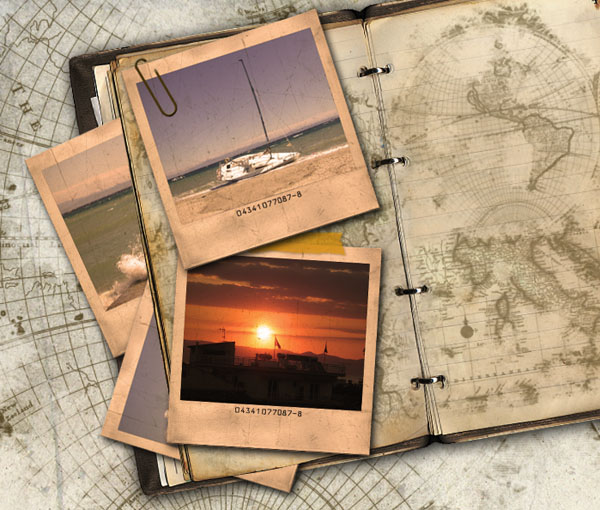
With this, the left page is finished.
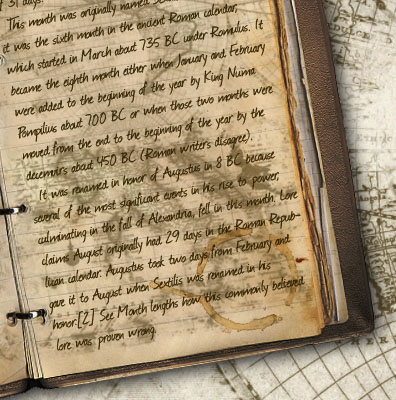
Now let's move on to the right page. Let's add Paragraph layer. To add a Paragraph layer you must create the bounding box first. You can Click and Drag the cursor diagonally until you've got your desired size. Write some text into Paragraph layer. I used font Journal. Set the text color to #463003, rotate and resize it to fit the right page of notebook. Name this layer "text".
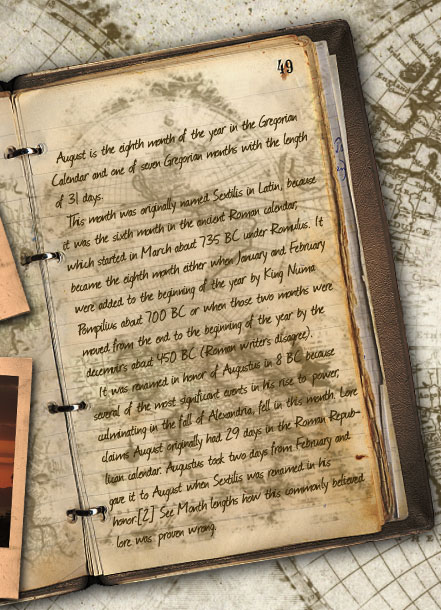
Make this page a little more dirty and grunge. Download Coffee Stain 1 photo, open in photoshop, copy and paste it into dairy.psd. Name this layer "caffe strain page". Change the Blend Mode to Multiply. Resize it and palce it above "text" layer.
Now download Torn PostCard, open it in photoshop, select white background with Magic Wand Tool (W), inverse selection,
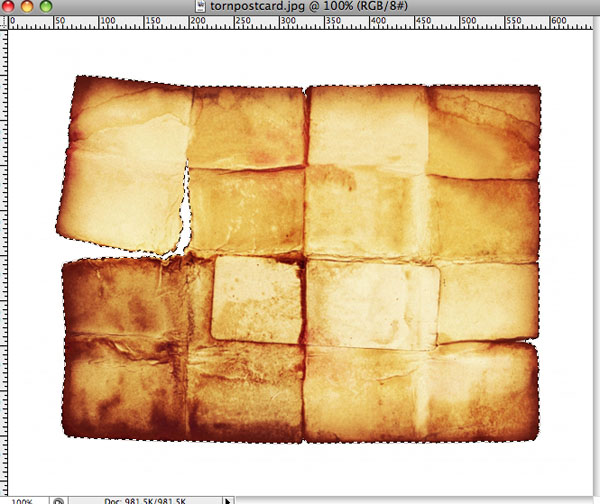
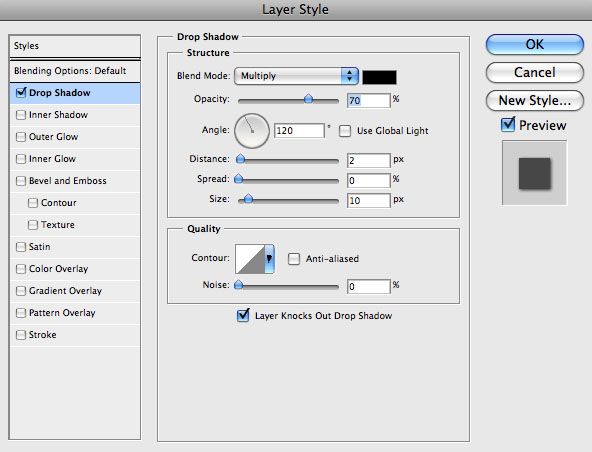
copy and paste into our photoshop file. Name this layer "map background". Resize it, rotate and place it on top of the right page. Add Drop Shadow Effect.
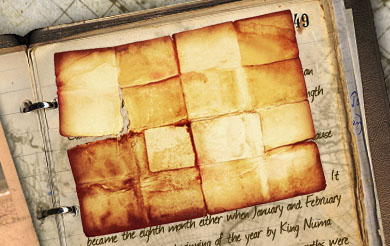
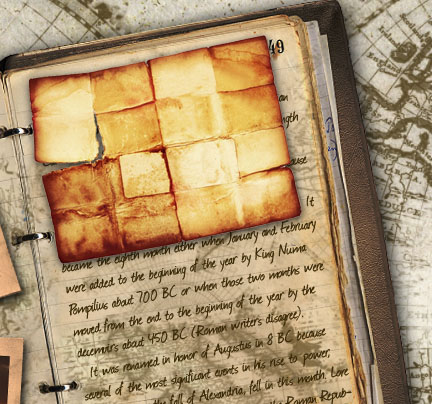
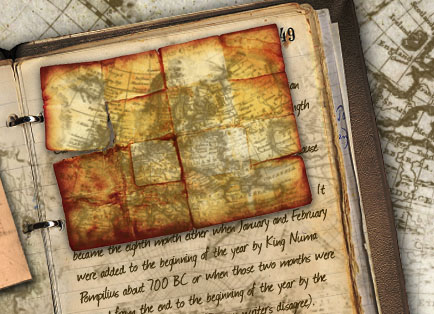
Select "map background" with Command + Click on thumbnail, create new layer, make sure that foreground color is #463003, pick up Brush Tool (B), choose any of the Waterlogged Map Brushes by ~Arbenting and paint it over. Name this layer "map1" and lower the opacity to 60%.
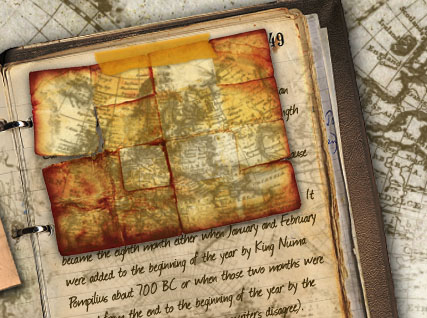
Add sticky tape, using the above method, to hold "map1" to the page.
Let's add a small detail to the pages. Download Italian Flag, open it in photoshop, with Rectangular Marquee Tool (M) make a selection, copy and paste it into diary.psd.
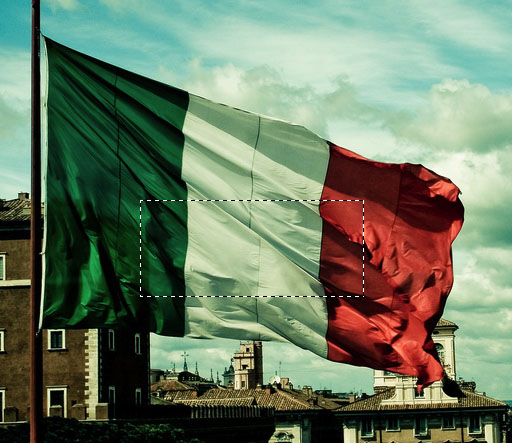
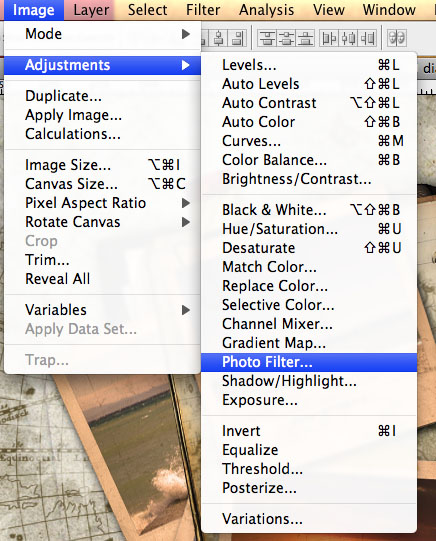
Name this layer "italian flag", resize it, rotate it and place it below "photo03". Now go to Image - Adjusments - Photo Filter.
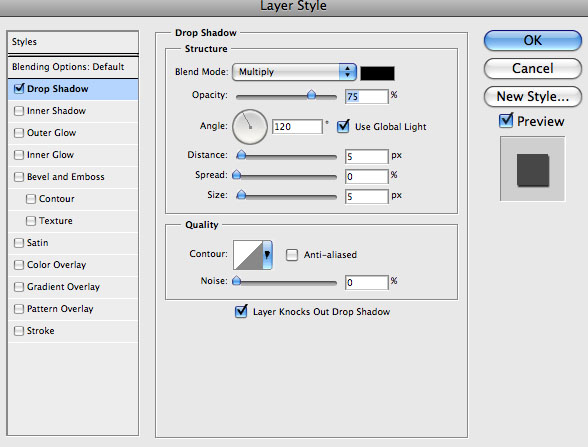
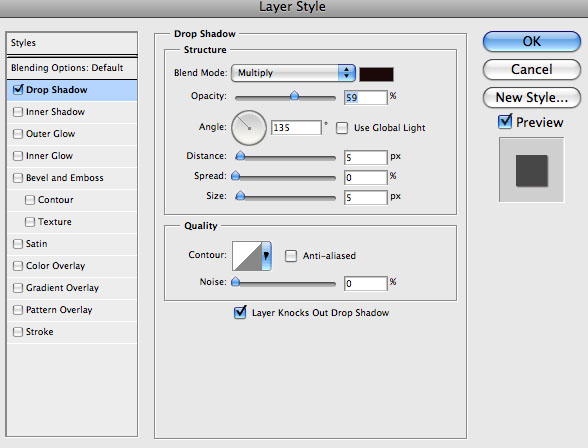
And apply Drop Shadow Effect.
With this we finished notebook.
STEP 5:
Let's add more details! Create couple of polaroid photos, palce it into BACKGROUND group, in separate layers, above layer "map", give them a names starting with "photo 05 bg" respectivly. Apply Drop Shadow Effect to every layer.
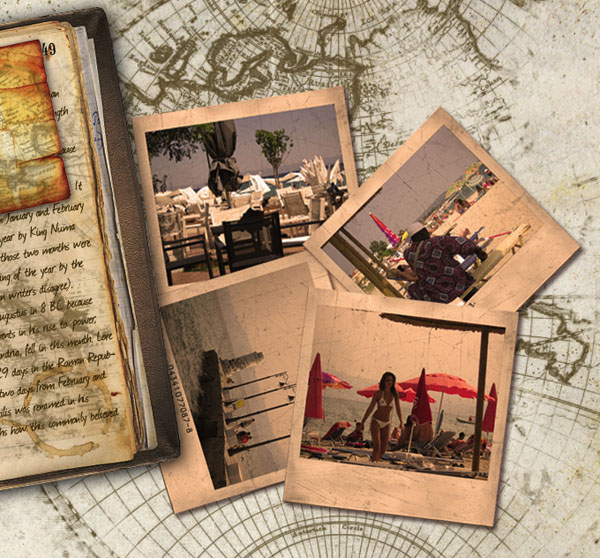
Now add Cofee Stain over top picture. Create new layer, name it "caffe strain big", use Coffee Stain 1 photo, change the Blend Mode to Multiply, resize it and place it over photo.
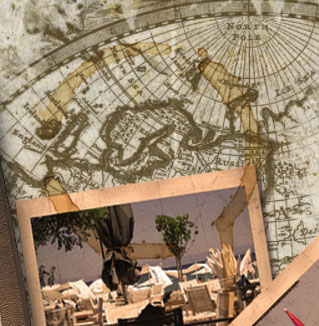
STEP 6:
We'll add a cup of coffee now. Download Isolated Cup of Strong Coffee, open it in photoshop, open Paths, hold Command Key and click on Path thumbnail to select cup of coffee.

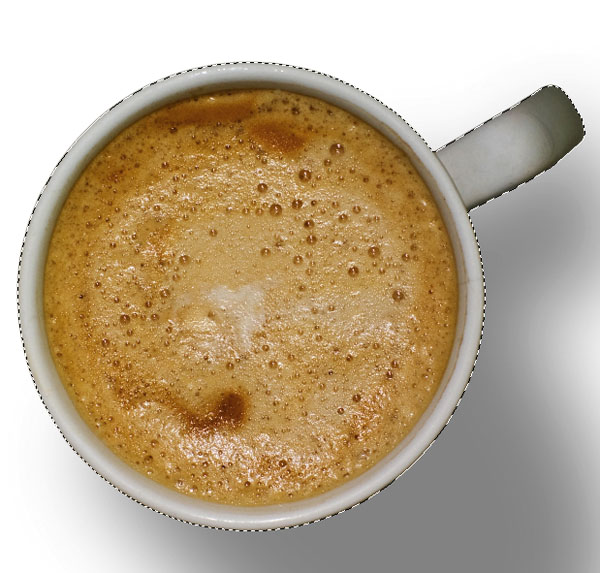
Copy and paste it into dairy.psd, name this layer "caffee" and place it on top. Resize it, apply Drop Shadow Effect.
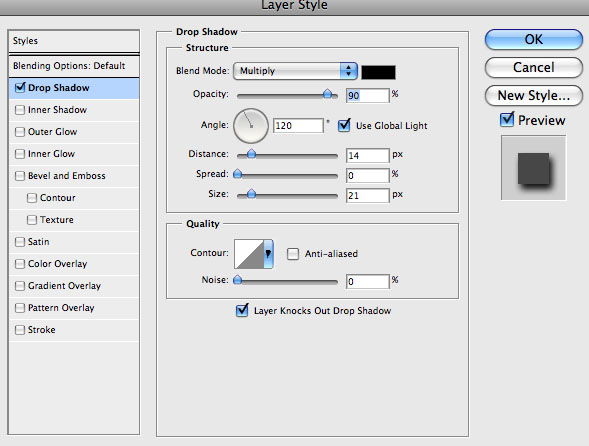
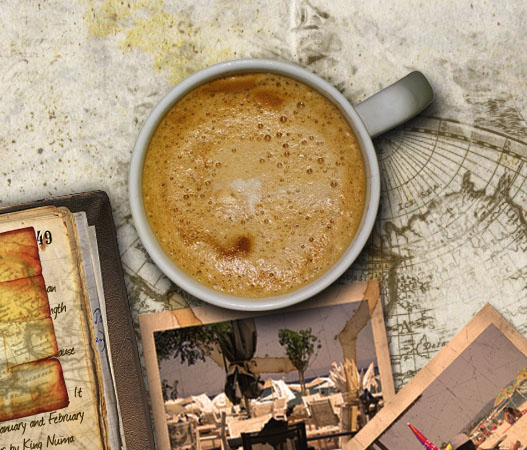
Make it old. Go to Image - Adjusments - Photo Filter.

This is what we have now.
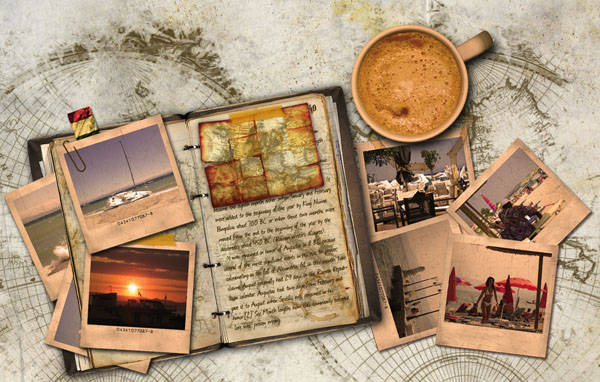
STEP 7:
Let's add compass. You can download compass from my flickr photostream. Extract compass from background, copy and paste it into diary.psd. Name this layer "compass". Place this layer below "caffee" layer. Go to Image - Adjusments - Photo Filter.

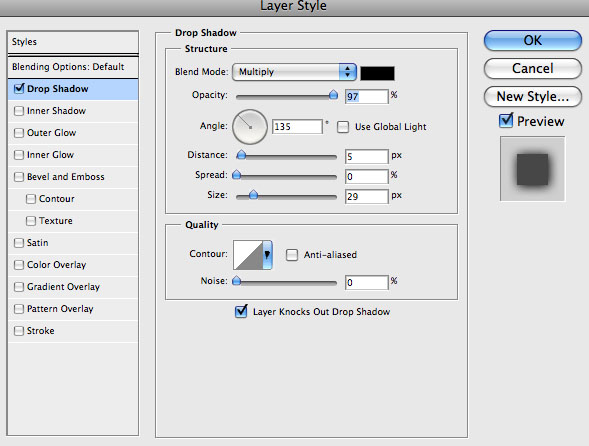
Add Drop Shadow Effect.
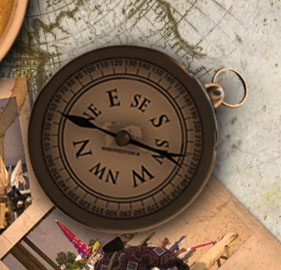
Make it a liitle bit scratchy. Create new layer above "compass" layer, name it "compass scratch", set the foreground color to #000000, pick up the brush tool, choose Scratch Heavy brush, select compass by holding Command Key and click on compass layer thumbnail, select "compass scratch" layer, and paint it with brush tool. Change the Blend Mode to Soft Light.
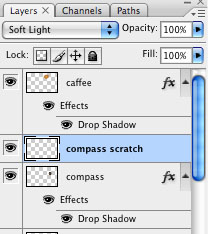
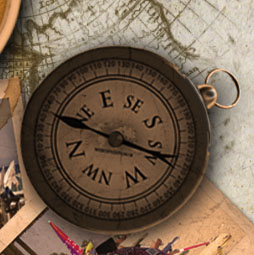
This one is looking pretty good right now.
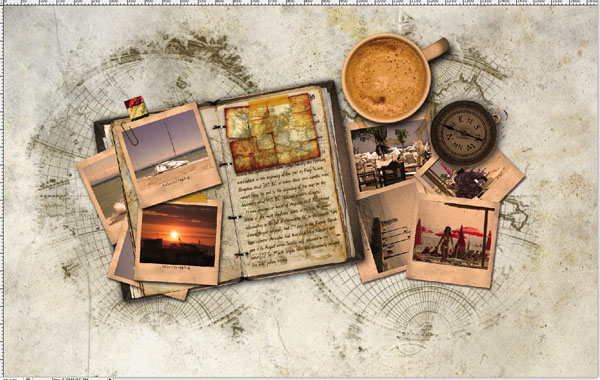
STEP 8:
It's time to finish. Let's add the final detail. Write out the word abduzeedo using some random font. I used HumstSlab712 Blk and set it in this colour #c5c6ba. Set the font size to 120px. Change the blending mode to Colour Burn and add a 1px stroke.
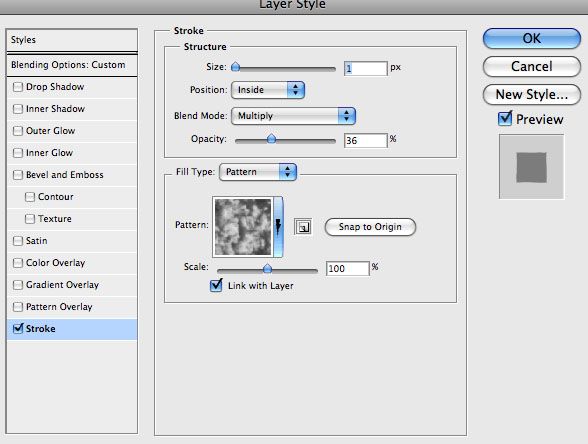
Now duplicate this layer, and lower the opacity to 65%, blend mode is still Colour Burn.
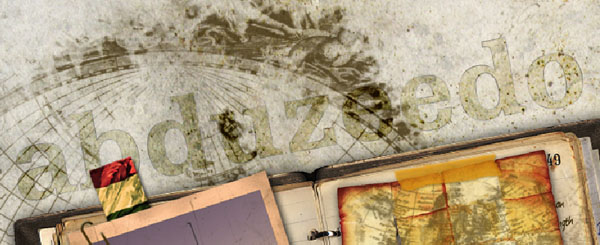
And this is it.

Hope You all enjoy this tutorial.
|
| ��������: | [1] |


