-Рубрики

 -Цитатник

МК- Мандрагора. Создаем магическое существо :) - (0)

Автор мастер-класса ZhukovaMiniart пишет: Хочу предложить создать/слепить мандрагору. Создание...

Вышиваем бабочки бисером и пайетками. Мини МК - (0)

1. 2. 3. 4. 5. 6. 7. 8. ...

Проект "КНИЖКА-РАЗВИВАЙКА" - (0)

Автор:Tanya     1-ая страничка   Ну что? ...

Алонкины игрушки. Книжка сказок из фетра. - (0)

Ну что, мои дорогие, будьте готовы, сейчас будет много фоток , наверное, много буковок. Дело ...

Оригинальная заколка одуванчик - (0)

Нам понадобятся: шарик пенопластовый(диаметр 3см) , проволока обклеенная серой бум...
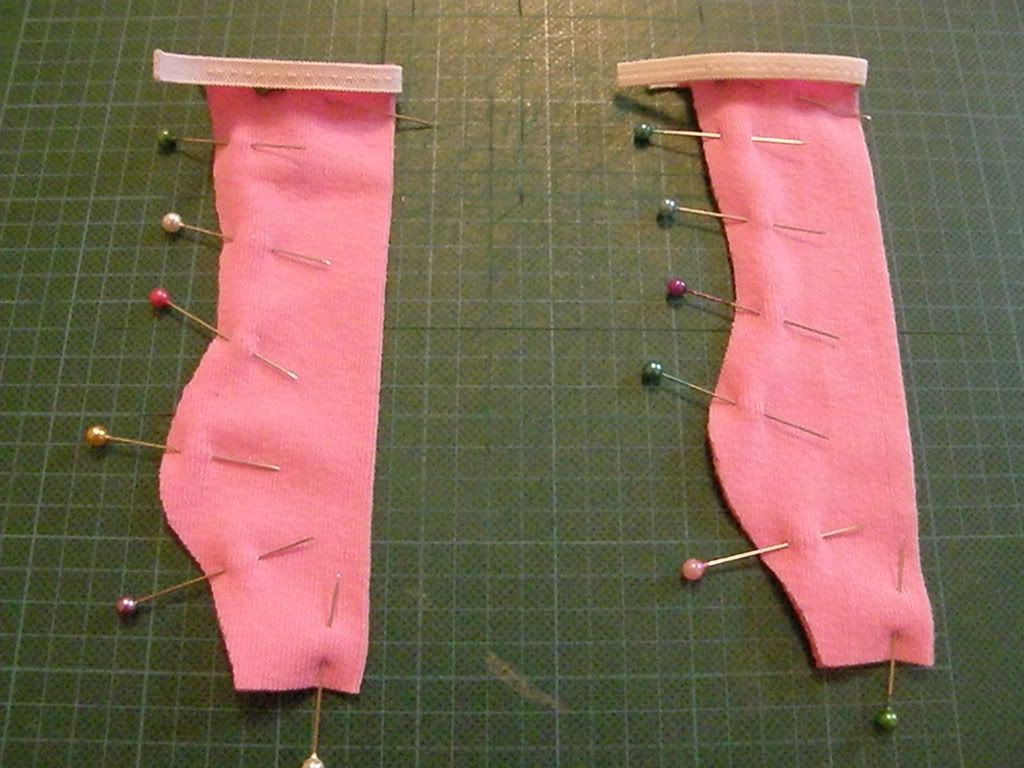
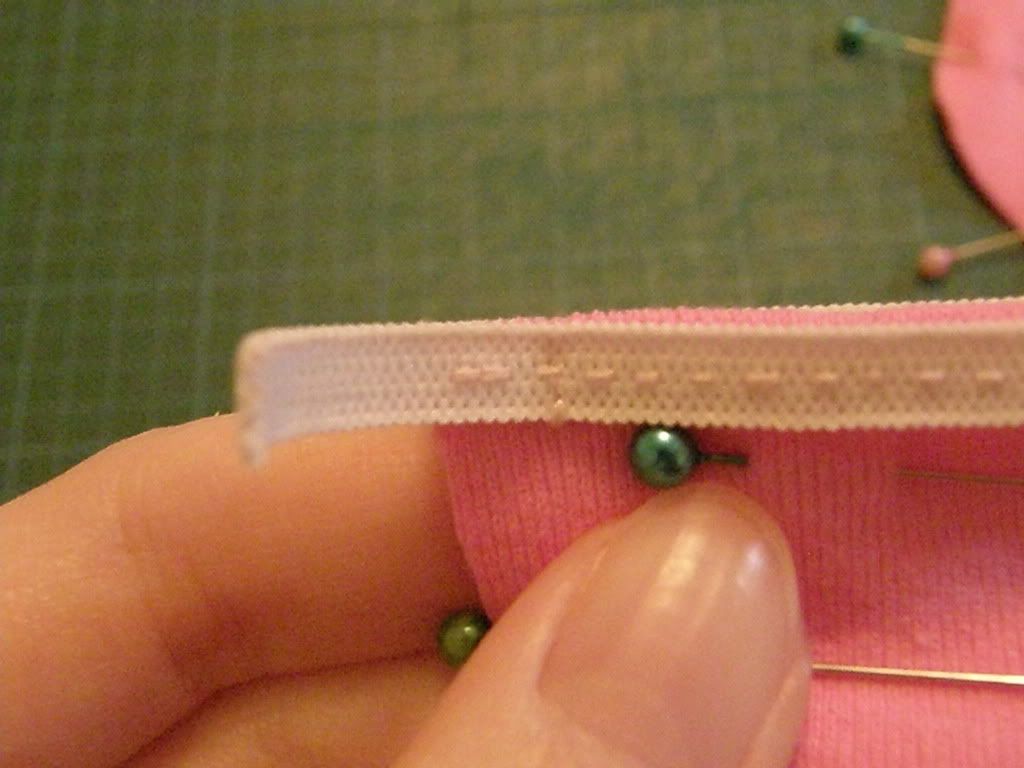
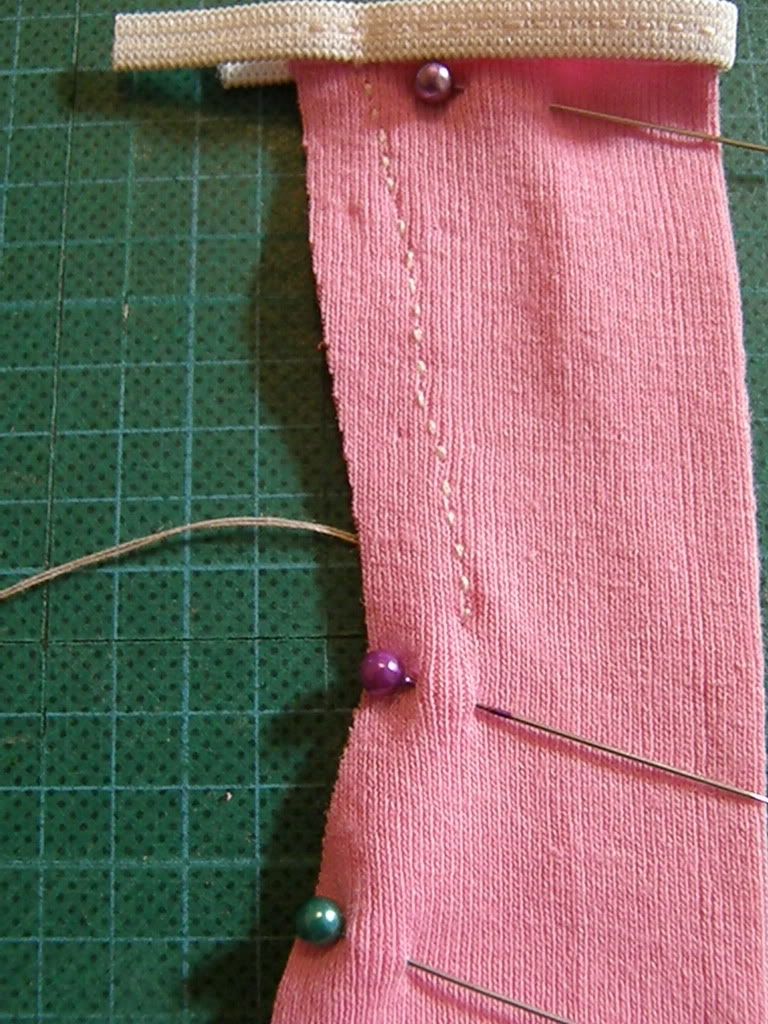
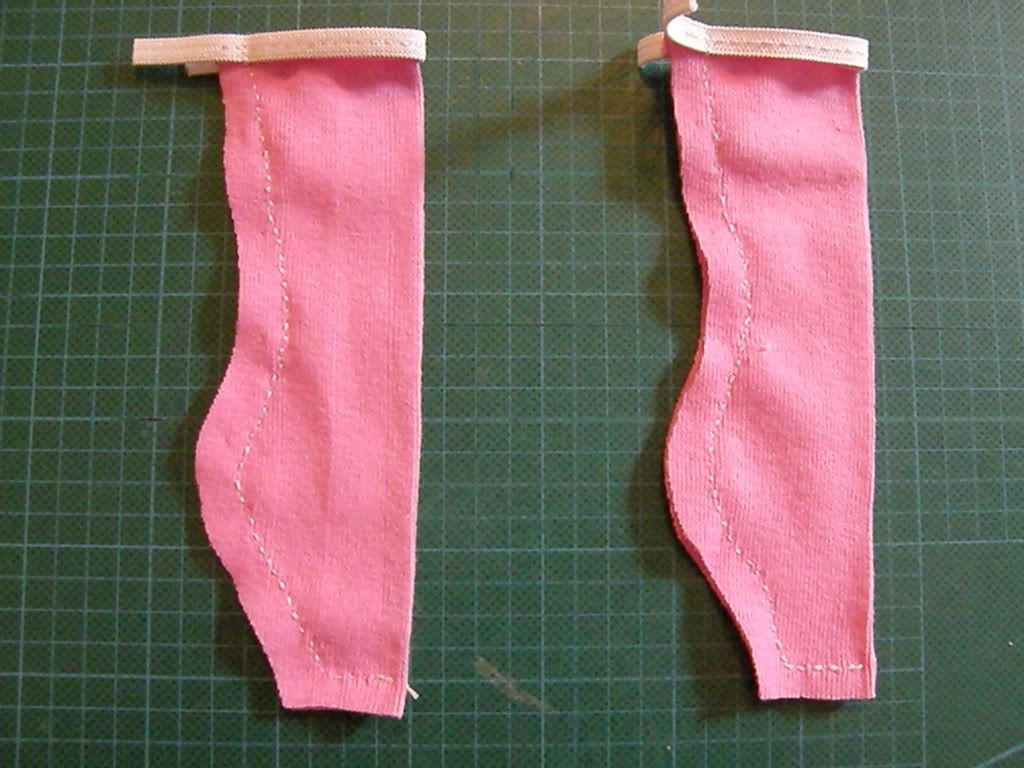
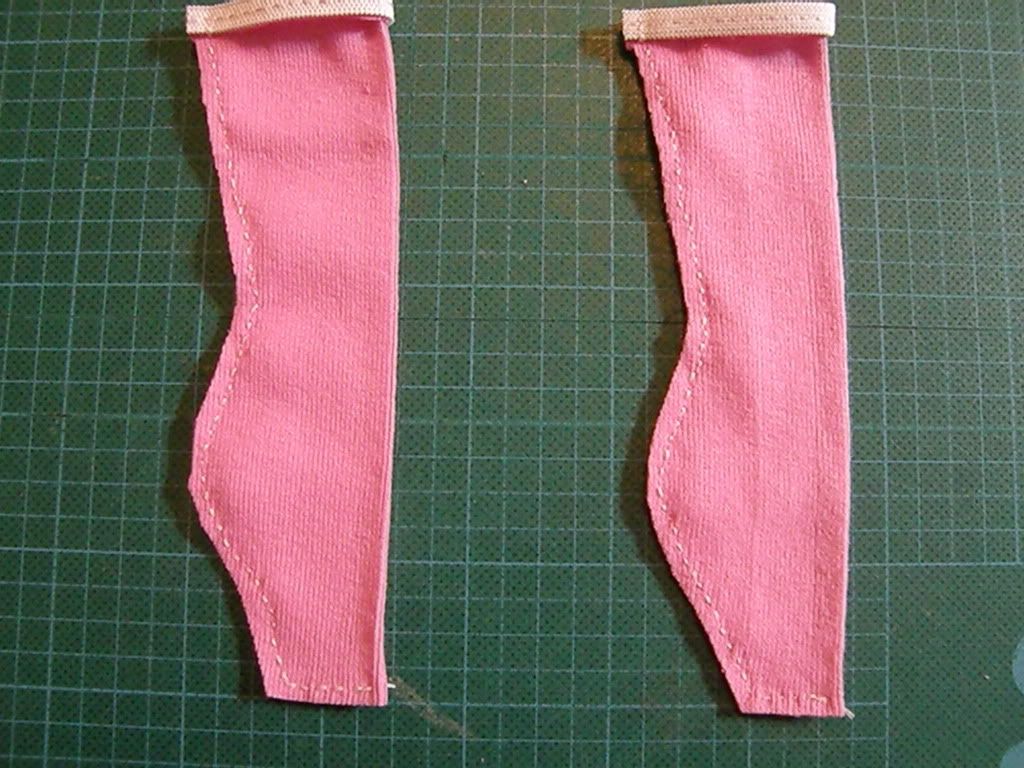
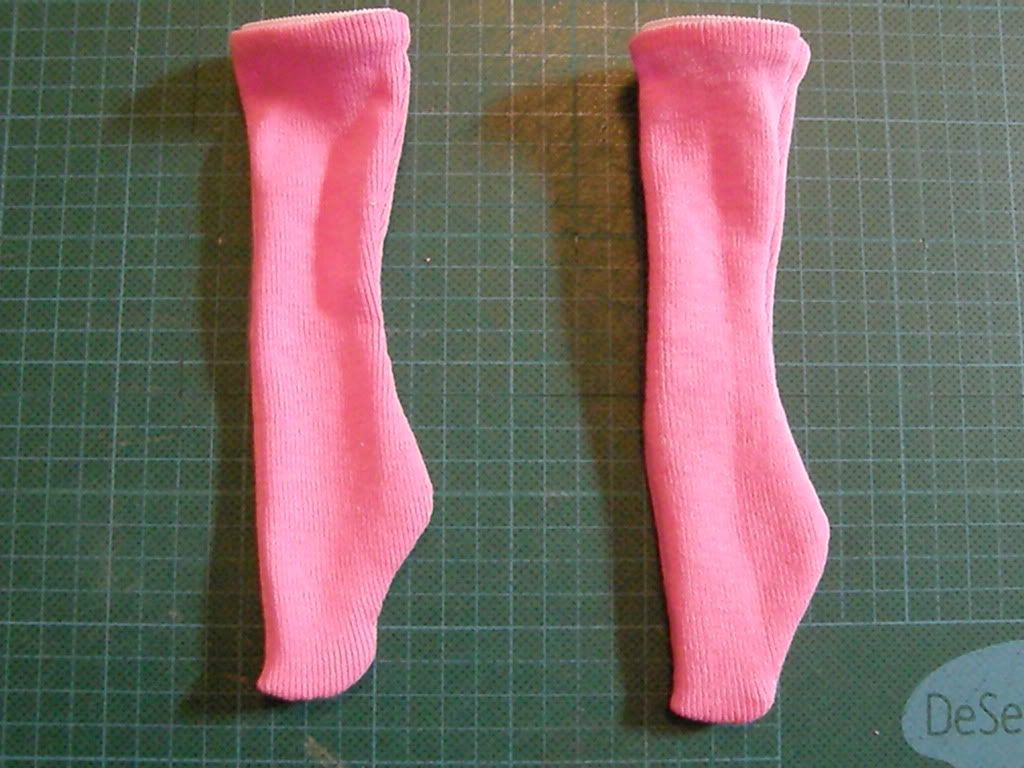
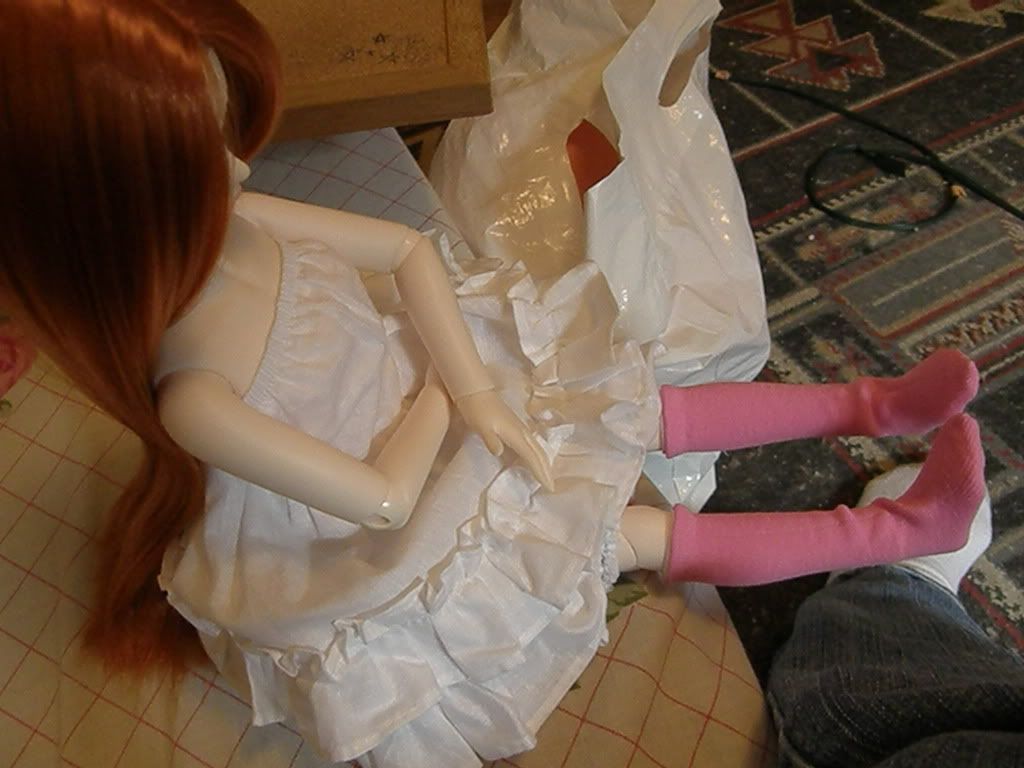
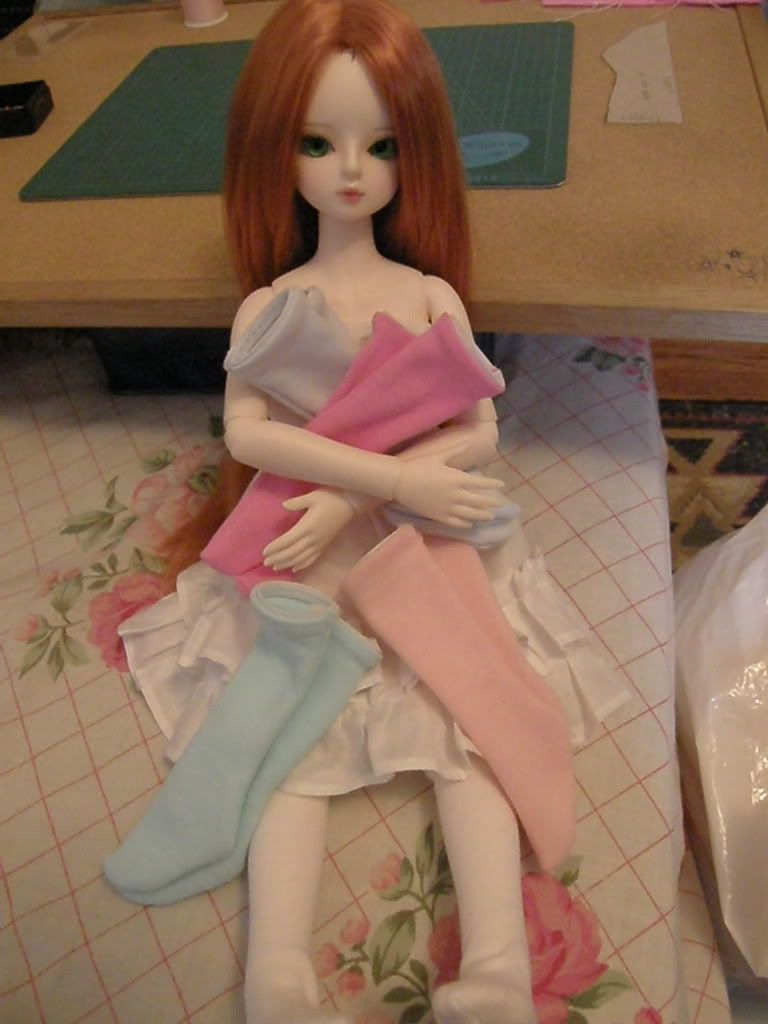
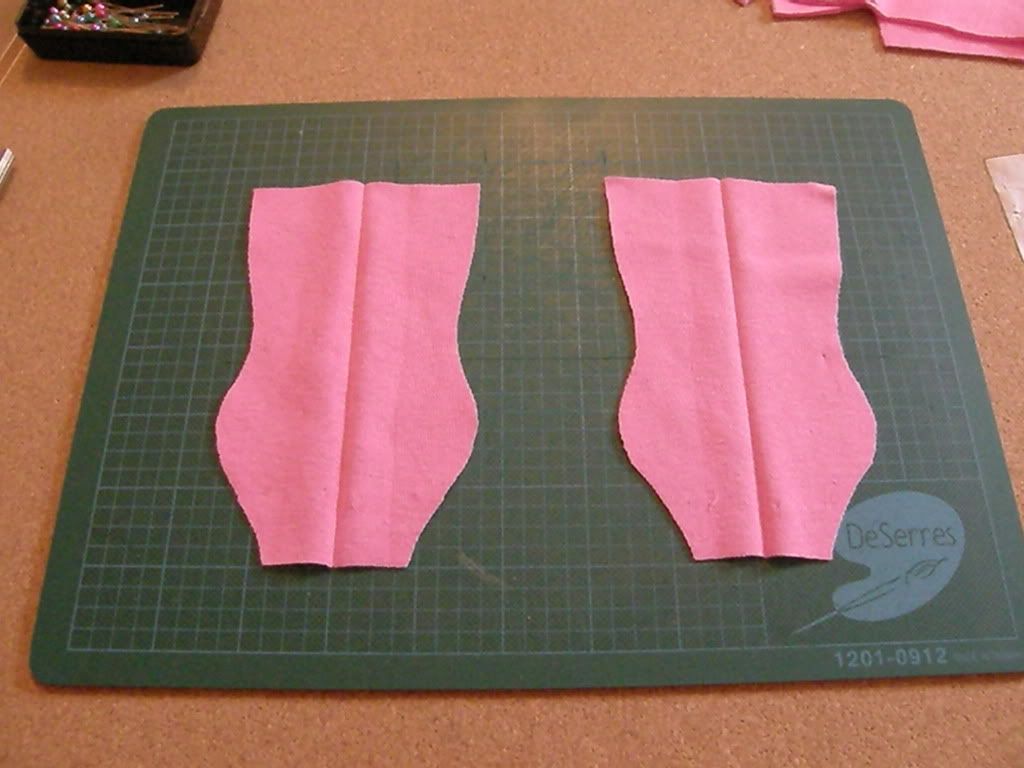
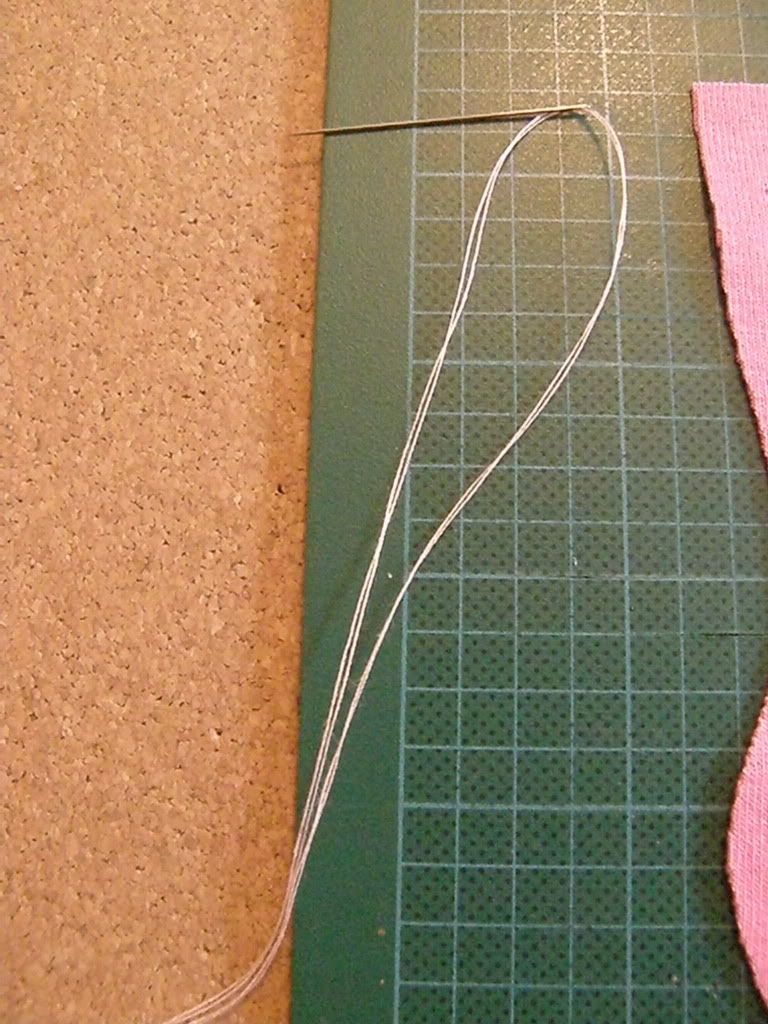
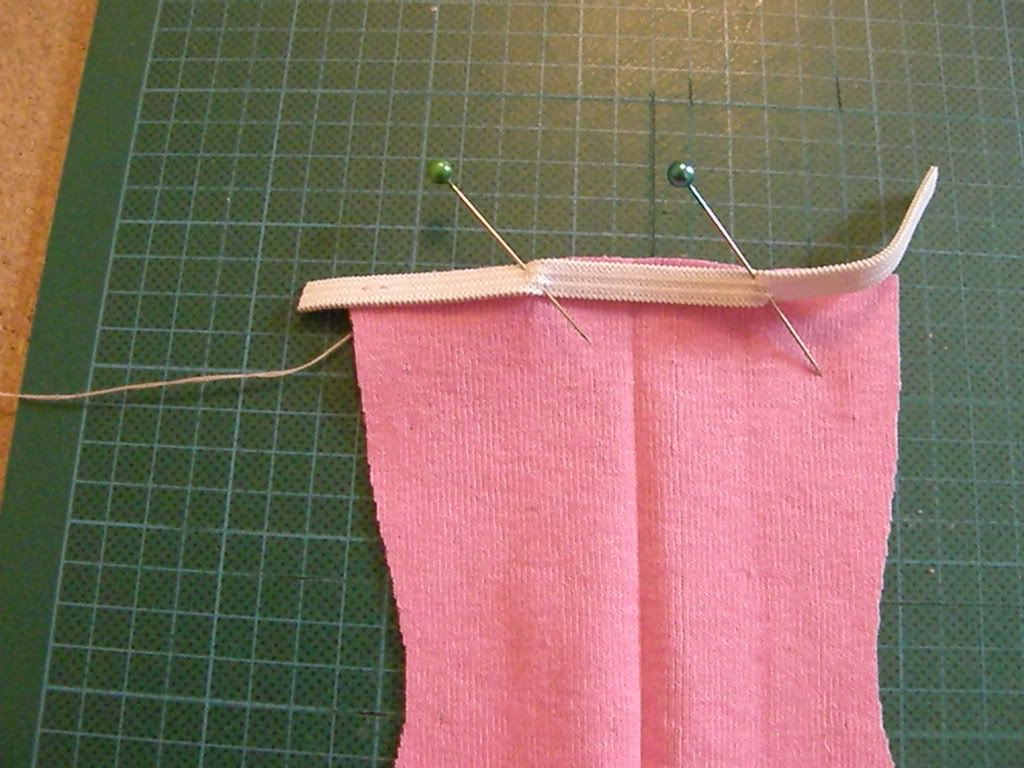
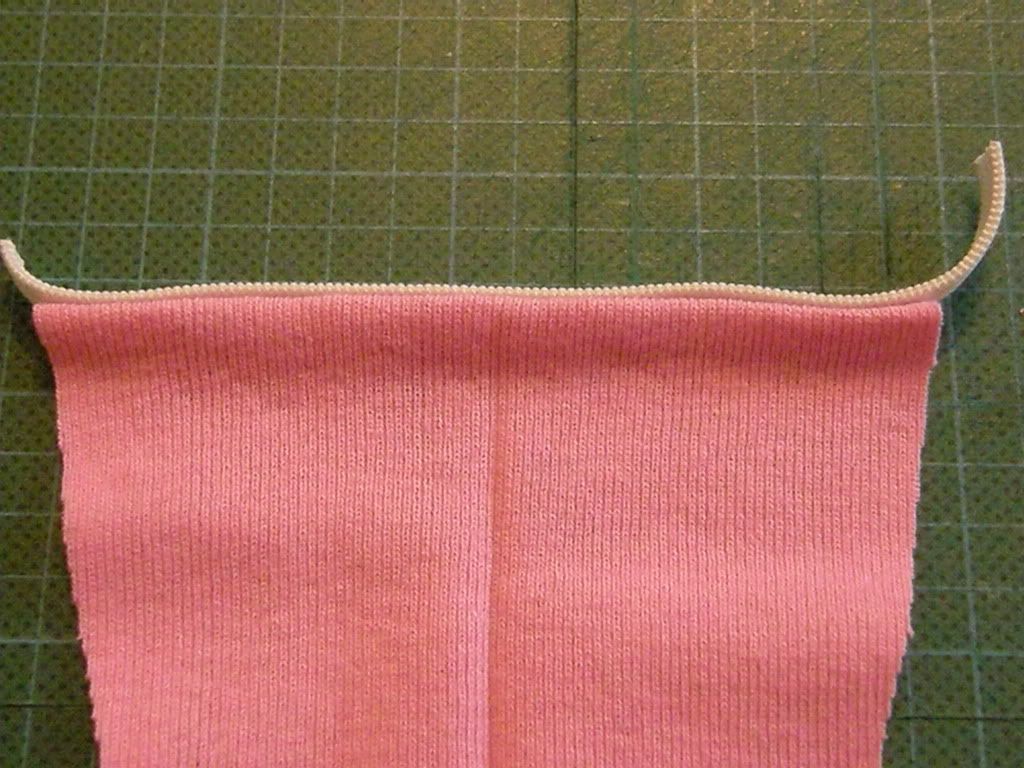
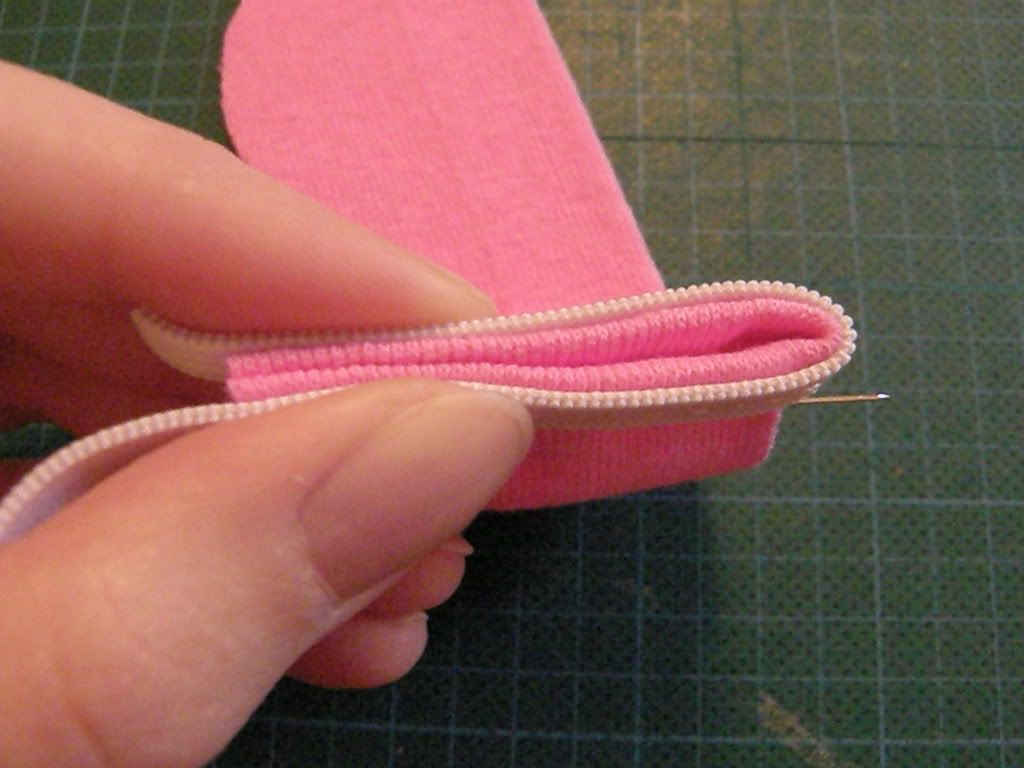
 -Поиск по дневнику

Поиск сообщений в vampirko

 -Подписка по e-mail


 -Статистика

Статистика LiveInternet.ru: показано количество хитов и посетителей
Создан: 20.03.2012
Записей: 848
Комментариев: 14
Написано: 1238


носочки

Четверг, 30 Мая 2013 г. 09:37 + в цитатник

 http://www.denofangels.com/forums/showthread.php?3...-Sock-Tutorial-%28with-pattern

  1. MSD Knee Sock Tutorial (with pattern)

    Ok, I did a search and it looks like I'm in the clear so here goes! The idea came to me a few days ago and it really took off so I thought I'd share with the rest of you  This tutorial uses handsewing but machine users can give it a try. 
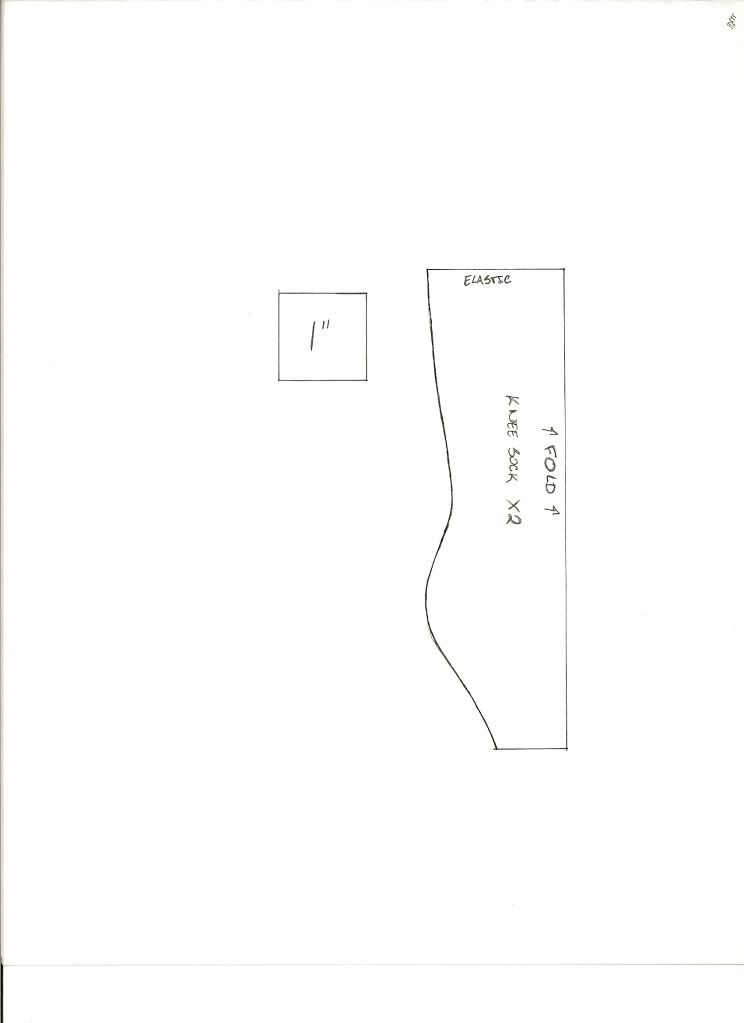
    You will need:

    Pattern 


    Jersey knit material (t-shirt fabric) NOTE: certain shoes will be a very tight fit, you can always substitute the jersey knit for a thinner, stretchy fabric
    Needle and thread (for handsewers)
    Scissors
    1/4'' elastic strip
    Pins


    1) Cut out your pieces and lay them out with the right sides facing up. Make sure the fabric stretches this way <------------> not the other way, it'll fit better on your doll. 


    2) Thread your needle, I like to fold the thread as it's more stable. Knot your thread 2-3 times. 


    3) Cut your elastic, make sure to cut plenty of extra. Lay it along the edge of the fabric and pin in place. Tip: I like to make a few stitches before pinning the elastic down, it helps keep it in place  Sew the elastic down. 


    4) Now take the elastic and fold it behind the fabric, press it down with your fingers to help keep it flat. 


    5) Almost there! Now take the half done sock and fold it as shown in the picture with the right side facing in; making sure the ends are lined up. Pin in place. 


    con't in next post. . .
    Last edited by canadian_otaku86; 03-12-2010 at 01:21 AM.
    At Home:   
     
    Quick reply to this messageReply   Reply With QuoteReply With Quote   Multi-Quote This Message     
  2. 03-11-2010, 02:28 AM#2
    Senior Membercanadian_otaku86's Avatar
    Join Date
    Aug 2007
    Location
    Ontario, Canada
    Posts
    265
     
    6) Pin the rest as shown.


    7) Now to begin sewing it together, notice how I sewed the two pieces of elastic together by using a sort of backstitching. You'll want to do the same to keep it stable and free from tears. 

    (sorry the thread is so light, I was trying to find a colour that didn't blend with the fabric) 


    8) Sew about a 1/4'' from the edge, you can go a little more but not too much (forgive the sewing, it was a bit of a rush job). 


    Here's what it looks like finished


    9) Trim the seams.


    10) Turn right side out. 


    And voila! Your doll now has a new pair of socks! 


    These socks sit just below the knee, for taller minis, or if you want an over-the-knee sock, just leave some extra fabric at the top when you cut out the pattern 


    Hope you enjoyed my tutorial, if you have any tips or questions, don't hesitate to ask Also I'd love to see what others made from this 
Рубрики:  Куклы/одежда


Добавить комментарий:
Текст комментария: смайлики

Проверка орфографии: (найти ошибки)

Прикрепить картинку:

 Переводить URL в ссылку
 Подписаться на комментарии
 Подписать картинку