-Рубрики
- шитье (141)
- сшитые игрушки (46)
- тильда (40)
- одежда (14)
- мишки тедди (7)
- игольницы (7)
- интерьер (6)
- тряпиенсы (5)
- тыквоголовки (4)
- сумки (3)
- вальдорфская кукла (3)
- подушки (3)
- окрашивание ткани (2)
- развивающие игрушки (2)
- пупсы (1)
- квилтинг (1)
- скрапбук (91)
- цветы из бумаги (30)
- открытки (26)
- коробочки (8)
- блокноты (8)
- альбомы (5)
- упаковка (4)
- теги (3)
- лепка (81)
- лепка цветов (55)
- лепка украшений (8)
- рецепт пластики (6)
- лепка еды (5)
- Куклы (60)
- одежда (38)
- кукольные аксессуары (10)
- парики (9)
- мейкап (2)
- мебель (1)
- для детей (59)
- книжки (39)
- игры (15)
- одежда (5)
- декупаж (48)
- по дереву (18)
- бутылки (10)
- перевод изображения (8)
- декупаж мебели (5)
- кракелюр (3)
- свечи (2)
- тарелки (2)
- часы (1)
- валяние (39)
- валяные игрушки (32)
- сухое валяние (28)
- мокрое валяние (5)
- валяные цветы (3)
- рисунок шерстью (1)
- WIRE WRAP (25)
- игрушки (21)
- повод (21)
- новый год (19)
- др (2)
- декор (18)
- вышивка (15)
- декоративные швы (6)
- вышивка лентами (4)
- бисер (3)
- гладь (2)
- цветы из лент (6)
- вязание (6)
- кружево (3)
- вязание крючком (3)
- Куклы (2)
- квиллинг (3)
- топиарии (2)
- роспись (2)
- роспись по ткани (2)
- красота и уход (1)
- прически (1)
- бисер (1)
- вязание (0)
- папье-маше (0)
- рисунок (0)
- выжигание (0)
- кулинария (0)
-Цитатник
МК- Мандрагора. Создаем магическое существо :) - (0)
Автор мастер-класса ZhukovaMiniart пишет: Хочу предложить создать/слепить мандрагору. Создание...
Вышиваем бабочки бисером и пайетками. Мини МК - (0)1. 2. 3. 4. 5. 6. 7. 8. ...
Проект "КНИЖКА-РАЗВИВАЙКА" - (0)Автор:Tanya 1-ая страничка Ну что? ...
Алонкины игрушки. Книжка сказок из фетра. - (0)Ну что, мои дорогие, будьте готовы, сейчас будет много фоток , наверное, много буковок. Дело ...
Оригинальная заколка одуванчик - (0)Нам понадобятся: шарик пенопластовый(диаметр 3см) , проволока обклеенная серой бум...
-Поиск по дневнику
-Подписка по e-mail
-Статистика
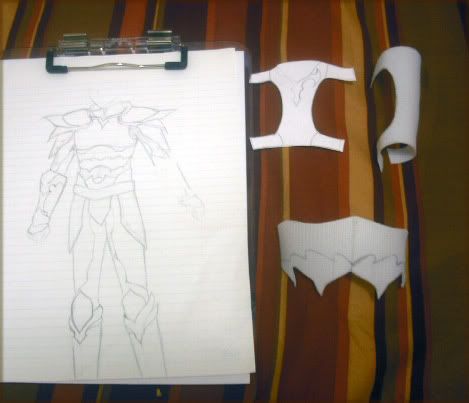
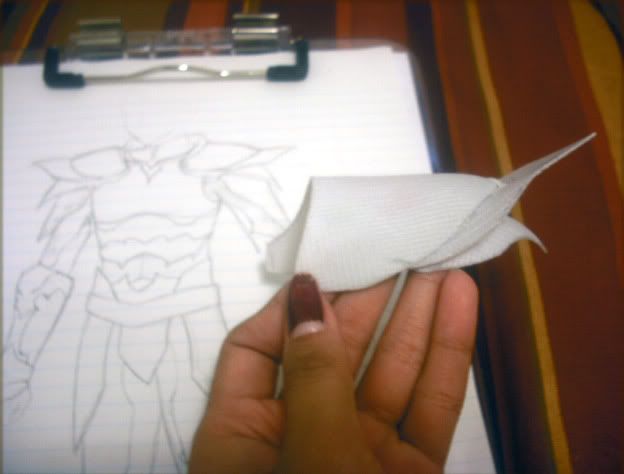
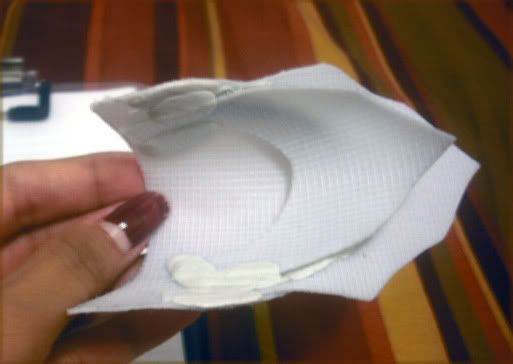
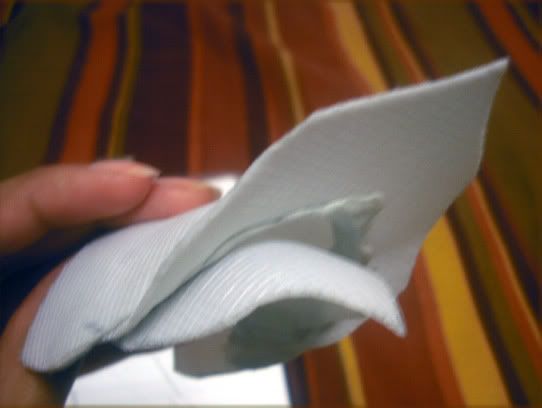
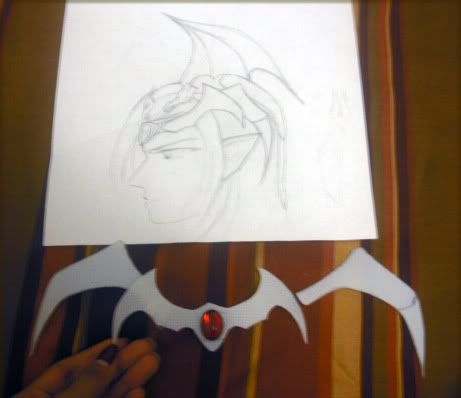
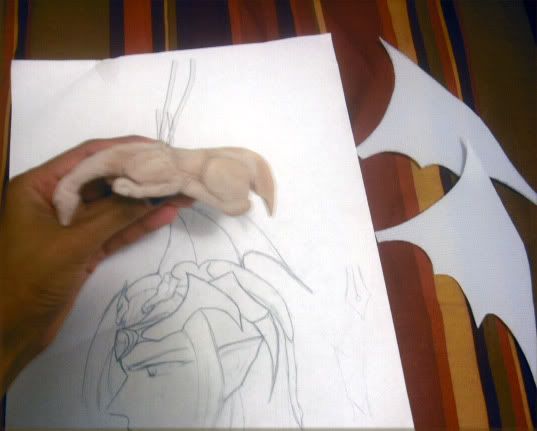
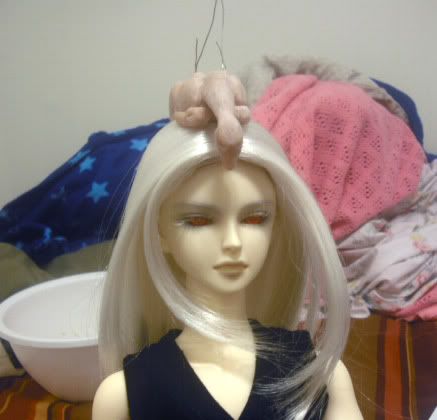
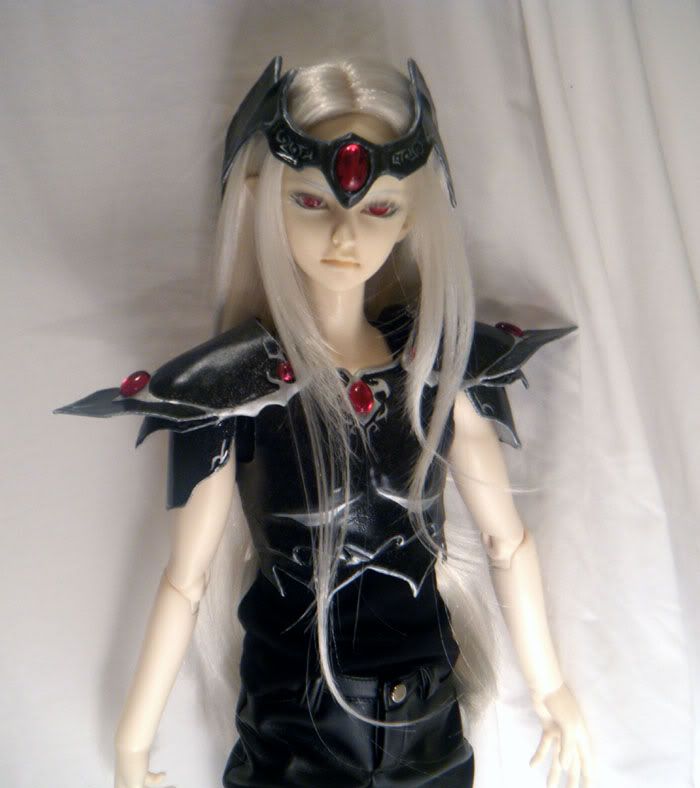
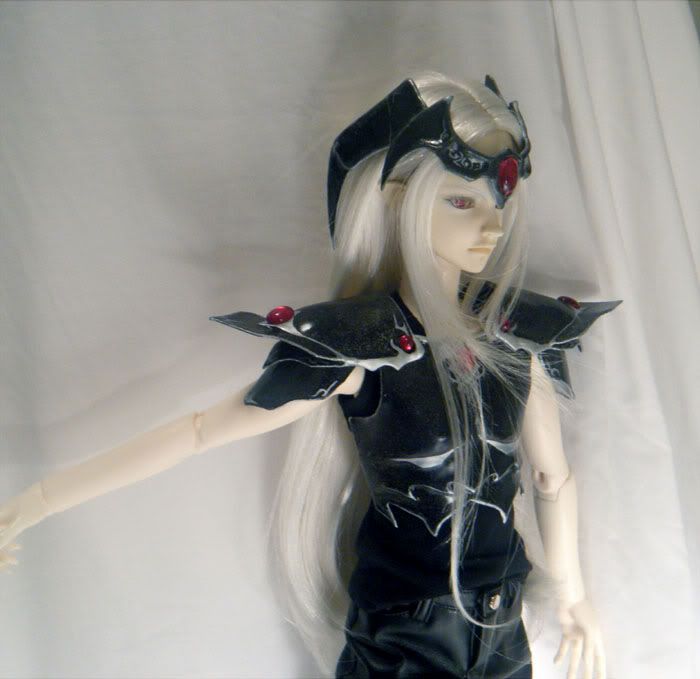
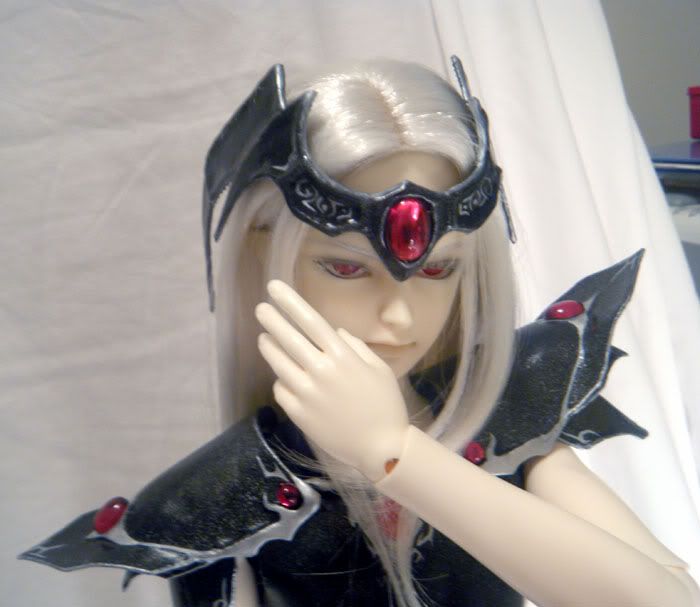
доспехи для БЖД |
WIP: Doll Armor, Elric's black dragon armor (New Update! May31)
| Рубрики: | Куклы/одежда |
| Комментировать | « Пред. запись — К дневнику — След. запись » | Страницы: [1] [Новые] |
