Автор мастер-класса ZhukovaMiniart пишет: Хочу предложить создать/слепить мандрагору. Создание...
Вышиваем бабочки бисером и пайетками. Мини МК - (0)1. 2. 3. 4. 5. 6. 7. 8. ...
Проект "КНИЖКА-РАЗВИВАЙКА" - (0)Автор:Tanya 1-ая страничка Ну что? ...
Алонкины игрушки. Книжка сказок из фетра. - (0)Ну что, мои дорогие, будьте готовы, сейчас будет много фоток , наверное, много буковок. Дело ...
Оригинальная заколка одуванчик - (0)Нам понадобятся: шарик пенопластовый(диаметр 3см) , проволока обклеенная серой бум...
доспехи для куклы |
взято с http://www.denofangels.com
In review of this now fairly old thread, I feel I should say a couple things as my crafting ability has grown quite a bit since I posted this. While the finished armor piece came out beautifully, the color only stayed true for about 6 months. I think this is a mixture of both the porous nature of craft foam, as well as the formula in the Krylon spray, which ate away at the Rub'n'Buff. I would also suggest that instead of sewing and backing with thin fabric, that you use FabriTac, color the piece, and then line the inside with felt to match. Much less of a chance of it rubbing off on your doll, and honestly quite a bit easier. The FabriTac will get melty when heat shaped, but will harden very well once it cools while remaining nicely flexible.
Step 1 -
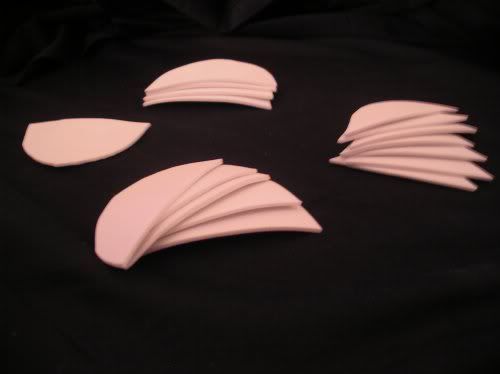
So far, I've only cut the shapes out, but here is a picture anyway:
Step 2 -
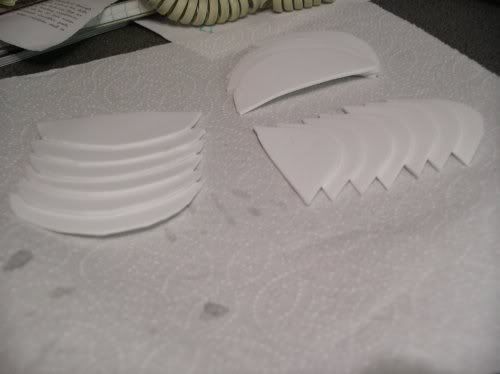
I have glued the pieces together, and am now waiting overnight for them to dry.
The top right piece is for the shoulder, the lower right piece is for the lower arm, and the piece on the left is for the upper arm:
Step 3 -
Alright, well, the glue isn't really working properly. I guess there's just not enough surface area covered or something, so I'm going to resort to sewing. I'd use a hot glue gun, but it would deform the foam, so sewing it is! >_<
Step 4 -
Alright, here are the pictures of the three pieces all sewn together, and a picture to show the incredible flexibility:
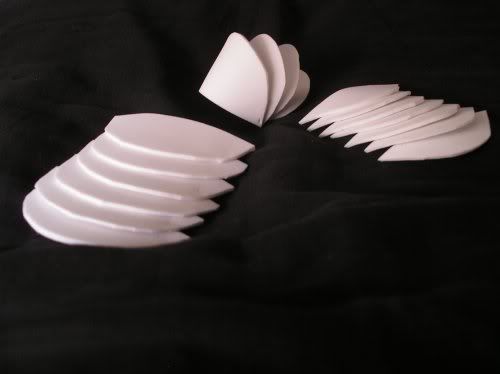
Though they are a bit on the fragile side, they will be extrememly sturdy after the heat-shaping and the fabric backing.
Step 5 -
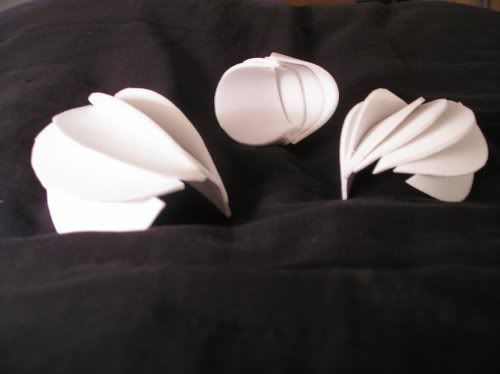
And the heat-shaping I did WAY too early this morning:
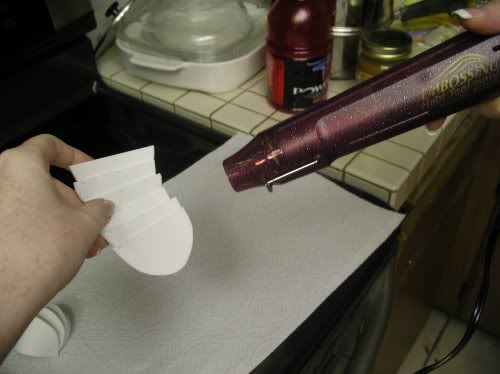
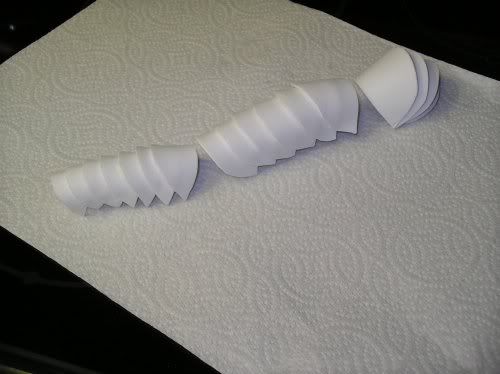
I used my heat-gun, or embossing gun, whatever you want to call it. It worked very well, as you could direct the stream of heat without it touching your skin. NO BURNING! HOORAH! XD
And the three pieces, in order, to give a general idea of what the piece will look like:
Step 6 -
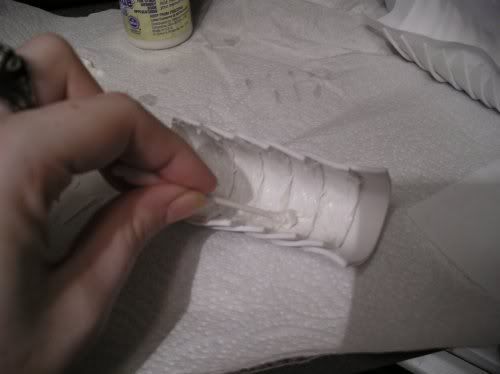
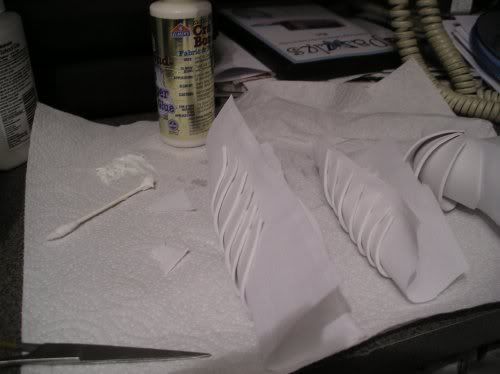
Today, I backed the armor pieces in a white fabric (to match the foam). The first thing I did was find the right kind of glue! XD
The thing about glues is: 1 - you want to find something that will adhere to both the fabric and the foam
2- that the glue will dry semi-flexibly
The glue I tried was of the Elmer's brand, but it wasn't the liquid-like white school glue. I got the acid free, craft bond, fabric and paper glue. It is permanent, will adhere to both the fabric and foam, and has a great, tacky-ness to it, that is messy, but great for this type of project.
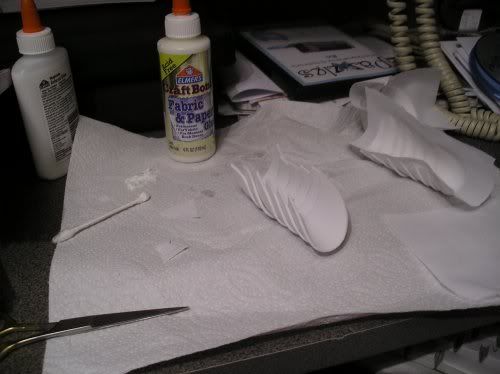
To better show the consistency:
The three pieces (I will cut the excess fabric off once they dry):
Step 7 -
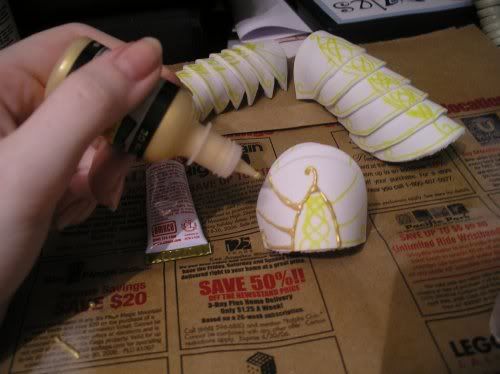
I cut off the excess fabric from the pieces, coated the pieces with Krylon Matte Finish spray, and then drew on the design with a gold gel-pen. I did the design with the gel pen in a color similar enough to the color I'm going to paint the armor, so that I could have a clear guide to go by, but that would also be erased if I screwed up. XD
The design will be traced over with 3D Puffy Paint later.
The three pieces together:
Step 8 -
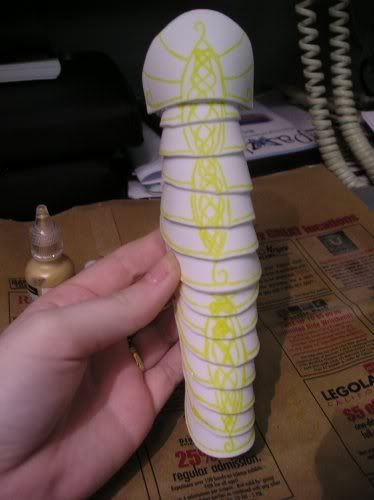
I've finally finished piping the puff-paint onto the armor! So excited! XD
It was a bit hard, but after getting the hang of it, it went pretty fast.
A picture, mid-stroke:
Next, I'll be etching out the inner designs (the ones I didn't put the puff-paint over), and painting a darker gold inside them, so they show up really nicely.
Step 9 -
Alright! Here we go:
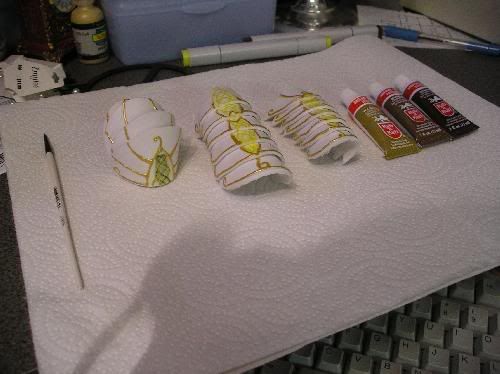
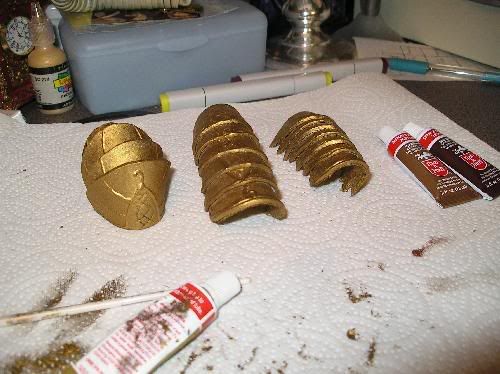
To show the three pieces, the absolutely TINY brush I bought yesterday, and the three shades of Rub'n'Buff that I will use to "paint" the armor. It's a great waxy metallic finish that looks amazingly like armor.
The darkest color on the right is Spanish Copper, and will be the fill for the embossed parts. The one in the middle is Autumn Gold, which will be used as weathering over the one on the left, Grecian Gold, which is the base color.
Step 10 -
I've got the base coat of Rub'n'Buff on the armor and it looks amazing! The only problem I had with it was it was beyond messy. I suggest using gloves, and I will definately do so in the future. It does come off with soap and water, but it's a major pain in the you-know-where. XD
As you can see, there is a wonderful metallic sheen to it, even once it's dry, and it's waxy, so it can bend slightly without any cracks or creases, texture (like the puffy paint) can still be seen underneath, which is great.
I'll be adding the darker embossed lines next, and then weathering, sealing, and adding the fastenings. The set is very close to being finished!
Step 11 -
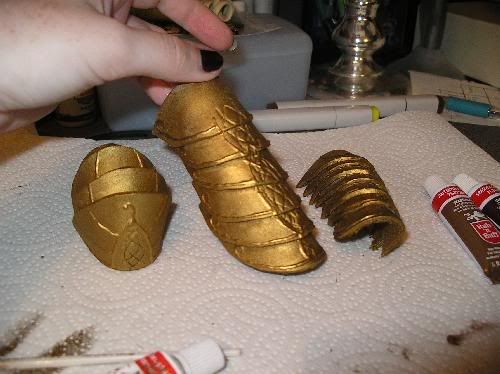
Here is the set with the dark embossed lines painted:
I am really excited about this project, and so far, I'm loving the way it's coming out. I'll be adding the weathering next, which will be a light copper, but sparingly, so just to give a used feeling to the armor.
Step 12 -
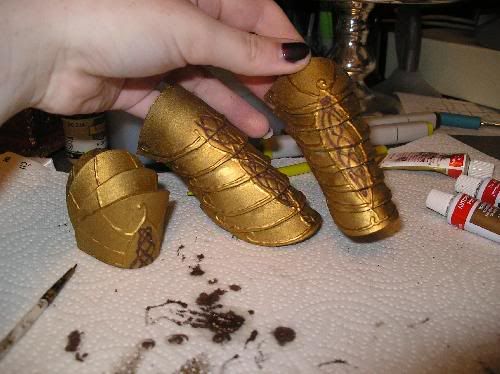
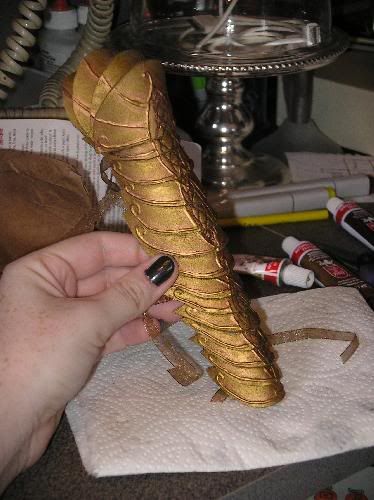
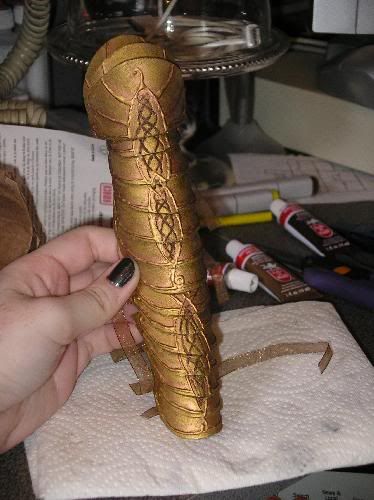
I've finished the set! Huzzah! XD
Anyway, I painted on the weathering, coated the pieces with Krylon Matte Finish spray (as an after-thought, I'd suggest not using this type of coating spray, as it's eaten a tiny bit of the paint), glued the shoulder piece to the upper arm piece, and then added the laces, which I found in a perfect golden ribbon.
Each lace is about 4.5 inches, and there are 8 laces altogether, four for each piece.
A picture of the side to show the weathering:
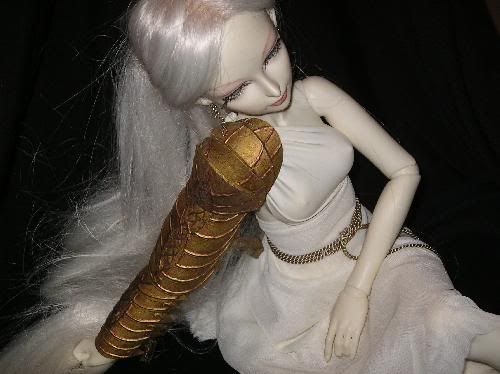
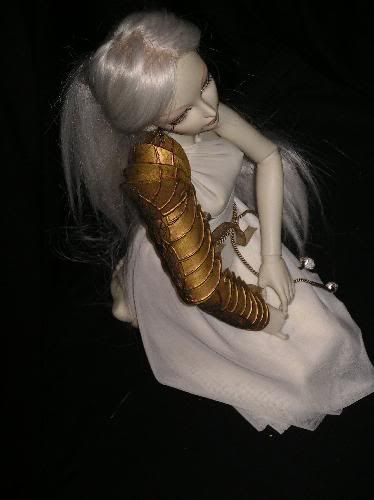
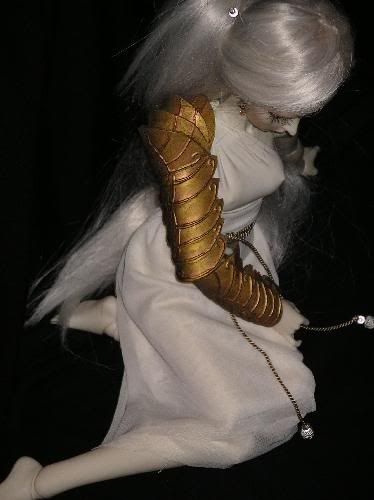
Step 13 -
And the finished project in the photoshoot with my girl, Sora:
| Рубрики: | Куклы/одежда |
| Комментировать | « Пред. запись — К дневнику — След. запись » | Страницы: [1] [Новые] |


