-Рубрики

 -Цитатник

МК- Мандрагора. Создаем магическое существо :) - (0)

Автор мастер-класса ZhukovaMiniart пишет: Хочу предложить создать/слепить мандрагору. Создание...

Вышиваем бабочки бисером и пайетками. Мини МК - (0)

1. 2. 3. 4. 5. 6. 7. 8. ...

Проект "КНИЖКА-РАЗВИВАЙКА" - (0)

Автор:Tanya     1-ая страничка   Ну что? ...

Алонкины игрушки. Книжка сказок из фетра. - (0)

Ну что, мои дорогие, будьте готовы, сейчас будет много фоток , наверное, много буковок. Дело ...

Оригинальная заколка одуванчик - (0)

Нам понадобятся: шарик пенопластовый(диаметр 3см) , проволока обклеенная серой бум...

 -Поиск по дневнику

Поиск сообщений в vampirko

 -Подписка по e-mail


 -Статистика

Статистика LiveInternet.ru: показано количество хитов и посетителей
Создан: 20.03.2012
Записей: 848
Комментариев: 14
Написано: 1238


вязание свитера

Пятница, 26 Апреля 2013 г. 20:04 + в цитатник


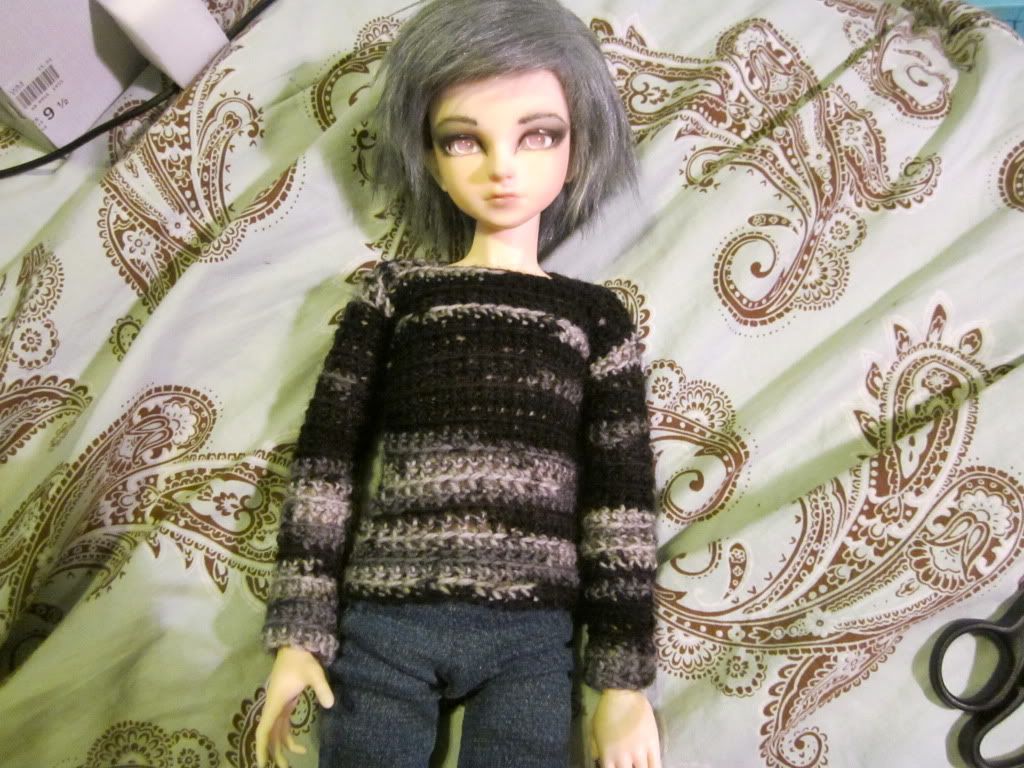
  1. is your doll in need of a winter sweater?? are you new to crochet or just want an easy sweater to make for your doll?? well this is the tutorial for you!

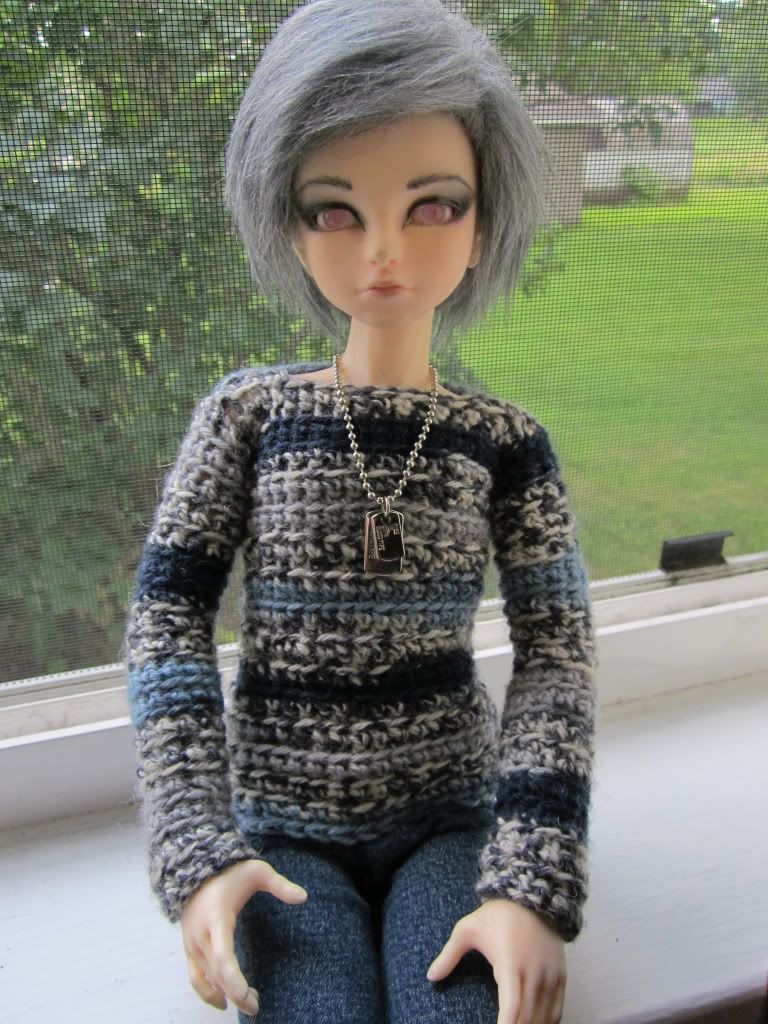
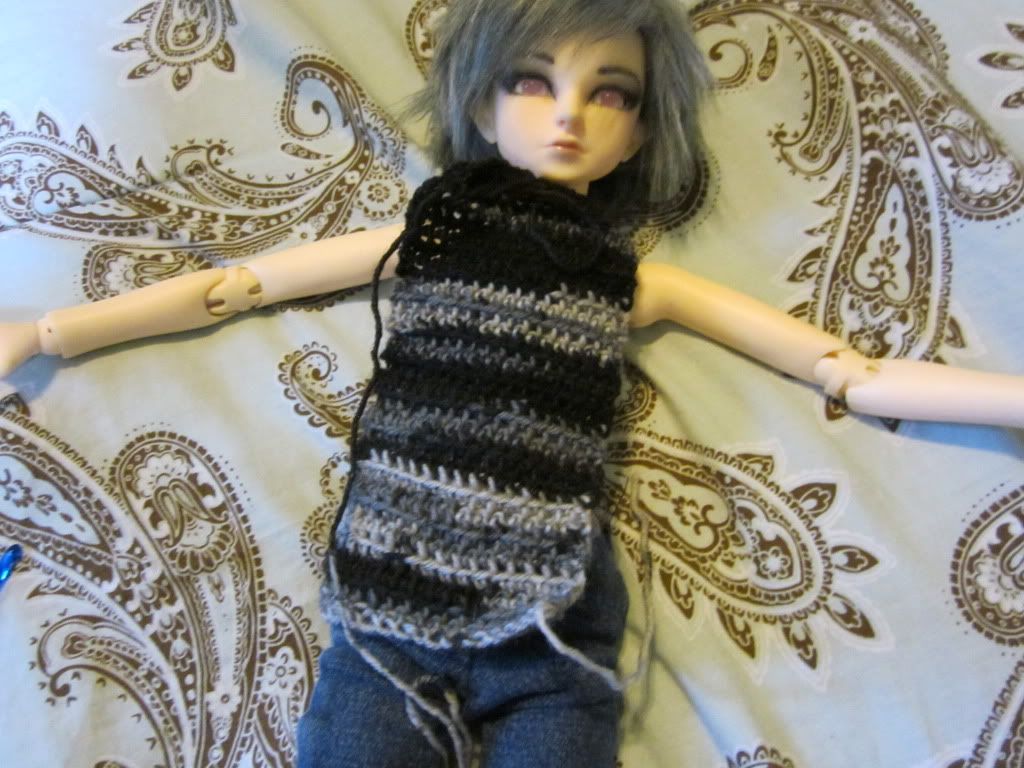
    this tutorial will teach you how to create an awesome crochet sweater like this -> 


    first let me say i am in no means a professional, actually i just started crocheting about a month ago, so i am not even sure i am doing any of this in an understandable way. if any more experienced crocheters would like to give advise please leave your comments below 
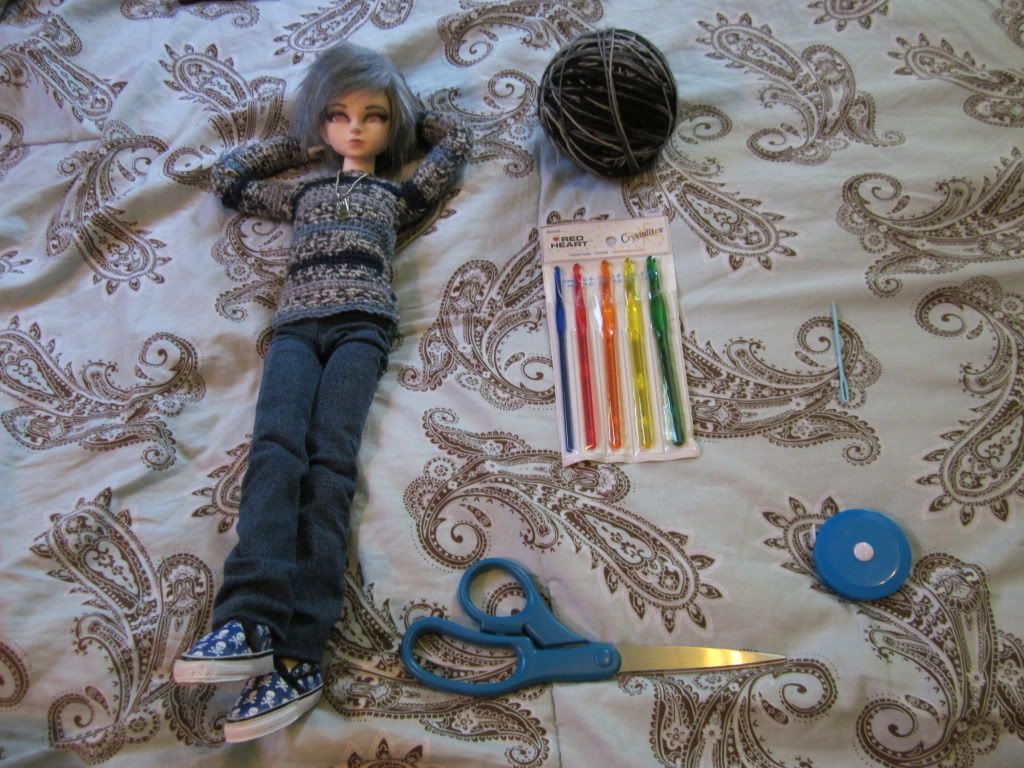
    first you will need these supplies


    scissors
    a yarn needle 
    a measuring tape
    yarn with a weight of 1
    a G sized crochet hook
    and a very cute model, in this case Hannibal will be modeling for me!!

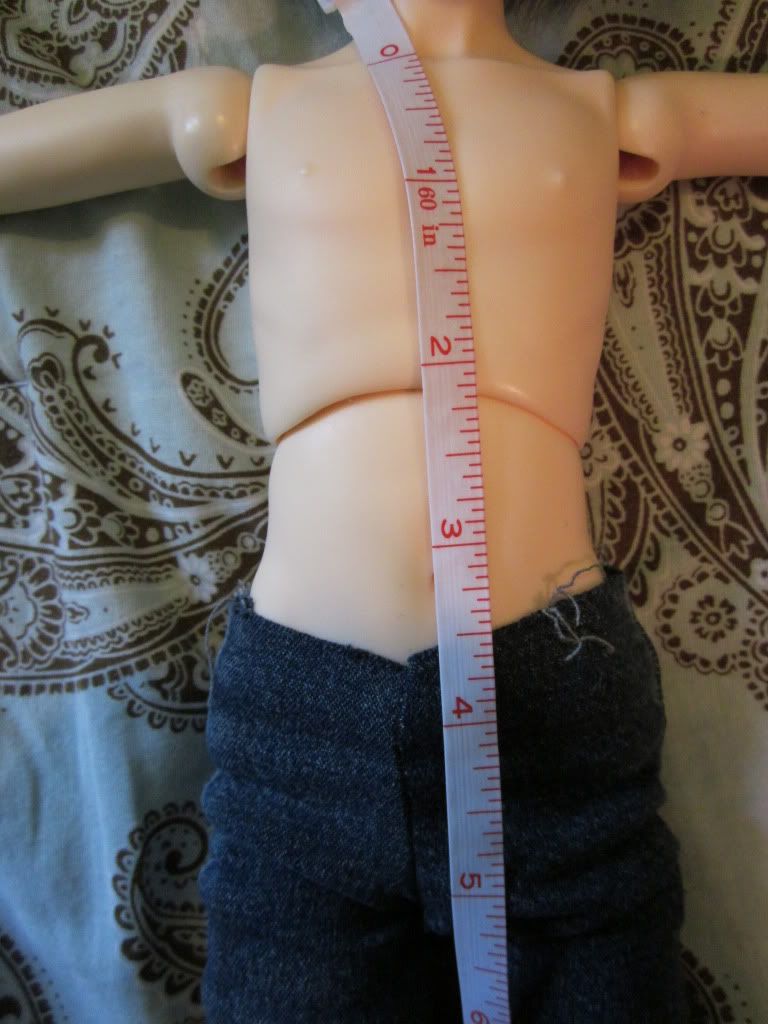
    First off measure your dolls length, or how long you want your dolls sweater to be, from the bottom of their neck to where you want your dolls sweater to end. 


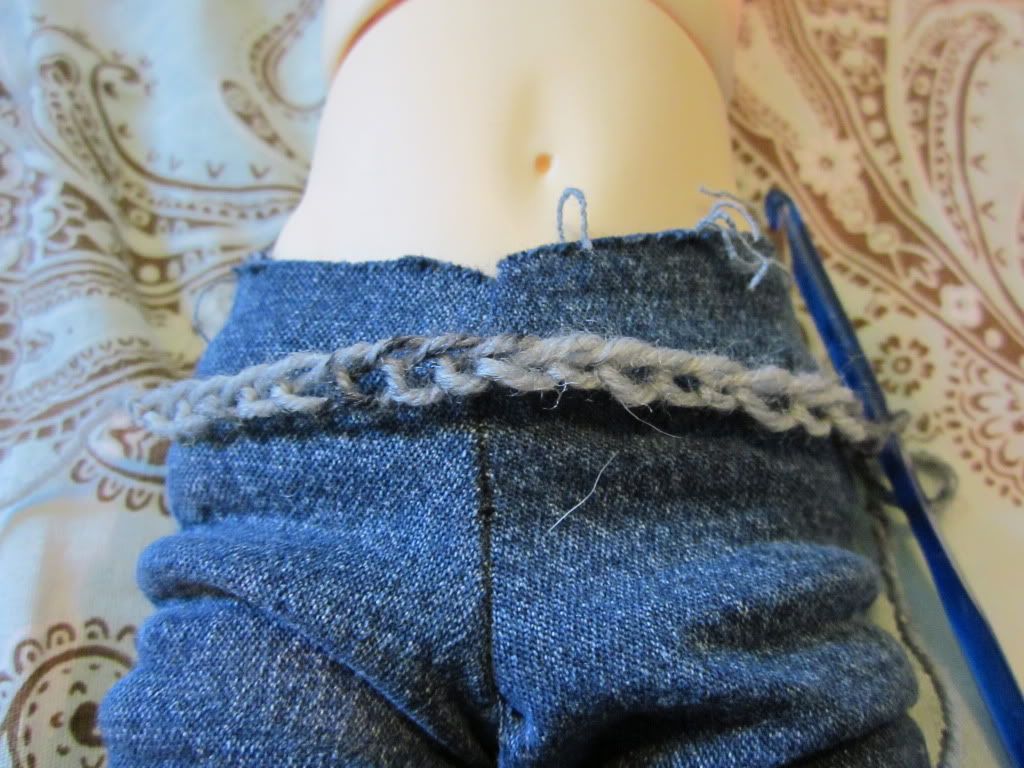
    then you want to measure the width of the doll from the largest part of where the sweater will lay. after you have that measurement, you want to make a chain as long as that measurement or do what i do and put eye it ^^' 


    now you crochet!! keep crocheting at an equal tension until you reach how long you want your sweater to be. 


    NOW you can either cut it off here and make another piece that is equal to this or you can take the more difficult route and make the neck hole like i did. 

    if you make another rectangle SKIP the next 3 steps. 

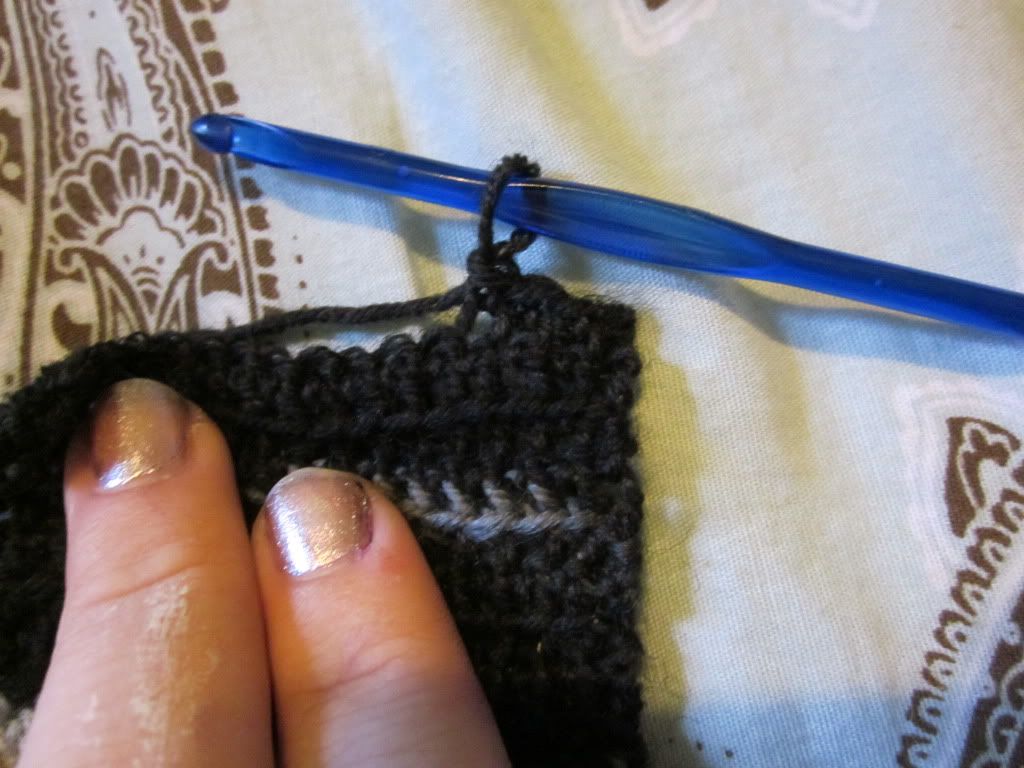
    if you want to make the neck hole which i find easier to do you will need to determine how big you want your hole to be. i want it to be a bit wider so i am going to crochet 4 stitches over. 


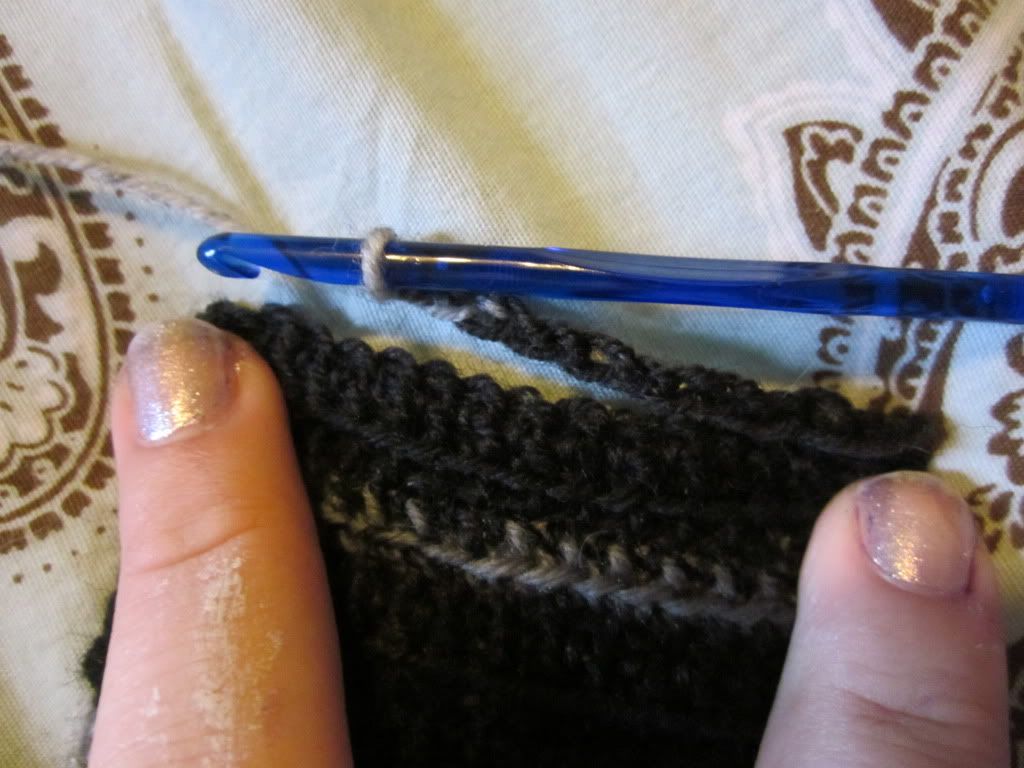
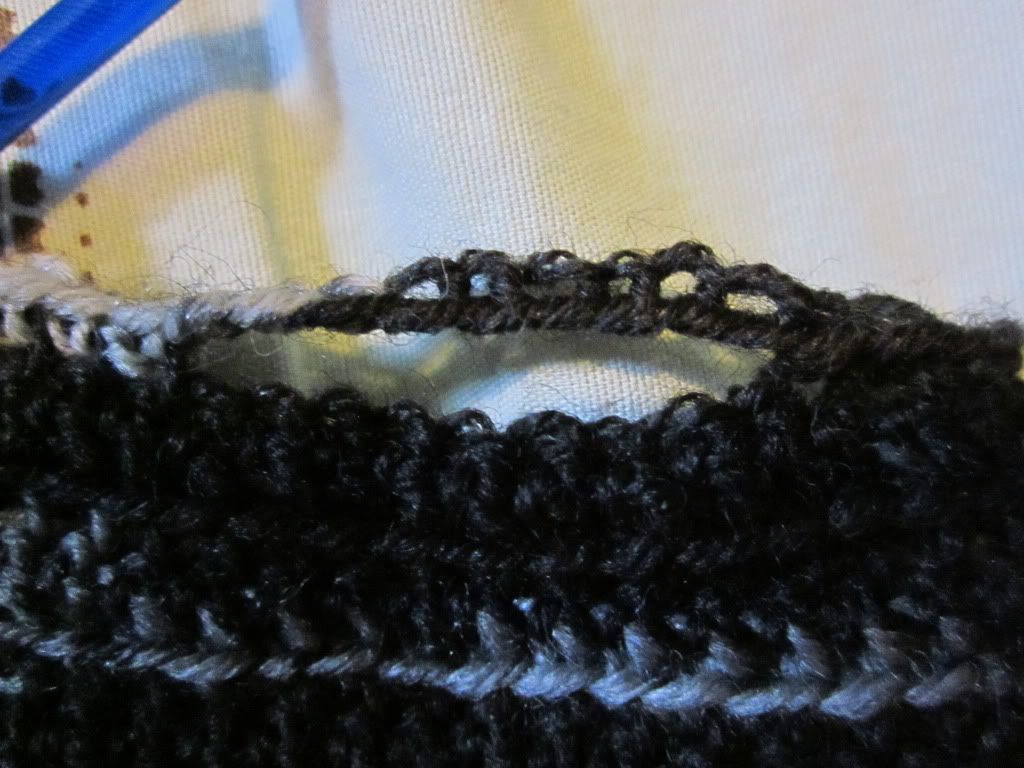
    next you want to make as many chains as their are stitches below it until you get to the last 4 stitches of the row. 


    now you want to crochet in those last 4 stiches.


    now you will continue to crochet until you get an even length on both sides making sure the neck hole is in the middle. 


    i know some how this doesn't look even but it is. AH the wonders of photography...

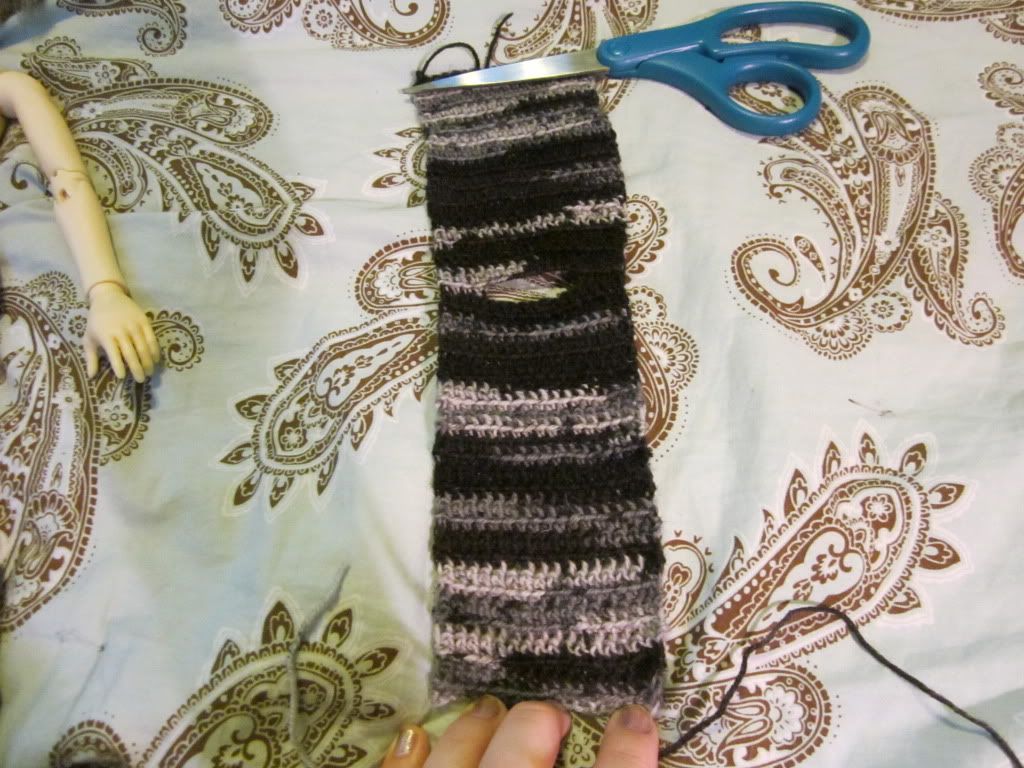
    now your going to cast off your sweater and start on the sleeves. 

    IF you made the rectangles as your front and back pieces you can tune in again now 

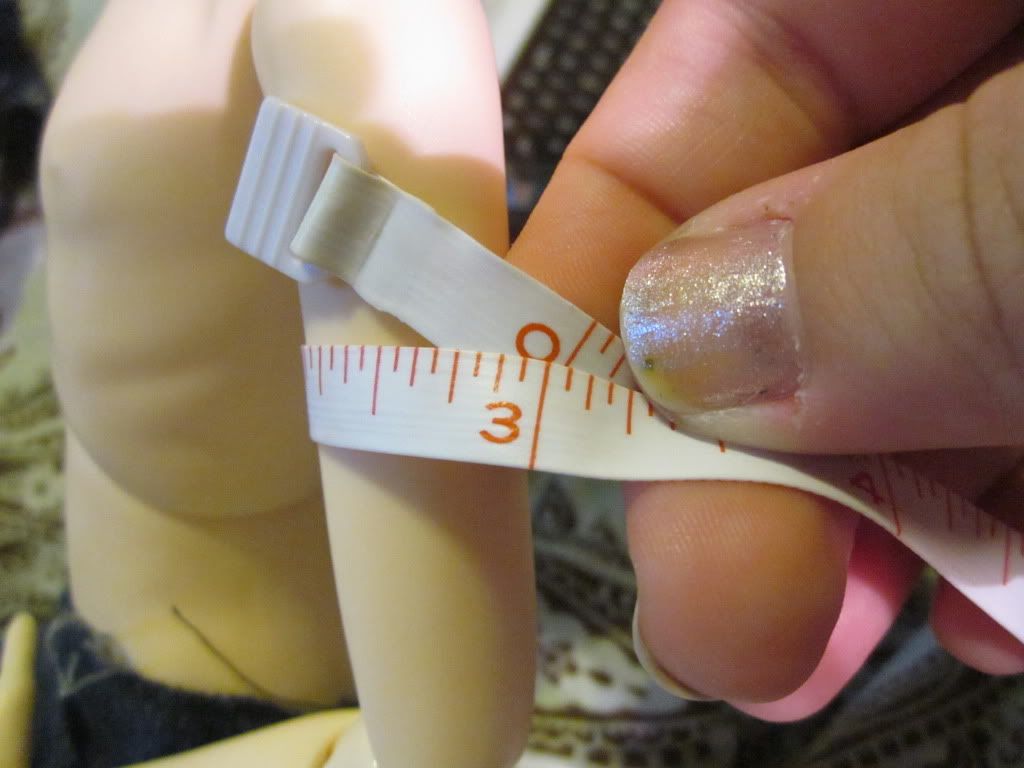
    now you want to measure around the arm a little bigger than the arm itself.


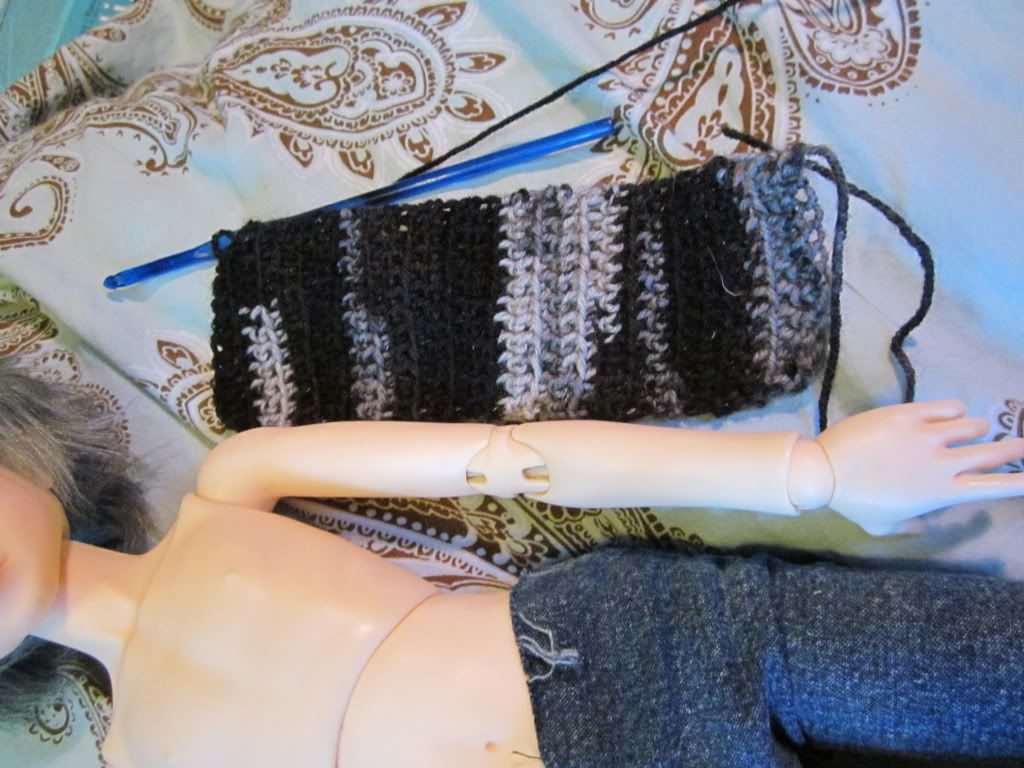
    now you want to make a chain that is as long as your measurement. then measure the arm and how long you want the sleve, that is how long your crocheted rectangle is going to be. 

    now you have your rectangle. 


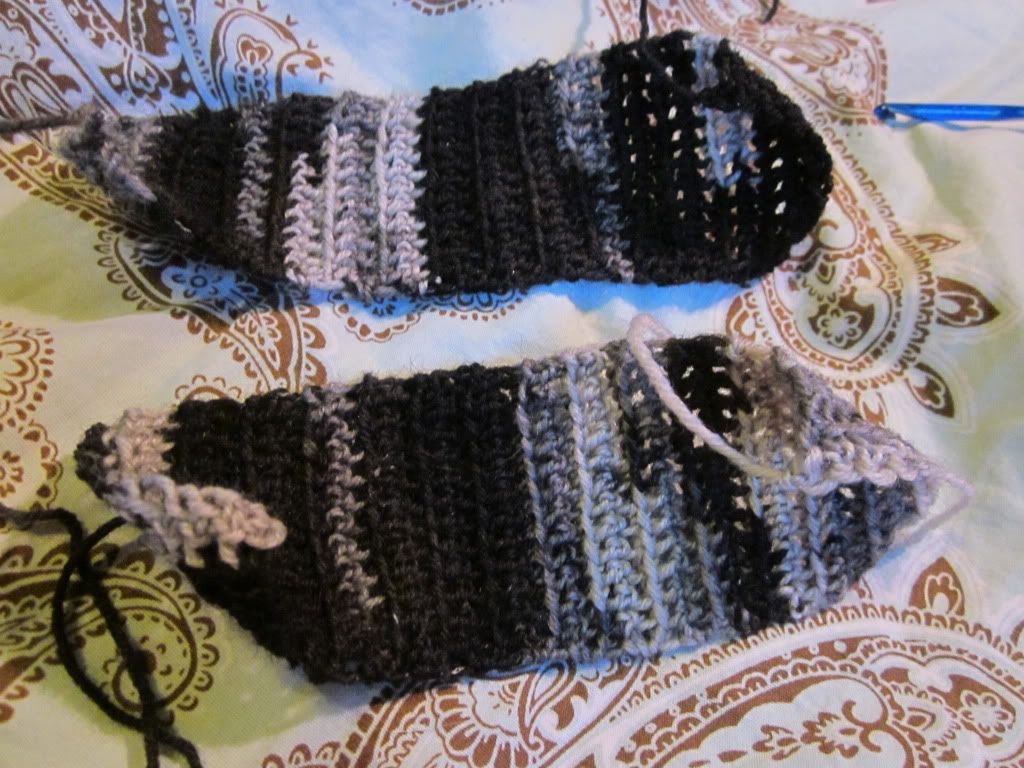
    now you have to make another one just like the first. 


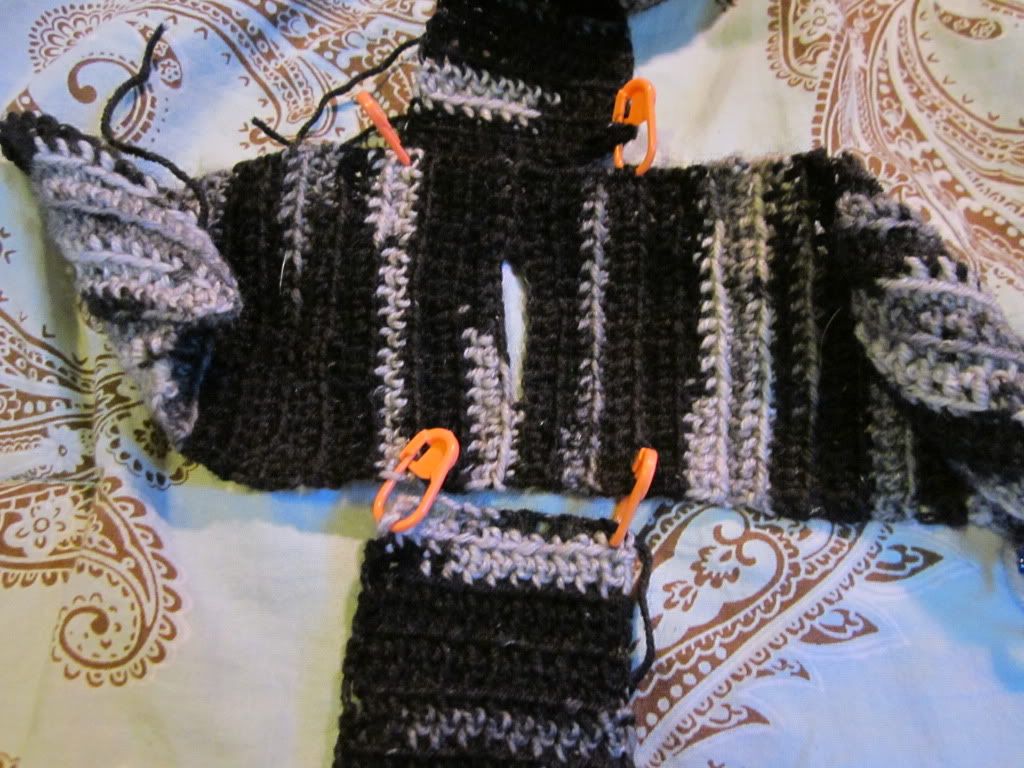
    now you have all your pieces, your going to want to align the pieces up so that the sleeves are even and even to the neck. i would suggest pinning these together. 
    continued in next post!!
    Minifee Rheia/Atticus FS Angelheim Luka
     
    Quick reply to this messageReply   Reply With QuoteReply With Quote   Multi-Quote This Message     
  2. 08-22-2011, 05:13 AM#2
    Senior Membermy lacerated soul's Avatar
    Join Date
    Sep 2010
    Location
    Indiana :)
    Posts
    409


    now your going to want to start stitching them together with the yarn needle and some yarn. 
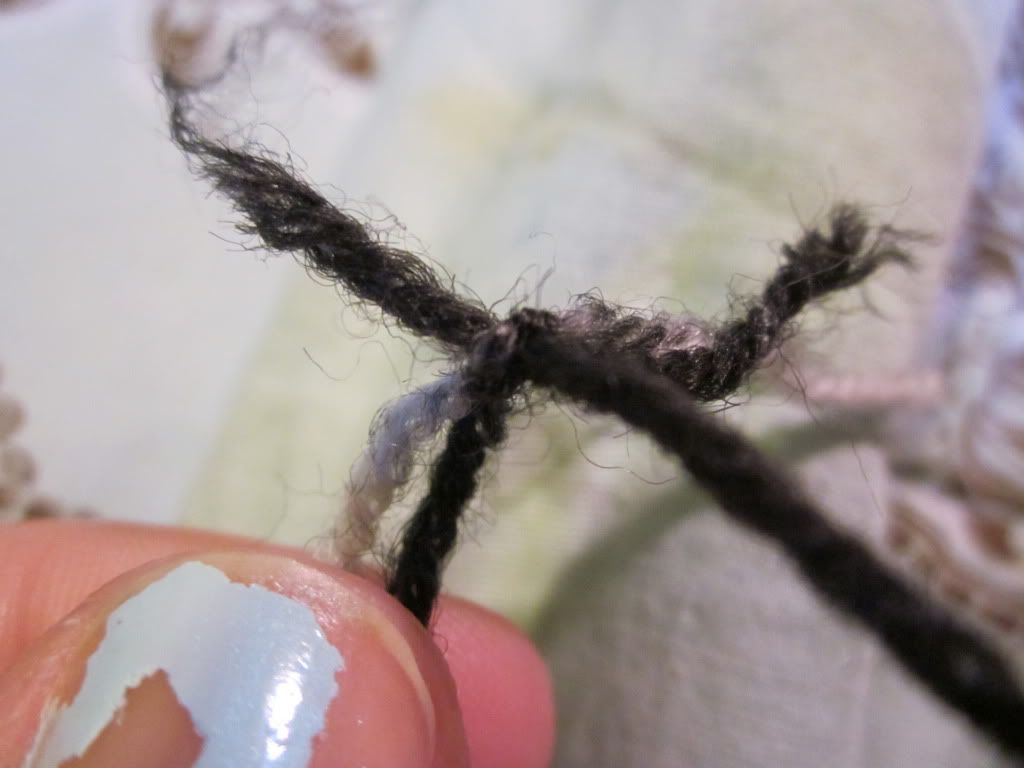
    when i do this i like to tire the ends of the yarn from the rectangles to the yarn i am stitching with. 


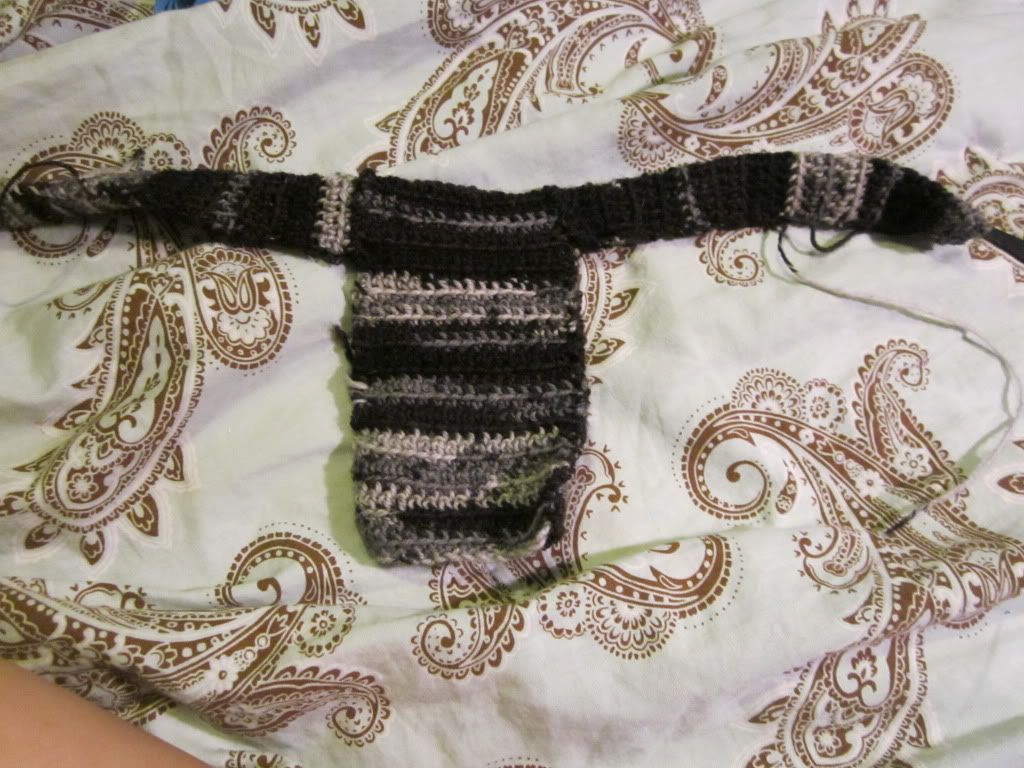
    now stitch!! 


    you should end up with something like this!! your almost done!!

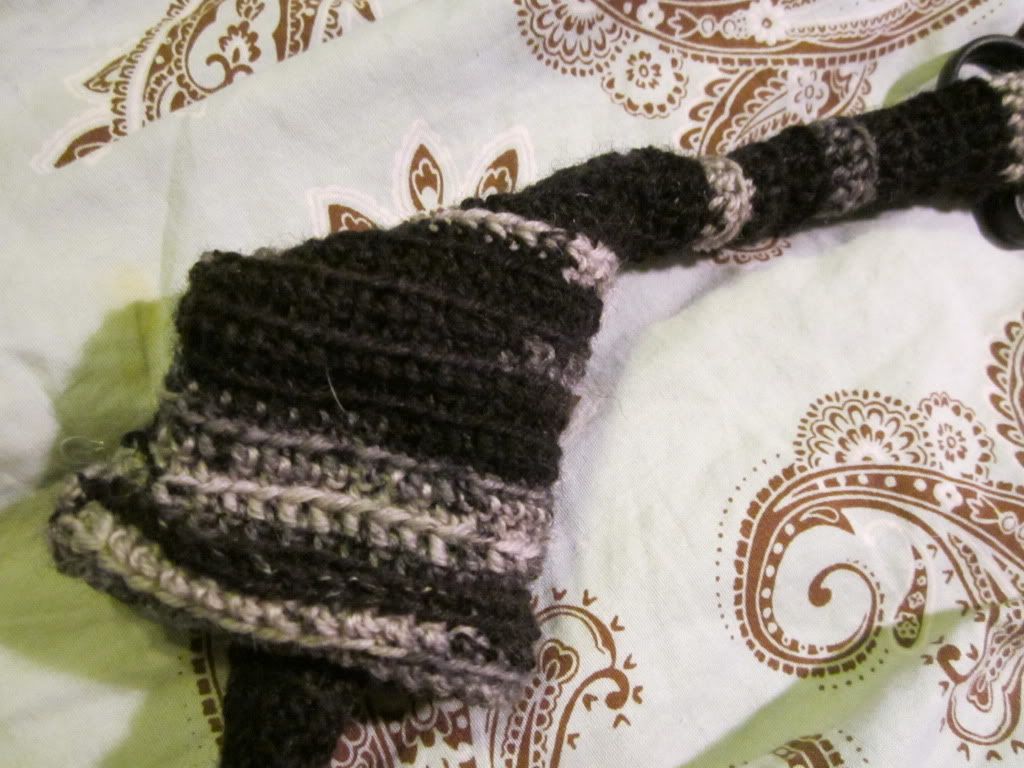
    now cut off some of the really long ends and turn the sweater inside out!


    now put it on your dolly and enjoy!!


    i hope you enjoyed the tutorial if you have any questions or comments. i personally wish that i would have made this a little longer, but luckily there is room for improvement! but for now this has been my tutorial 

    i would also love if you use this tutorial i would love to see pictures!!


Процитировано 1 раз


Добавить комментарий:
Текст комментария: смайлики

Проверка орфографии: (найти ошибки)

Прикрепить картинку:

 Переводить URL в ссылку
 Подписаться на комментарии
 Подписать картинку