-Метки
-Рубрики
- юмор и сатира (30)
- народная медицина (14)
- для девочек (14)
- шитье (9)
- Кулинария (260)
- блюда из рыбы (4)
- в помощь домохозяйке (3)
- Торты, пироги, булочки (130)
- вторые блюда (56)
- салаты (54)
- бутерброды (11)
- мужское вязание (57)
- детское вязание (37)
- шапки, шарфы, перчатки (102)
- Платье, туника (196)
- топы (47)
- юбка (24)
- Свитер, пуловер, безрукавка, жилет (180)
- Пальто, кардиган, жакет, кофта (226)
- болеро (44)
- тапки, носки, пинетки (33)
- Фотошоп (331)
- клип-арт (113)
- фоны (17)
- уголки png (4)
- декоративные элементы (3)
- бланки, дипломы, грамоты (3)
- цветы png (3)
- стили для фотошоп (1)
- урок (44)
- скрап (63)
- рамки (50)
- хитрости вязания (177)
- вилка (6)
- узоры (80)
- как вязать (89)
- компьютер (34)
- блог (275)
- понравившиеся статьи (148)
- анимашки (4)
- подделки (127)
- Цветы своими руками (19)
- сумки (12)
- салфетки (10)
- бисер (2)
- пледы, одеяла (11)
-Поиск по дневнику
-Подписка по e-mail
-Статистика
браслет-кошелёк |
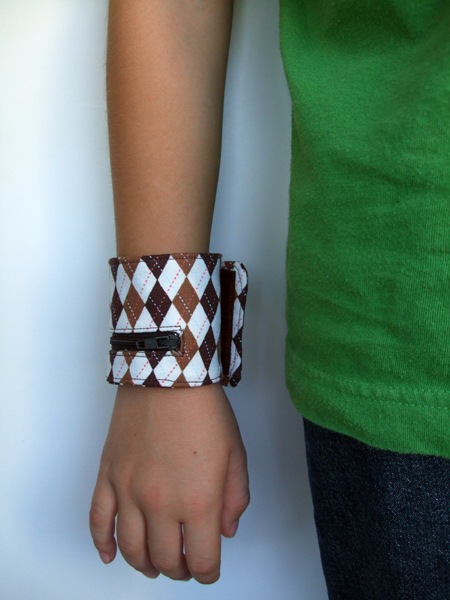
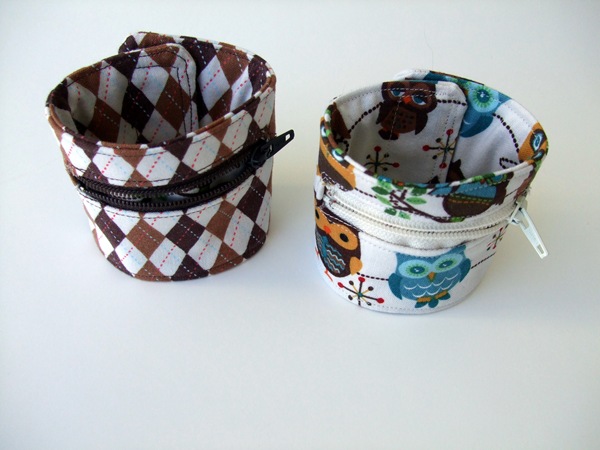
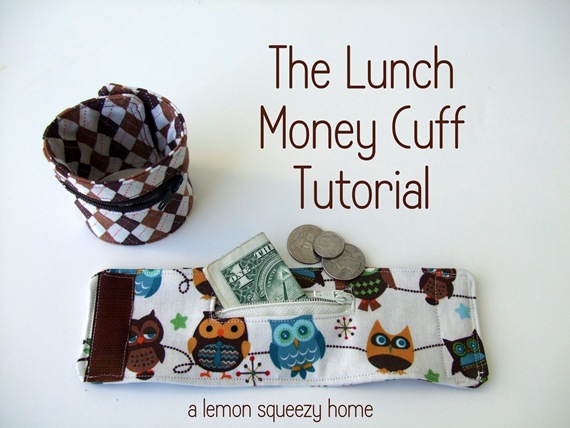
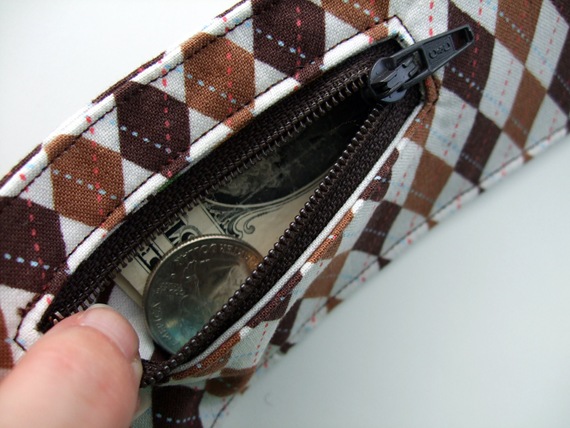
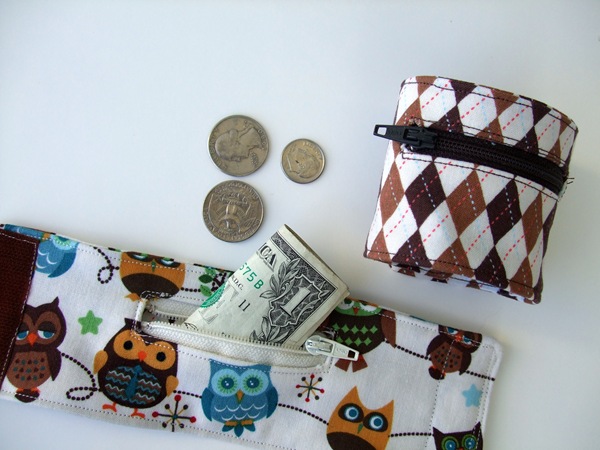
My son has just started first grade this year, and we let him buy his lunch once a week. Instead of him having to carry his wallet, he can just wear this cuff that can hold his lunch money (or keys, notes, etc.).
I remembered when I was young seeing a watch with a detachable face that held money. I thought it would be fun to be able to make something similar that would hold money. I did do some research and saw that these types of things are sold online, but now you can make your own with some cute fabric!
*I made mine to fit my 5 and 7 year old. You can adjust the longer measurement to fit your child’s wrist. Just make sure to leave some room for the velcro.
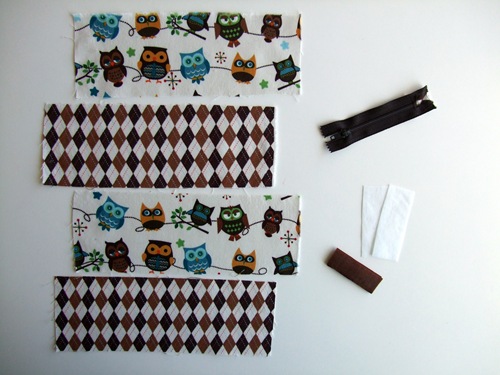
What You Will Need:
-two pieces measuring 8.5” x 3” of the lining fabric
-two pieces measuring 8.5” x 3” of the outer fabric
-3” zipper (if you don’t know how to shorten a zipper, here is a good tutorial for doing so on about.com)
-2.5” strip velcro
-two 1” x 4” pieces fusible interfacing
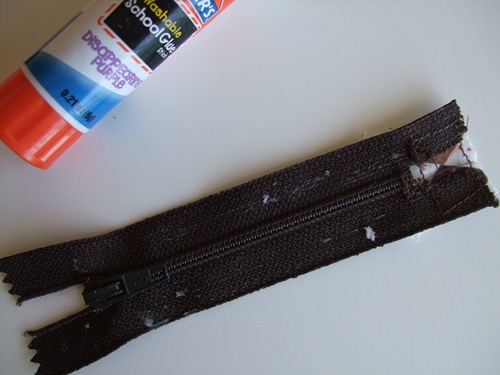
-glue stick
(*I learned how to do this type of zipper following this tutorial found here on U-Handbag. It was a lot easier than I had imagined. Thank you for the great tutorial, Lisa!)
Iron the fusible interfacing down about 1/2” down from the top and centered, onto the wrong side of one lining piece and one outer piece. The interfacing is ironed on where the zipper will be placed.
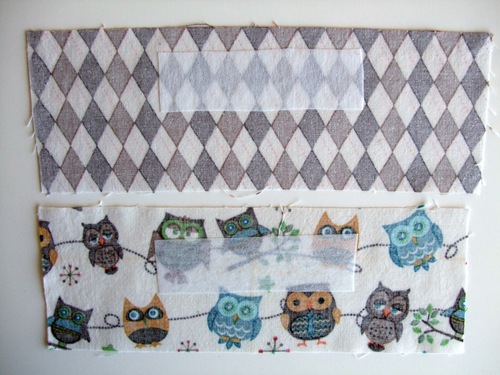
Place the lining and outer fabric with the interfacing on top of each other, right sides together.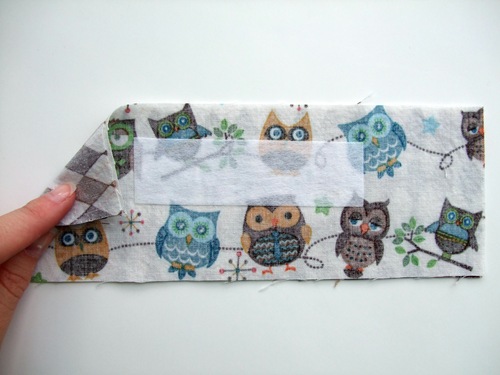
On the back of the lining piece, mark a line in the center horizontally, and 1” down from the top (the interfacing is on the back of this piece, at the top). 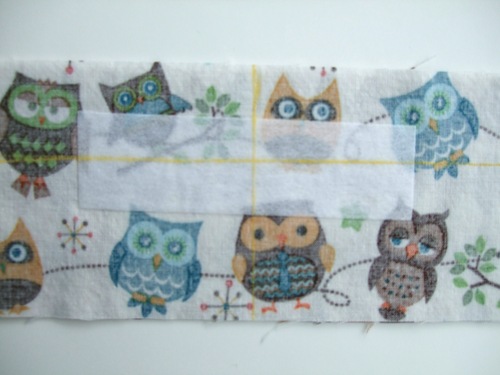
Mark a 1/2” x 3” rectangle, using the markings you already drew to make the rectangle centered. See picture for reference. (To explain this better: You will draw a line 1/4” away on either side of the line that was 1” down, and then 1.5” marks on either side of the horizontally centered marking). 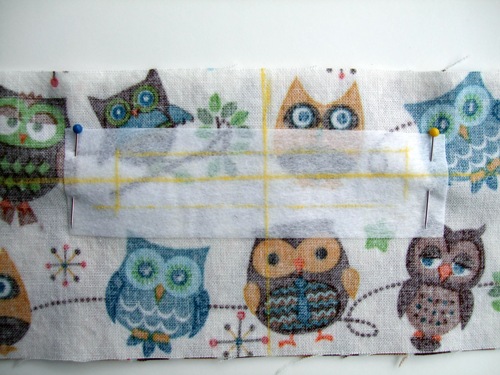
And sew around the rectangle, as follows: 
Stick in your seam ripper or cut a small slit with your scissors in the middle. Now cut a line through the middle, but at the ends cut diagonally to create little triangles:
Now tuck the lining fabric through the slit.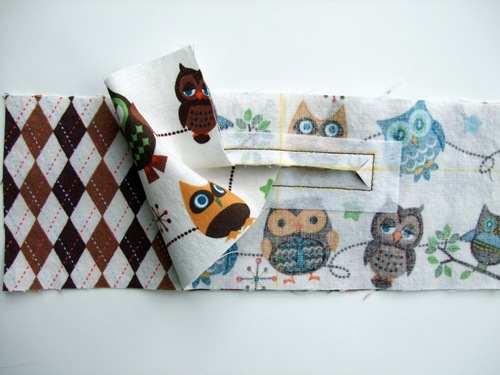
It’s gonna look a little crazy right now. 
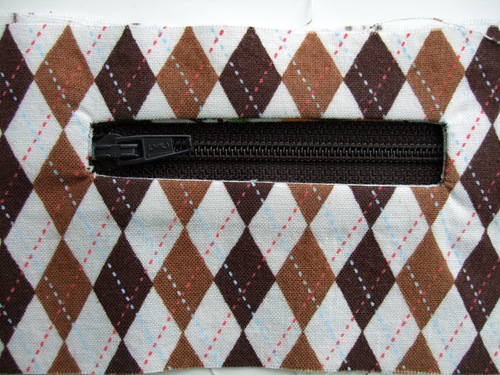
Iron it so it looks like this: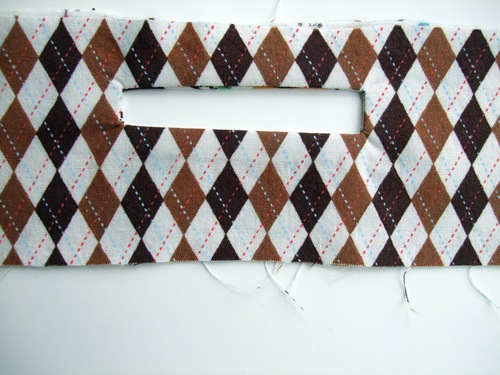
Take the glue stick and rub on the fabric part of the zipper. Place the zipper in the rectangle—the glue will hold it in place while you sew.
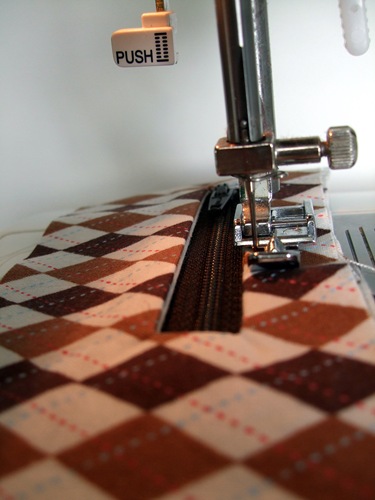
Use your zipper foot and sew all the way around the zipper.
Getting close!
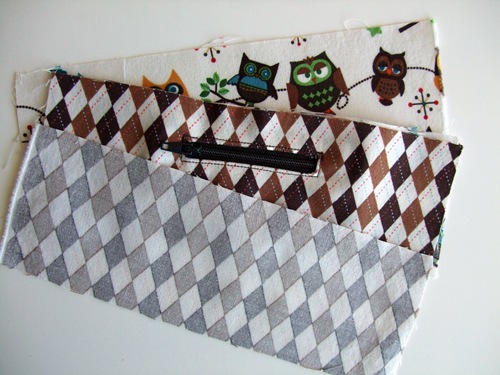
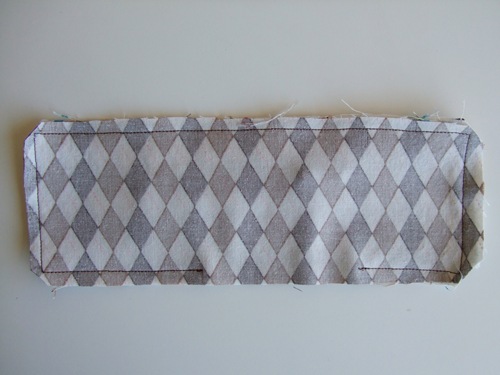
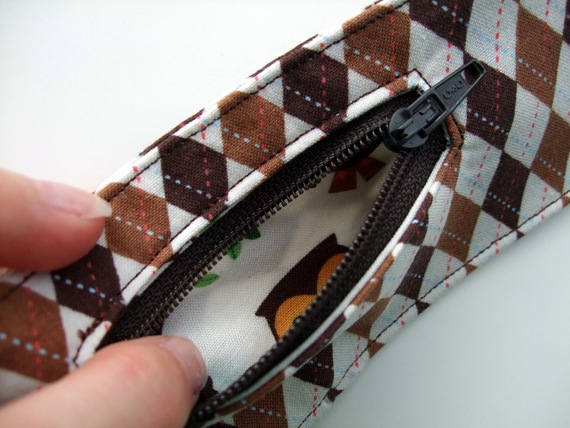
Take your other outer piece and place right sides together with the zippered outer piece. Place the other lining piece (the owl fabric in the picture), right side together with the other lining piece (that has the zipper with it). See the two pictures below for a guide.
Pin them all together, and leave a 3” – 4” gap for turning. 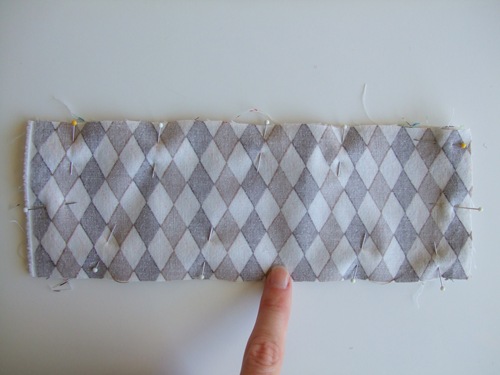
Sew 1/4” seam around the edge. Clip corners and turn.
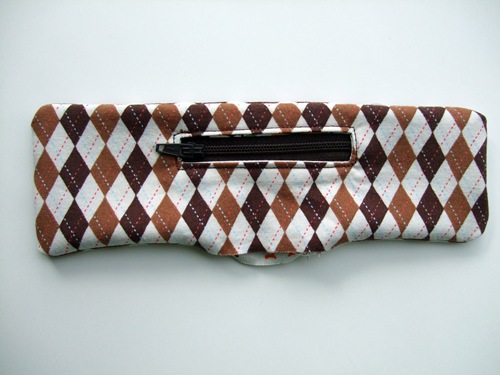
Tuck in the opening and topstitch around the entire thing.
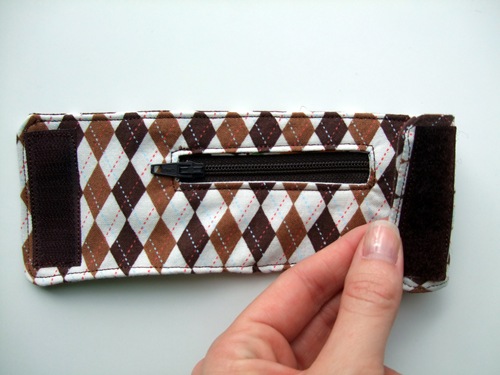
Place the rough velcro strip on the top and sew on. The soft side goes on the other end of the cuff, on the back.
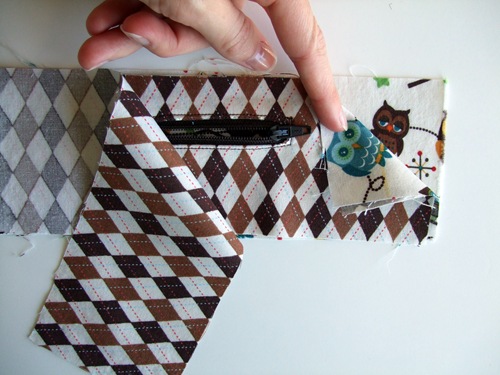
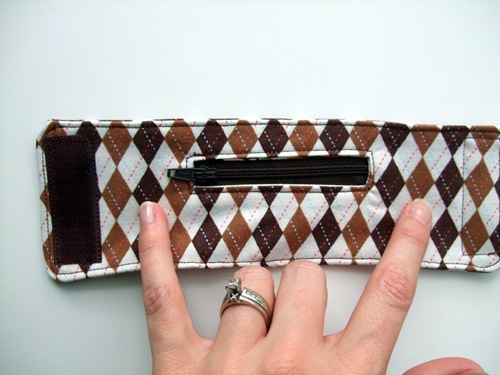
If you don’t want your money to go clear to the ends by the velcro, you can sew a couple lines indicated by where I am pointing, or around there.
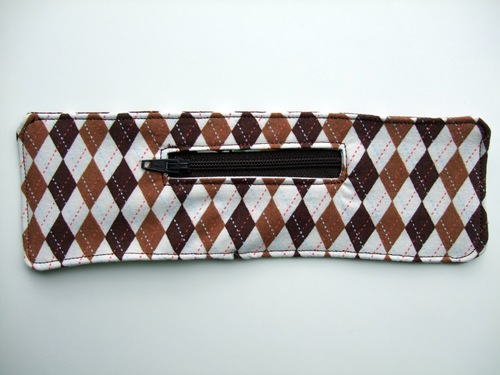
You are done!
Серия сообщений "сумки":
Часть 1 - вязаные сумки
Часть 2 - сумка
...
Часть 6 - Японская мини-сумочка "Japanese Knot Bag
Часть 7 - Парад летних вязаных сумок!
Часть 8 - браслет-кошелёк
Часть 9 - Белоснежный клатч крючком. Мастер-класс со схемами от Craft-Craft
Часть 10 - Вышитая сумка "Кошки"
Часть 11 - Вышитая сумка
Часть 12 - Вышитая сумка
| Комментировать | « Пред. запись — К дневнику — След. запись » | Страницы: [1] [Новые] |
