-Метки
-Рубрики
- Мысли вслух (4)
- идеи для Hand made (250)
- Детское творчество (105)
- Идеи для дома (76)
- Цветы. Ландшафтный дизайн. Сад. Дача. (30)
- Приготовление пищи и сервировка (36)
- Ваш выход (32)
- Шитье (12)
- пэчворк (1)
- Вязание крючком/спицами (118)
- вязание для деток (20)
- узоры (14)
- шапочки (9)
- пледы (3)
- Книги, журналы(ссылки) (22)
- Красота и здоровье (7)
-Поиск по дневнику
-Статистика
Оригинальная упаковка маленького подарка |
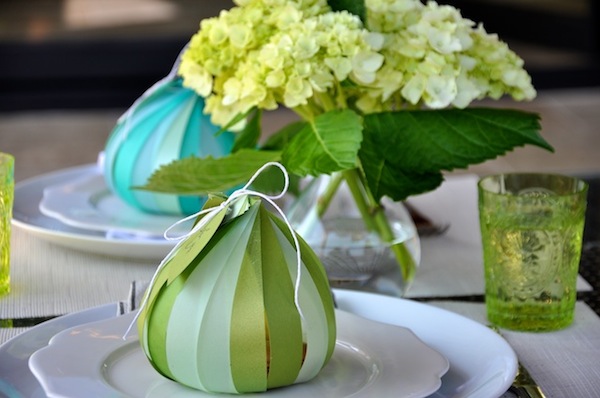
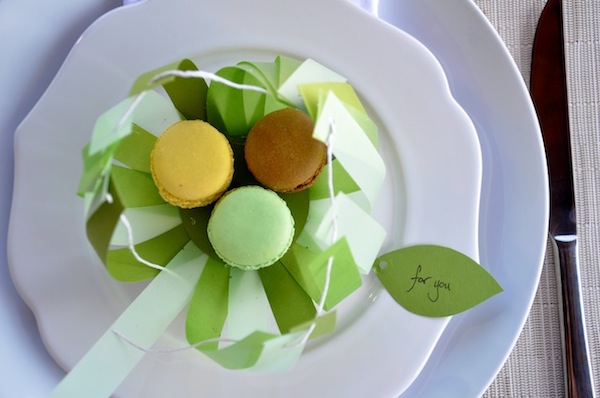
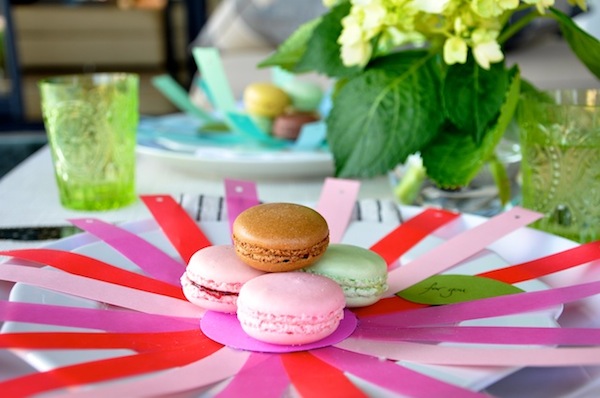
Coming up with a name for these little blooming beauties was quite possibly the most difficult part of the whole project. After stumbling upon these wood pendant lanterns on Kim Vallee, I was inspired to use the same shape for a totally different purpose. With just a few strips of paper, strategic hot gluing and some string, we were able to create these charming drawstring favor holders, perfect for stashing macarons & brightening up a place setting. And guess what… they are super easy to make! Follow the jump for the step-by-step instructions & enjoy!
Materials
- a multicolored assortment of translucent paper; we chose 3 in shades of pink, 3 in shades of green, and 3 in shades of blue
- 3 sheets of heavy colored cardstock for the center of each blossom
- green cardstock paper
- white twine
- hot glue gun
- ruler
- 2 inch circle hole punch
- 1 cm circle hole punch
- scissors
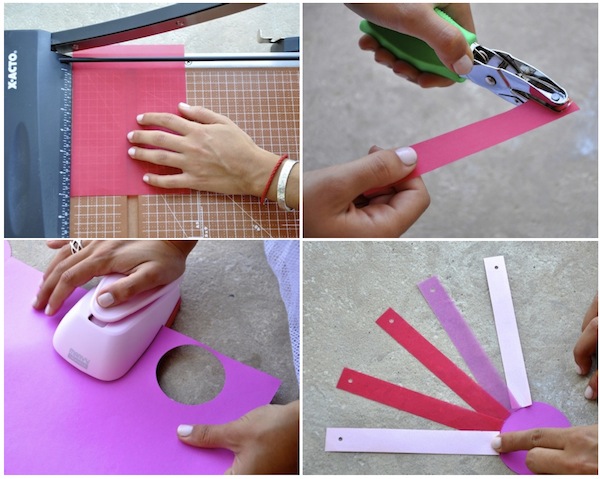
Cut 5 1/2 inch by 3/4 inch strips of paper in an ombre of shades (we needed about 20 strips per pouch). Using the small hole punch, center a hole on one end of each each strip.
Using the large hole punch, cut out 2 circular pieces of cardstock (the fanned out strips will be glued in between these 2 circles)
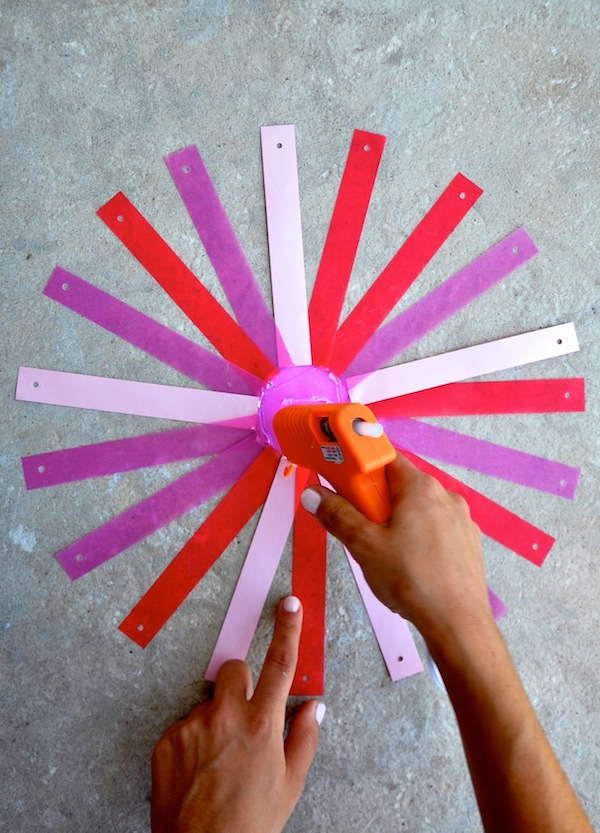
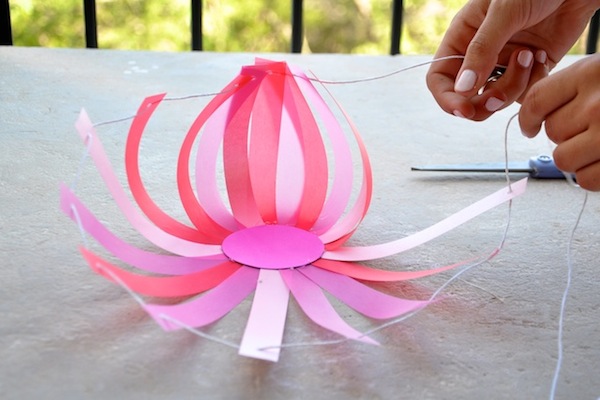
Pick up your first strip. On the end without the hole, draw a thin line of glue on the very edge of the paper. When gluing the strip down, glue the left bottom corner in line with the edge of the circle, while the right bottom corner is pressed 1/4 of an inch below the edge of the circle (rather than the strip sticking straight up, it’s actually slanted diagonally to the right)
To continue the ripple effect, apply glue to each consecutive strip. Place its right bottom corner in the middle of the previous strip, and place the left bottom corner flush to the edge of the circle, as before. Note: to complete the full circle, you’ll have to lift up the first strip in order to glue the last strip underneath it.
Use hot glue to secure the second circle in the middle of the medallion.
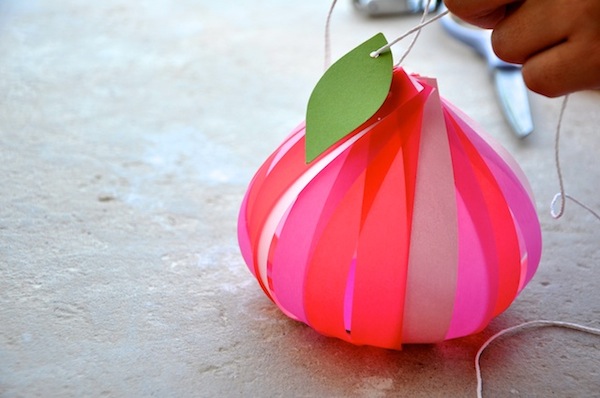
Cut the shape of a leaf out of green cardstock & write a short note for guests on it. String white kitchen twine through the holes on the strips, and gently tug the drawstring to draw in the petals. Once it is sealed, string the leaf onto the twine & tie in a bow.
| Рубрики: | идеи для Hand made Детское творчество |
Процитировано 2 раз
| Комментировать | « Пред. запись — К дневнику — След. запись » | Страницы: [1] [Новые] |


