-–убрики
- открытки (3860)
- —крапбукинг (1893)
- Hand Made (1632)
- ”паковка (389)
- јльбомы (247)
- омментарии (43)
- музыкальные (15)
- јйрис-фолдинг (14)
- ¬кусн€тина (3112)
- ¬ыпечка (1102)
- √ор€чее (582)
- «акуски (486)
- —алаты (376)
- Ѕлины и оладьи (213)
- —олень€ (142)
- ƒесерты (132)
- √арниры (119)
- «апеканки (54)
- Ѕлюда из €иц (53)
- Ќапитки (38)
- —упы (20)
- ¬аренье, джем, конфитюр... (17)
- —оветы (14)
- —оусы и маринады (12)
- –ецепты дл€ мультиварки (7)
- –укоделие (2430)
- »з фетра (658)
- Ўитье (377)
- уклы (249)
- ¬€зание (163)
- »гольницы (144)
- анзаши (121)
- ѕэчворк (109)
- ѕодушки (97)
- –исование (89)
- Ћепка (85)
- ƒизайнерские плать€ (69)
- »з войлока (65)
- ћ€гка€ игрушка (59)
- ’олодный фарфор (38)
- Ѕутылочные фантазии (31)
- ѕлетение (17)
- ћидзухики (16)
- —оветы (14)
- ћатрешки (8)
- —оломка (8)
- √анутель (6)
- “качество (6)
- —сылки (4)
- артины из шерсти (2)
- –умынское кружево (2)
- »з галстуков (1)
- “емари (1)
- ќсибана (1)
- ѕоделки из бумаги и картона (1668)
- виллинг (552)
- ¬ырезанки (453)
- ќригами (291)
- из гофрированной бумаги (61)
- “рафареты (41)
- »з фольги (8)
- “орсион-папье (7)
- ¬ышивка (1253)
- ѕри€тные мелочи (511)
- артины (359)
- дл€ оформлени€ интерьера (82)
- —алфетки и скатерти (76)
- ѕодушки (72)
- бисером (63)
- ∆урналы (52)
- Ѕабочки (18)
- ќбъемна€ (3)
- Ѕисероплетение (766)
- Ѕижутери€ (392)
- »грушечки (132)
- »деи дл€ интерьера (625)
- Ўторы (171)
- –абочий уголок (13)
- ƒизайн дл€ дачи (12)
- ћастер-классы (404)
- »з капрона (95)
- оклюшки (2)
- ѕоделки-подарки (305)
- ‘оамиран (2)
- омоно (2)
- ћожет пригодитьс€ (295)
- ƒл€ зан€тий (129)
- ƒл€ детского сада (60)
- ћузыка (256)
- расота (219)
- ÷веты (57)
- ∆ивопись (18)
- ∆ивотные (14)
- Ќасекомые (8)
- –езьба (7)
- –абочие моменты (164)
- ѕрограммы (52)
- ‘отошоп (15)
- —вадьба и все дл€ свадьбы... (144)
- ‘арфоровое из€щество (133)
- Ёто интересно (127)
- ќ здоровье (125)
- ћассаж (14)
- ќформление дневника (123)
- »зонить (115)
- ѕро кошек (104)
- онфетно-букетное (102)
- јнимаци€ (102)
- ¬идео (100)
- ћаги€ (98)
- ‘лэшки (82)
- »з природного материала (62)
- Ѕереста (8)
- ’удожники (61)
- ёмор (58)
- јфоризмы (56)
- —тихи (55)
- —оветы дл€ выпечки и др. (49)
- ƒиеты (48)
- „асики (44)
- —текло (43)
- ‘ьюзинг (11)
- Ћэмпворк (3)
- јнимаци€ (рамки) (43)
- ѕергамано (36)
- онфетки (28)
- реатив (25)
- ‘оны (25)
- ћолитвы (23)
- „удеса да и только (23)
- ёвелирное искусство (22)
- осметологи€ (21)
- ћаки€ж (1)
- ‘отографии (21)
- секси (18)
- —хемы (17)
- ѕсихологи€ (13)
- Ўитье и крой (7)
- ћои работы (4)
- ёридическа€ помощь (3)
- Ќовости (2)
- Ќасто€щие шедевры... (2)
- –адио (1)
- расота из песка (1)
- ѕоздравлени€, пожелани€ (1)
- ѕоздравлени€ (1)
- ќ белье (1)
- Ќадписи дл€ комментариев (1)
- расота из песка (0)
- Ќовости (0)
-ћузыка
- Infiniti ocean. Era
- —лушали: 17940 омментарии: 0
- Era - "Ameno"
- —лушали: 4456 омментарии: 0
- La_raggazia_di_blue.
- —лушали: 36373 омментарии: 0
- Adriano Celentano
- —лушали: 11598 омментарии: 0
- ќчень красива€ мелоди€
- —лушали: 278216 омментарии: 2
-ѕоиск по дневнику
-ѕодписка по e-mail
-ѕосто€нные читатели
-—ообщества
-“рансл€ции
-—татистика
«аписей: 17286
омментариев: 5421
Ќаписано: 23369
—оседние рубрики: Ўитье(377), ’олодный фарфор(38), “качество(6), “емари(1), —сылки(4), —оломка(8), —оветы(14), –умынское кружево(2), –исование(89), ѕэчворк(109), ѕодушки(97), ѕлетение(17), ќсибана(1), ћ€гка€ игрушка(59), ћидзухики(16), ћатрешки(8), Ћепка(85), уклы(249), артины из шерсти(2), анзаши(121), »з фетра(658), »з галстуков(1), »з войлока(65), »гольницы(144), ƒизайнерские плать€(69), √анутель(6), Ѕутылочные фантазии(31)
ƒругие рубрики в этом дневнике: ёридическа€ помощь(3), ёмор(58), ёвелирное искусство(22), Ёто интересно(127), Ўитье и крой(7), „удеса да и только(23), „асики(44), ’удожники(61), ‘отографии(21), ‘оны(25), ‘лэшки(82), ‘арфоровое из€щество(133), —хемы(17), —тихи(55), —текло(43), —оветы дл€ выпечки и др.(49), секси(18), —вадьба и все дл€ свадьбы...(144), –укоделие(2430), –адио(1), –абочие моменты(164), ѕсихологи€(13), ѕро кошек(104), ѕоздравлени€, пожелани€(1), ѕоздравлени€(1), ѕоделки-подарки(305), ѕоделки из бумаги и картона(1668), ѕергамано(36), ќформление дневника(123), открытки(3860), ќ здоровье(125), ќ белье(1), Ќовости(0), Ќовости(2), Ќасто€щие шедевры...(2), Ќадписи дл€ комментариев(1), ћузыка(256), ћолитвы(23), ћои работы(4), ћожет пригодитьс€(295), ћастер-классы(404), ћаги€(98), реатив(25), расота из песка(1), расота из песка(0), расота(219), осметологи€(21), онфетно-букетное(102), онфетки(28), »зонить(115), »з природного материала(62), »деи дл€ интерьера(625), ƒиеты(48), ¬ышивка(1253), ¬кусн€тина(3112), ¬идео(100), Ѕисероплетение(766), јфоризмы(56), јнимаци€ (рамки)(43), јнимаци€(102)
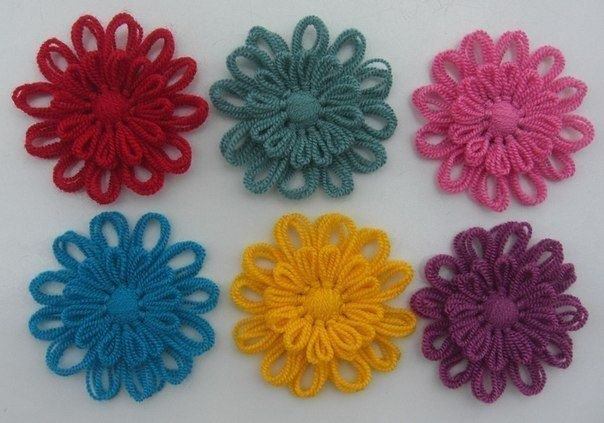
¬я«јЌџ≈ Ќј Ћ”ћ≈ ÷¬≈“ќ„ » |
Ёто цитата сообщени€ dikulya67 [ѕрочитать целиком + ¬ свой цитатник или сообщество!]
|
«верошарфы |
Ёто цитата сообщени€ »жевчанка [ѕрочитать целиком + ¬ свой цитатник или сообщество!]
|
Ўишка с инеем спицами. |
Ёто цитата сообщени€ јлЄнчик_5 [ѕрочитать целиком + ¬ свой цитатник или сообщество!]

¬€зана€ шишка – интересна€ Єлочна€ игрушка, прекрасный новогодний сувенир, украшение интерьера.®лочна€ игрушка, св€занна€ спицами – шишка, покрыта€ инеем.
огда-то на страницах »нтернета € встретила описание милой маленькой в€заной шишечки. ¬сем была шишечка хороша, только очень уж миниатюрна€. тому же, к сожалению, не удалось установить им€ автора этой крошечки. я решила дополнить описание и пересчитала количество петель дл€ большего размера.
|
Ўарфик-листь€. (ѕросто чудо!!!) |
Ёто цитата сообщени€ Valya6827 [ѕрочитать целиком + ¬ свой цитатник или сообщество!]
|
÷веточки крючком на карандашах, дл€ в€зани€ пледов, покрывал, подушек и сидушек |
Ёто цитата сообщени€ ћарриэтта [ѕрочитать целиком + ¬ свой цитатник или сообщество!]
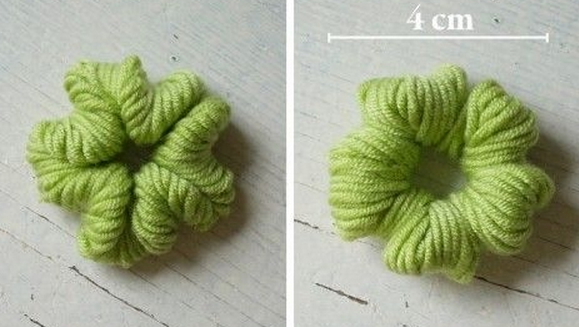
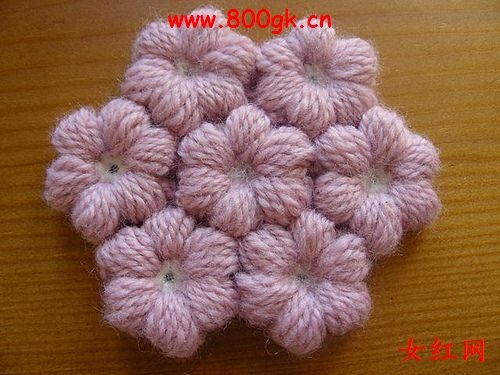
ѕредставл€ю вашему вниманию интересный вариант в€зани€ крючком цветочков при помощи карандашей. ƒл€ работы можно использовать все остатки ниток, имеющиес€ в запасе)

|
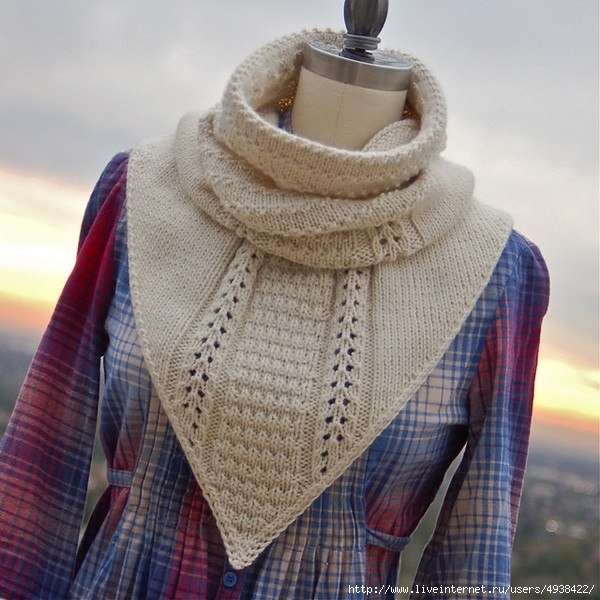
“реугольные манишки |
Ёто цитата сообщени€ SVETA-290 [ѕрочитать целиком + ¬ свой цитатник или сообщество!]
|
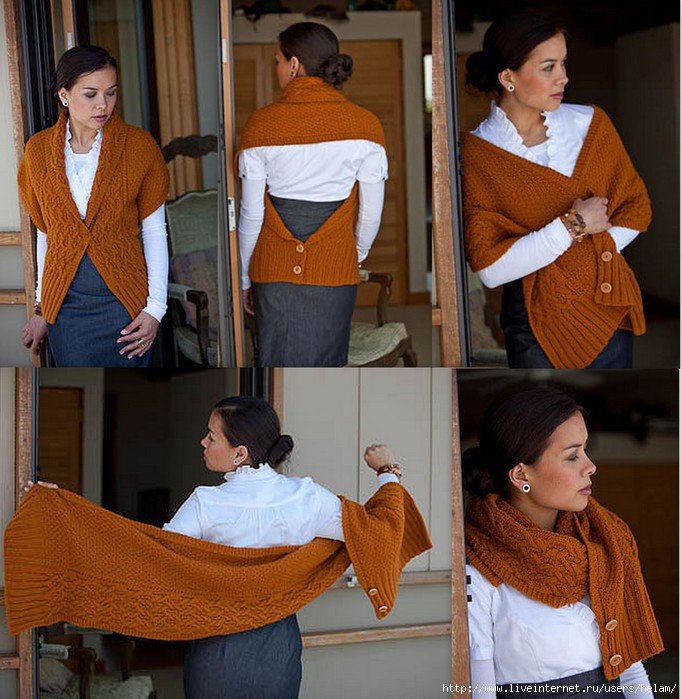
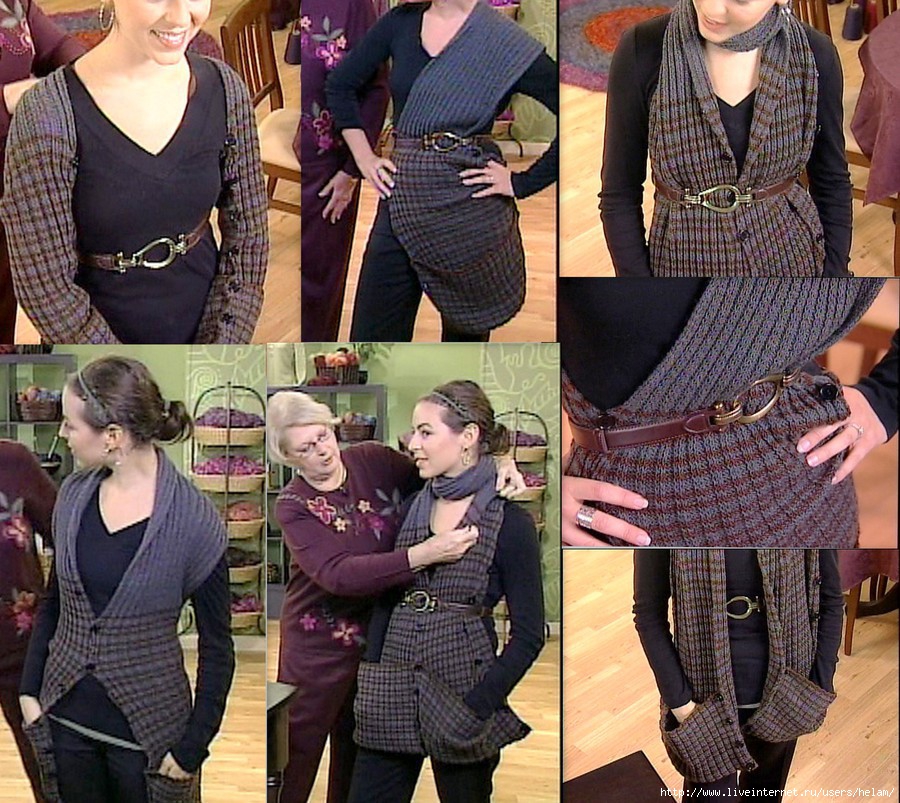
ѕрактичный и красивый шарф-трансформер |
Ёто цитата сообщени€ ирина_кондик [ѕрочитать целиком + ¬ свой цитатник или сообщество!]
Ўарф-трансформер из Interweave Knits от дизайнера Okmin Park
ќчень интересный пр€моугольный шарф с аранами и жемчужным узором и пуговицами,который можно носить как жилет …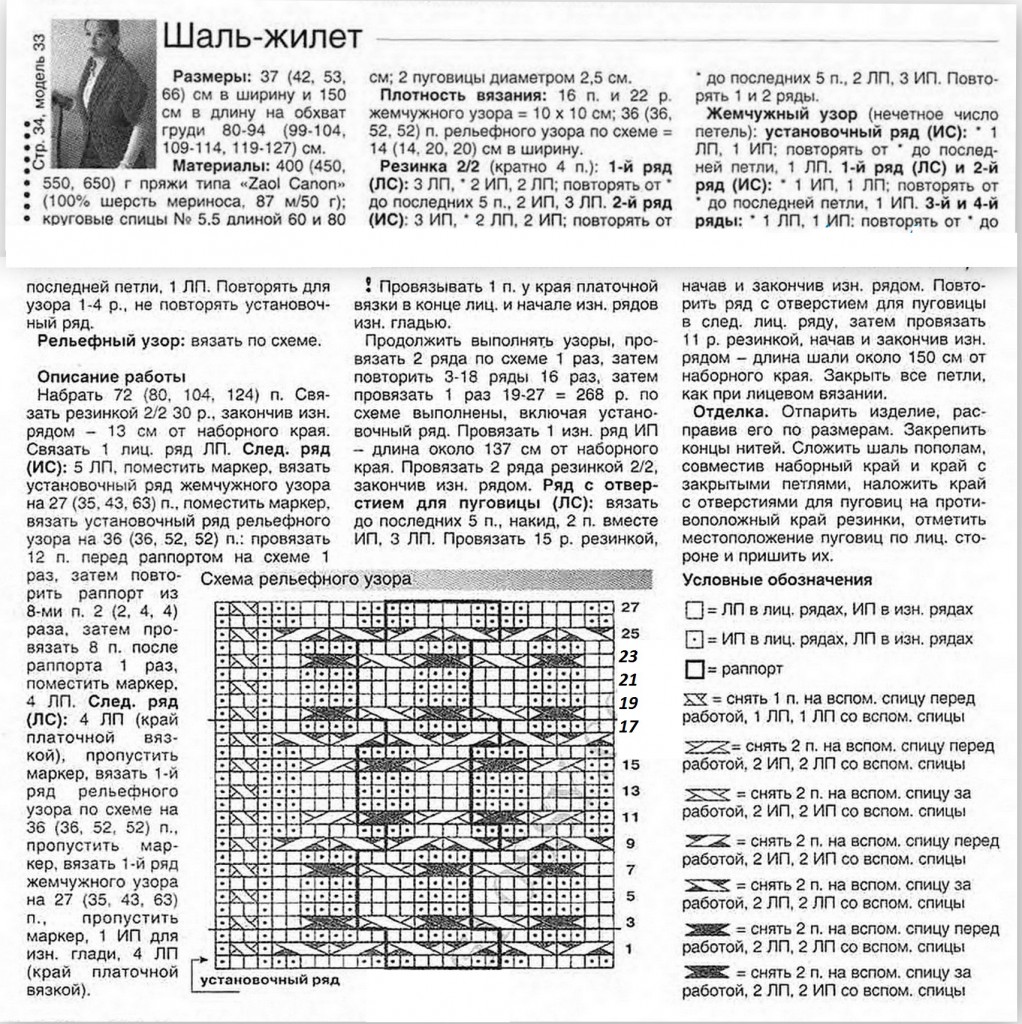

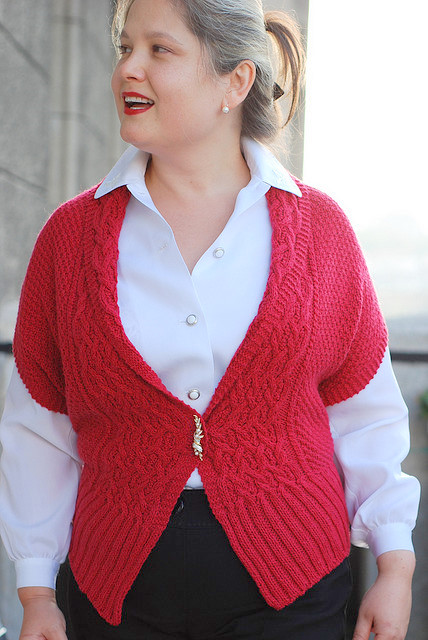


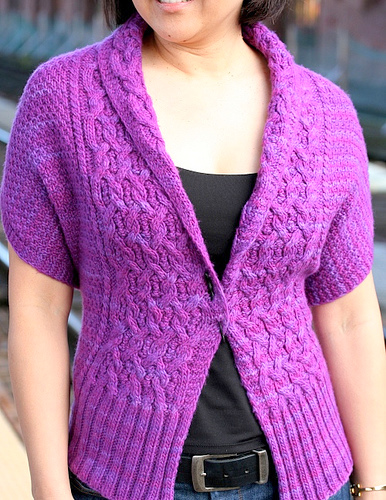
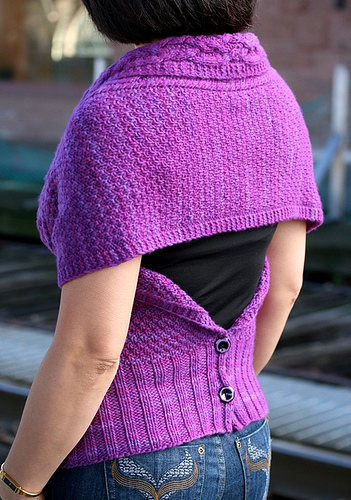
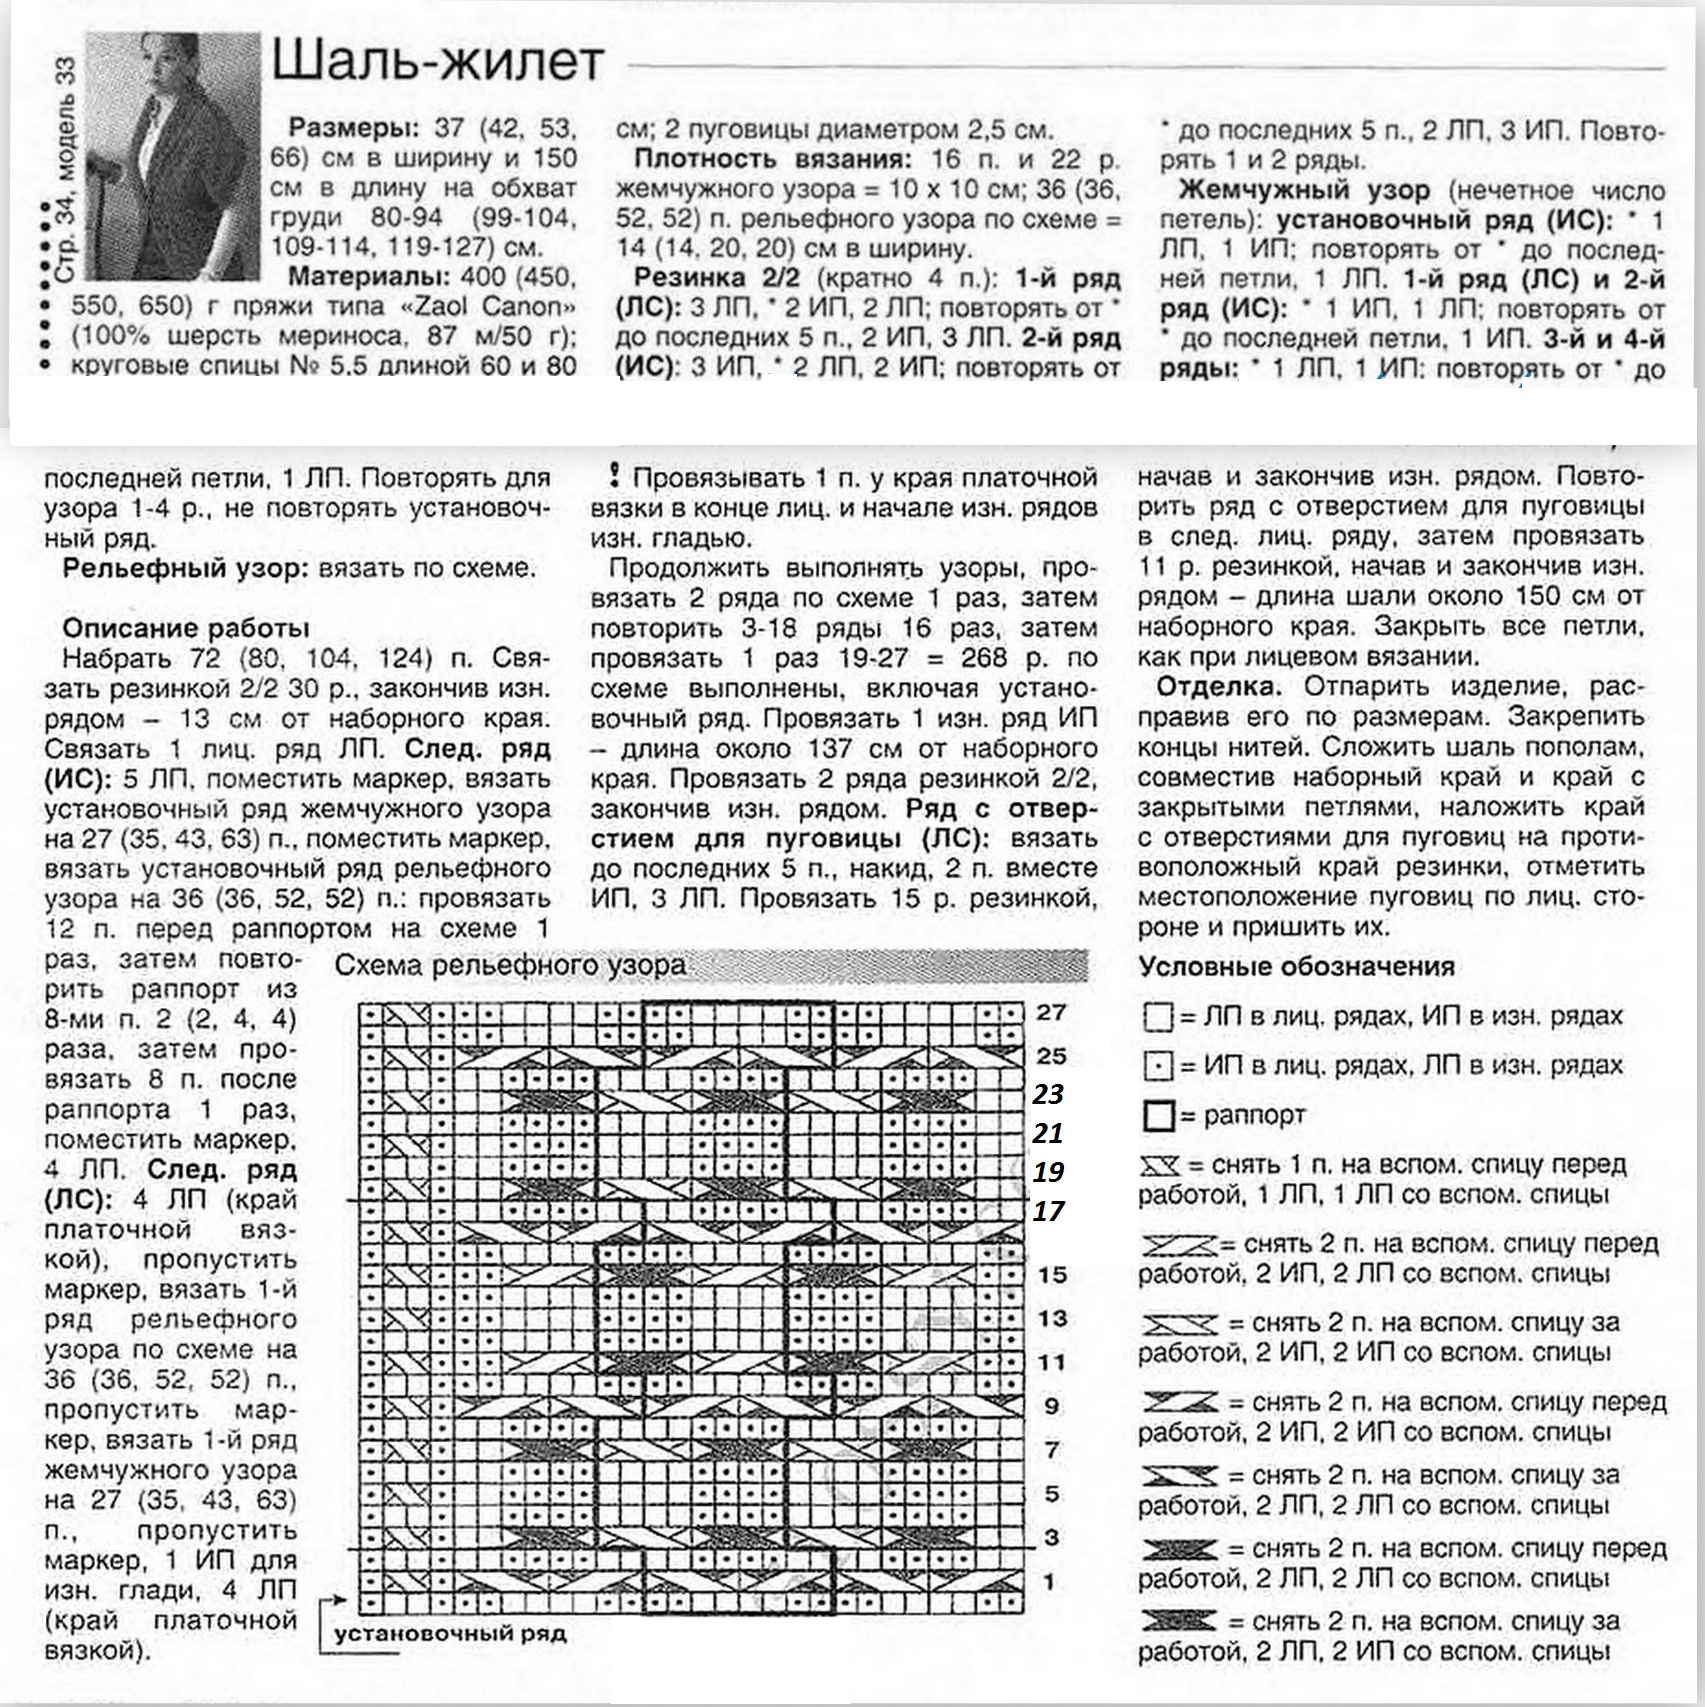
Ўарф-трансформер от Knitting Daily!
ќчень интересна€ модель — Crosstown Convertible!
Ётот шарф с карманами и 16 пуговицами можно трансформировать и в шраг с рукавами и в жилет!
¬от здесь ролик от создател€ с различными вариантами драпировки.
http://www.youtube.com/watch?feature=player_embedded&v=C1jscMiTRTo смотрим!
|
ѕрикольна€ шапка. ќписание. |
Ёто цитата сообщени€ ирина_кондик [ѕрочитать целиком + ¬ свой цитатник или сообщество!]
http://domosed-ka.ru/shapka-ryiba/
ѕрикольна€ в€зана€ шапка дл€ веселых рыбаков от дизайнера Ѕренды K. Ѕ. јндерсен.
|
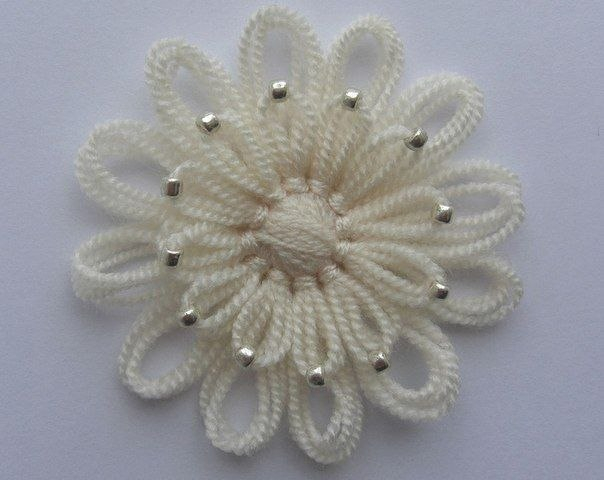
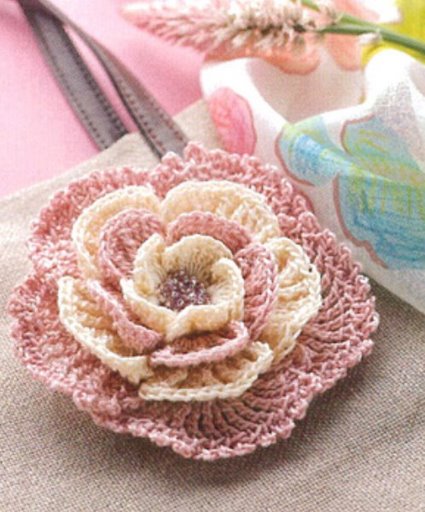
≈ще один цветочек. —пасибо NatalyR |
Ёто цитата сообщени€ »рина_јлександровна [ѕрочитать целиком + ¬ свой цитатник или сообщество!]
|
ѕасхе |
Ёто цитата сообщени€ [ѕрочитать целиком + ¬ свой цитатник или сообщество!]
1.

2.

3.

4.

5.

—ери€ сообщений "":
„асть 1 - Ўапочка
„асть 2 - „етыре жакета узором "‘антази€".
...
„асть 12 - "¬се сказки ѕушкина"
„асть 13 - ”зорчик крючком ÷веты -¬идео
„асть 14 - ѕасхе
„асть 15 - Ўапочка крючком (иде€ из инета
„асть 16 - Ўапочки по видио
...
„асть 23 - Ўапочка и шарф с принцессой
„асть 24 - “айский журнал є 210 (Ўапки, шарфики дл€ детей
„асть 25 - омбинезон трансформер
|
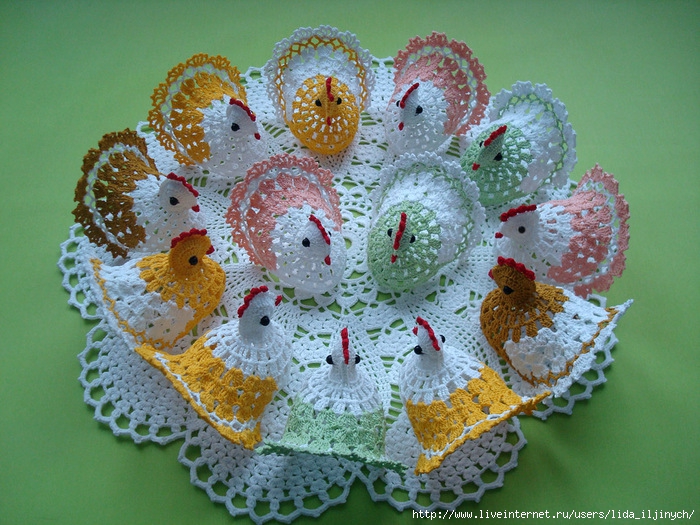
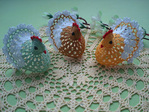
ѕј—’≈-курочки и зайчики |
Ёто цитата сообщени€ lida_iljinych [ѕрочитать целиком + ¬ свой цитатник или сообщество!]
¬от таких замечательных курочек и пасхальных зайцев в€жет польска€ мастерица Donia.¬от ее блог http://robotkidoni.blogspot.ie/
сожалению схемы дл€ курочек нет,но ¬ы можете попросить у хоз€йки поста http://robotkidoni.blogspot.ie/
я справилась сама-совсем не сложно...позже выставлю и свои экземпл€ры
P.S. ”–јјјјјј!.... ќдна португалка выставила ћ на ‘эйсбук пошагово в€зание курочек. —мотрите ниже-добавила фото...
|
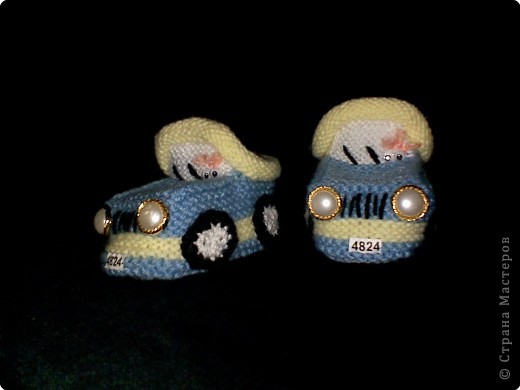
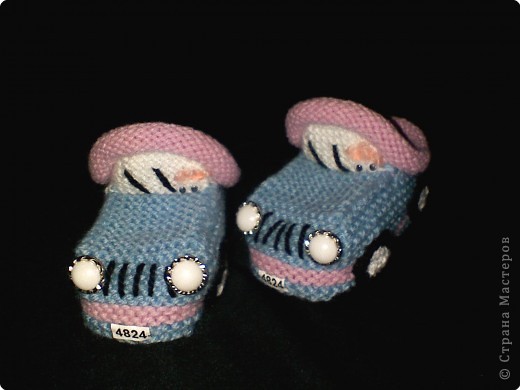
ѕинетки ћјЎ»Ќ » дл€ новорожденного |
Ёто цитата сообщени€ ADELERA [ѕрочитать целиком + ¬ свой цитатник или сообщество!]
¬сем мамочкам и бабушкам малышей предлагаю вам св€зать дл€ новорожденного замечательные пинетки ћјЎ»Ќ »
ј¬“ќ– ћј—“≈–- Ћј——ј MarinaKlin
|
ѕасхальные зайчики крючком |
Ёто цитата сообщени€ Dama_Madama [ѕрочитать целиком + ¬ свой цитатник или сообщество!]
|
в€заные мини-коньки |
Ёто цитата сообщени€ AnnaVS [ѕрочитать целиком + ¬ свой цитатник или сообщество!]
|
"«олотые" –ыбки - ћастер ласс. |
Ёто цитата сообщени€ Chachka94 [ѕрочитать целиком + ¬ свой цитатник или сообщество!]

—лучайно нашла описание (мастер-класс) в€зани€ красивых рыбок.
http://erikatricroche.blogspot.de/2009/12/kingyo-peixinho-de-croche-oriental.html
07 Dezembro, 2009
Kingyo - peixinho de croche oriental
Eu fiquei totalmente encantada em descobrir esse peixinho que sempre me encantou em um aquário que eu tive em casa a muitos anos atrás. Nome dele é Kingyo, peixe japonês que teve sua origem no Tibet. Tem mais sobre esse lindinho que esbanja beleza *nesse site, saiba a história completa*. Abaixo uma fotinho do pexinho kingyo
Fiz esse peixinho através de umas fotos com passo a passo em chinês, como eu não entendo nada da língua chinesa, fiz mesmo com a minha intuição! ahahaha.. e valeu! Ficou lindissimos!!!
Então? Vamos aprender a fazer um kingyo de croche? O passo a passo é um pouco grande, mas ao final é muuuuito gratificante!!!!
Gente!!! Como houve bastante pedidos para que eu traduzisse em inglês lá no flickr, então resolvi colocar ao lado da receita, alguns termos em inglês, assim ajuda bastante pra qualquer um fazer! Vamos lá amigos!! LOL
NÃO ESQUECENDO QUE AÍ AO LADO TEM UMA CAIXA DO GOOGLE PARA TRADUÇÃO DE QUALQUER LINGUA!!
Então vamos lá!!! Eu usei linha de algodão Anne, e agulha 2,0 mm, um kingyo na cor laranja e outra na cor verde, cor preto e branco pra fazer os olhinhos certo?
Começar com circulo mágico é fazer esse aqui
Olhos faça 2
Comece com a linha preta fazendo um circulo mágico
1 carr) Faça 8 pb. (8 sc) e trabalhe em círculos, fechando com 1 p.bxmo.(sl st) Troque para a cor branca
2 carr) aumento com 2 pb juntos em cada pb anterior (2sc in next st) = 16 pt. (st) Troque para a cor verde
3 carr) aumento com 2 pb juntos em cada pb anterior (2sc in next st) até o final a carreira = 32 pt (st)
4- 6 carr) 1 pb em cada ponto anterior (1sc in next st)= 32 pt
7 carr) diminuição de 2pb juntos (sc2tog) = 16 pt (st)
8 carr) diminuição de 2pb juntos (sc2tog) e finalize.
Aqui na foto abaixo, Ícaro brincando com os olhinhos do peixe..ahahahaha... é um malinha...hehehe
Rabo: Faça 3
1 carr) comece com 17 corr (17 ch)vire
2 carr) 17 pb (17 sc) vire
3 carr) 17 pb + 4 corr (17 sc + 4 ch) vire
4 carr) 17 pb (17 sc)
5 carr) 17 pb + 4 carr (17 + 4 ch)
6 carr) 17 pb (17 sc) vire
7 carr) 17 pb + 4 carr (17 sc + 4 ch)
8 carr) 17 pb (17 sc)
9 carr) fazer o aumento ao inverso, 17 pt (17 st) para formar uma "folha", fazer até finalizar o rabo
Faça o mesmo com as outras 2 partes do rabo
Veja abaixo o grafico do rabo:
A parte do meio eu fiz uma carreira a mais, deixando um pouco maior que as outras.
Depois dessa etapa, fazer a junção das 3 partes do rabo fazendo 3 pb (3 sc) em cada parte + 4 corr.(4 ch)
Então ficaria assim: 3pb + 3pb + 3pb + 4 corr + 1p.bxmo. (3 sc + 3sc + 3 sc + 4 ch + 1 sl st)
Faça 7 carreira de pb. (7 row of sc)
Para fazer as "escamas" nesse ponto, tem que fazer 2pa + 2 corr na volta toda. (2dc + 2 ch)
Veja no grafico:
Depois faça 3 corr (3 ch) e em um pa anterior, tem que fazer um conjunto de 5 pa em cada pa anterior. (a group of 5 dc in next dc)
Vire e faça mais 5 pa no segundo pa anterior ( a group of 5 dc in next dc) e assim por diante até o final
Suba e faça a segunda parte da escama com 2 pa + 3 corr (2 dc + 3 ch) e na seguinte carreira fazer 7 pa em cada p.a da carr anterior. (a group of 7 dc in next dc)
Na terceira parte da escama fazer 2 pa + 5 corr (2 dc + 5 ch), e 10 pa em cada pa da carreira anterior.(a group of 10 dc in next dc)
Depois de feito as escamas, agora vamos fazer a cabeça
faça 7 pb na corr da carreira onde foi feito (2pa+5corr) (7 sc in ch before it was made 2 dc + 5 ch)e trabalhe em círculo. Suba 3 carreiras fazendo 1 pb em cada pb e depois faça das diminuições: (Make 3 row 1 sc in next sc)
1) 3 pb em cada pb anterior + diminuição de 2 pb juntos até o fim da carr (sc in next 3 sc + sc2tog)
2) pb em cada pt anterior (sc in next sc)
3) 2 pb em cada pb anterior + diminuição de 2 pb juntos (sc in next 2 sc + sc2tog)
4) pb em cada pt anterior (sc in next sc)
5) 1 pb em cada pb anterior + diminuição de 2 pb juntos (sc in next 1 sc + sc2tog)
6 - 8) pb em cada pt anterior finalize. (sc in next sc)
Para fazer a parte interna da boca. Comece com circulo mágico e faça 6 pb (6 sc), em seguida na próxima carreira fazer aumento de 2 pb juntos em cada pb anterior (2sc in next sc) totalizando 12 pts. (12 st)
Costure na abertura da boca.
O fundinho do rabo também tem que ser tampado. Logo depois de colocar a manta acrilica no peixe. (Eu embrulhei a manta em um pedaço de plástico filme para não vazar nos buraquinhos que ficam entre os pontos da escama).
Para fazer o fundinho, comece com circulo mágico e faça 6 pb (6 sc), na 2 carr (2 row) faça aumento de 2pbj em todas os pb anterior (2sc in next sc around) e na 3 carr (3 row) faça 1 pb + 2 pbj em toda carreira (1sc + 2sc in next sc around) e finalize. Costure o fundinho e os olhinhos. e está pronto o seu kingyo!!! :0))
Pode ficar toda orgulhosa que seu peixinho japonês vai ficar lindo demaaaaais!!!! Um beijão!!!! Se a tradução estiver pessima me escrevam! bjus!! :0))
—ери€ сообщений "–ыбки, €щерки, черепашки...":
„асть 1 - "«олотые" –ыбки - ћастер ласс.
„асть 2 - «олотые рыбки спицами - мастер-класс на английском
„асть 3 - ƒельфин - фриформ ћ
...
„асть 31 - «мейка оролева ћарго крючком
„асть 32 - «меемани€...
„асть 33 - –ыбка дл€ –ыбки. »дейное.
|
«олотые рыбки спицами - мастер-класс на английском |
Ёто цитата сообщени€ Chachka94 [ѕрочитать целиком + ¬ свой цитатник или сообщество!]
http://susandennis.org/knitting/goldfish/index.htm

How to make your own Goldfish!
These goldfish are fun and easy to make. As pictured here, they are about the size of a grapefruit.
The complete pattern with notes and photos is below, just keep scrolling. If you just want the pattern with the how-to pictures,
here is a PDF version for you.
September 13, 2011: Maepatel on Ralvery, made a great fish and spelled out two errors in the pattern. I had known there were some but just had not gotten around to sussing them out. She not only identified the errors but she clearly, and perfectly wrote out what should be there so all I had to do was copy and paste! Thank you, Maepatel!! Pattern now fixed (PDF, too!)
December 22, 2008: I got an email this morning from Melissa Starkweather who said she had found my pattern via Knitting Pattern Central. She sent photos of her fish and she has some amazing variations! I can't wait to try some of them myself. I asked her for some details and she provided them plus other pictures. Thanks so much, Melissa! You totally made my day!
Melissa's fish presented with the help of the lovely Fyn. Melissa and Fyn divide their time between North Carolina and Michigan and she knit these beauties for her grandson, grand nieces and nephew.
(click to see a bigger version for detail)
More pictures and details below.
While I've been knitting for more than 50 years, this is the first time I have ever created a pattern. Rather than make it a traditional knitting pattern, I tried to create it as though I was showing you how to do it the way I do. A few items to note:
I hate to sew. I will do anything to avoid sewing stuff on or together. This pattern (and these instructions) are created with that in mind. However, it could easily be otherwise. The fins, for instance could easily be done separately and sewn on.
This pattern is offered free to use any way you wish. Feel free to make tons of fish from it and sell them or give them away. Feel free to change this pattern in any way you want. Feel free to publish this pattern any where you want. It is free. Enjoy.
The fish are made starting from the bottom of the back fin and knit, in one piece to their their little puckered fishlips. The top and side fins are knitted in after the body is stuffed and finished. There are two versions. One has a stuffed tail fin which balances it better. The other has a ribbed tail fin which looks better. They start off differently but end up the same.
Here's what I used to make the fish in the pictures:
Caron Simply Soft Brites! Yarn
Size 6 needle for most of the work (I use a 60" circular.)
Size 4 needle for the fins (I used a shorter circular.)
4 stitch markers
one size 5.5 mm crochet hook (Nearly any size will do and used only for the version with stuffed fin.)
2 eyeballs and sewing thread to attach
Stuffing (I use Fairfield's poly-fil stuffing)
Most all of the pictures are linked to bigger way more detailed versions.
Ribbed Tail Fin version
Cast on 40 stitches.
Work 2 rows of K2,P2 ribbing.
On the next row and all other rows: Delete 1 stitch at the beginning and end of each row.
Until there are 10 stitches.
Knit one row even.
Continue the round by picking up 10 stitches on the back side of the work. See photo at right.
You are establishing a round of 20 stitches. Place a marker in between stitches 5 and 6 on each side of the round.
Knit one round evenly.
K1, increase 1, knit to within 1 stitch of the marker, increase 1, K1, move marker, K1, increase 1, knit to within 1 stitch of the marker, increase 1, K1. Repeat for the second half of the round.
Work one round even.
Repeat these two rows until there are 19 stitches on either side of the marker on each needle (76 stitches total).
Work round after round on those same 76 stitches until you have 1.5" since the last increase row.
Stuffed Tail Fin version
Crochet a chain of at least 25 chains.
Load 24 stitches onto the needle.
Load 24 stitches from the other side of the chain onto the needle so you will have a round of 48 stitches.
Knit two rounds even.
K1, SSK*, knit until the last three stitches. K2 together, K 1. Repeat for second half of the round.
Knit 1 round even.
Repeat these two rows until you have 10 stitches on each side of the round.
*SSK=Slip one stitch, then slip the next. Insert left needle into the front loops of the slipped stitches and knit them together from this position (through the back loops).
Stuff lightly.
I like to 'seal' the stuffing in at this point by picking up 3 evenly space stitches across the stuffing. (See photo.) This could also be easily accomplished by basting the two sides together with sewing.
Place a marker in between stitch 5 and 6 on each side of the round.
Knit one round evenly.
K1, increase 1, knit to within 1 stitch of the marker, increase 1, K1, move marker, K1, increase 1, knit to within 1 stitch of the marker, increase 1, K1
Work one round even.
See? It's the same now as the Ribbed Fin Tail version.
Repeat these two rows until there are 19 stitches on either side of the marker on each needle (76 stitches total).
The Rest of the Fish
Once you get to 76 stitches (pictured here), just knit the rounds evenly without increasing or decreasing for 1.5".
Work round after round on those same 76 stitches until you have 1.5" since the last increase row.
After 1.5" start decreasing.
K1, SSK*, knit until three stitches before the marker, K2 together, K 1, move marker, K 1, SSK, knit until three stitches before the end, K2 together, K1. Repeat for second half of the round.
Knit 1 round even.
Continue until there are 18 stitches on each needle or side of the round.
At this point you want to add the eyes and stuff. I use a little piece of muslin on the inside to anchor the eyes and keep them in place. You can see this in the picture if you look at the fish on the right.
After eyes are on and the fish are stuff, continue your decreases until there are 10 stitches on each needle or half round.
K1, SSK*, K2tog, SSK, K2tog, K1
Next round, K2tog, K2tog, pass the result of the first K2tog over the second, continue until all stitches are bound off. Cut yarn and thread the tail through a needle and tie off the lips squishing them up so they look fish lippy.
I have two different top fins that I use depending on my mood. They both start the same way. Starting at the point on the top of the fish about where the decreases start, pick up 18 - 24 stitches. (I start at the front and pick up one stitch for each row of the 1.5" and then a couple on either side.
For the tall fin, I knit 2 stitches into each and then start K2, P2 ribbing. For the shorter fin, I skip the doubling.
At the tail end, bind of 3 stitches, finish row. Next row even. Bind off 3 more stitches, next row even.
The number of stitches you bind off can and should vary to ensure your fish's personality.
Side fins work the same way. I pick up 12 stitches on the side. 1 row K2, P2. Next 2 rows, bind off 3 to start. Following row, bind off the rest of your stitches.
There are lots of ways to do this differently and you should experiment with all of them. I would ask that if you find an error in this pattern and/or have a way I can make it more clear, please drop me a note at susandennis@gmail.com.
You can also find all of these pictures on Flickr. I have some other knitting stuff on my knitting pages and I am susandennis on Raverlry.
Enjoy.
*SSK=Slip one stitch, then slip the next. Insert left needle into the front loops of the slipped stitches and knit them together from this position (through the back loops).
Melissa's Variations
Melissa got very creative with both the fins and with the eyes. I love them both! She notes that the eyes were inspired by wanting a safer alternative. I applaud this effort but have been too lazy to do it myself. However.... she has inspired me.
She says they are crochet circles with french knot pupils. They are just wonderful. PLUS, you could add them when you are finished as opposed to how I do it now. That would be a plus. Oh and look at all her different fish mouths!!
—ери€ сообщений "–ыбки, €щерки, черепашки...":
„асть 1 - "«олотые" –ыбки - ћастер ласс.
„асть 2 - «олотые рыбки спицами - мастер-класс на английском
„асть 3 - ƒельфин - фриформ ћ
„асть 4 - ящерка фриформ - ћастер-класс от Irina-Iriss
...
„асть 31 - «мейка оролева ћарго крючком
„асть 32 - «меемани€...
„асть 33 - –ыбка дл€ –ыбки. »дейное.
|
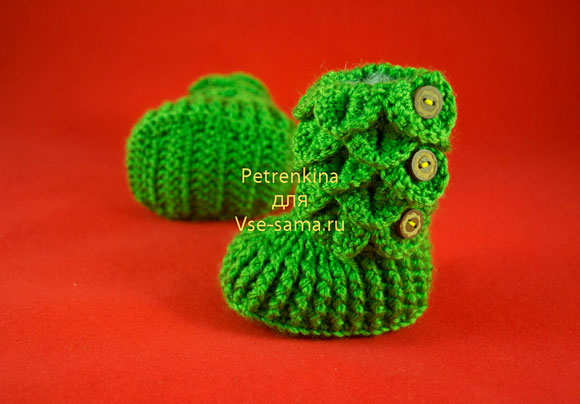
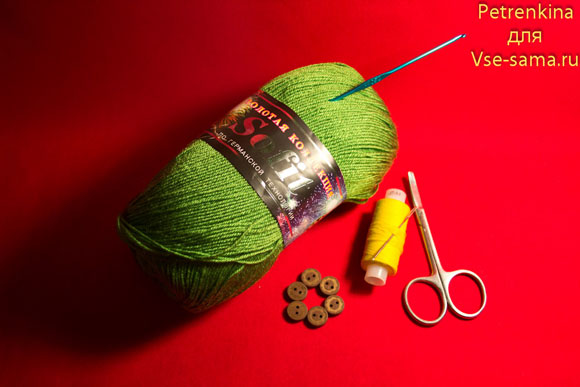
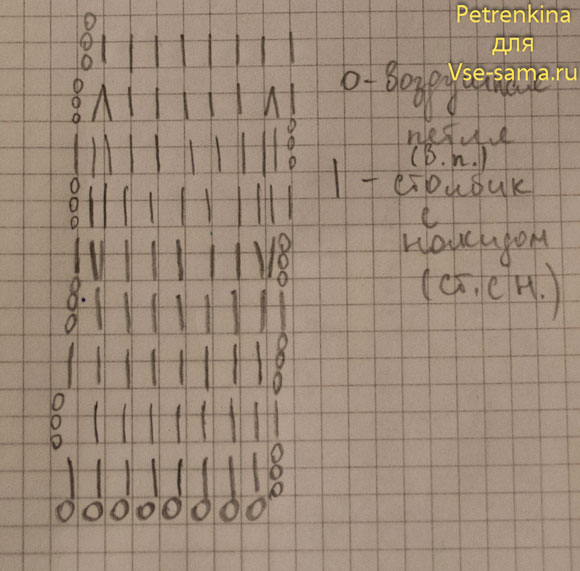
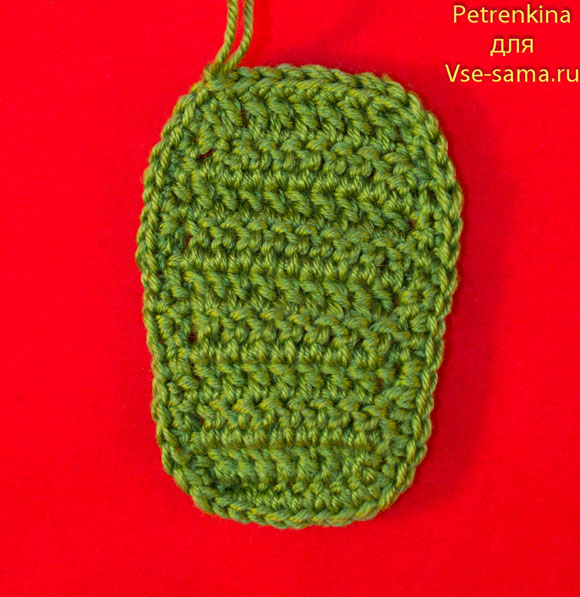
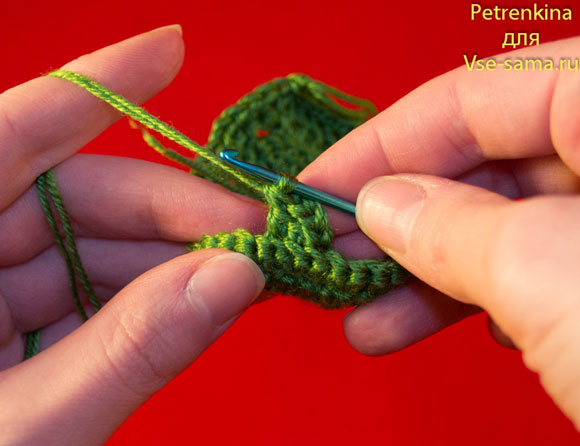
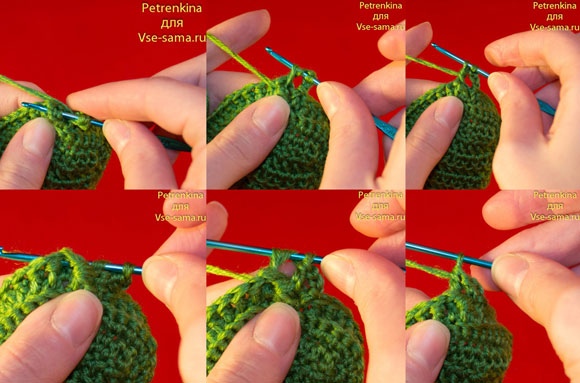
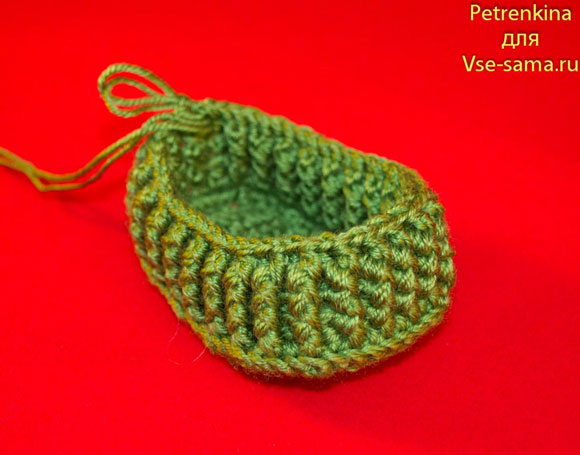
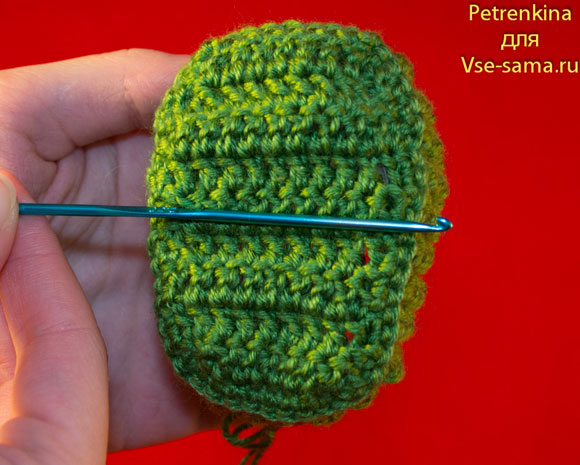
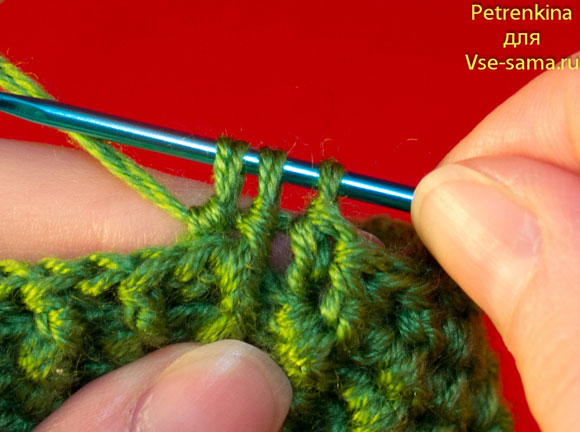
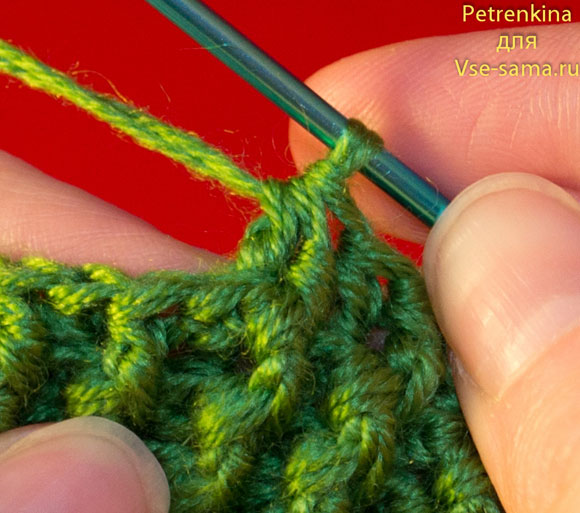
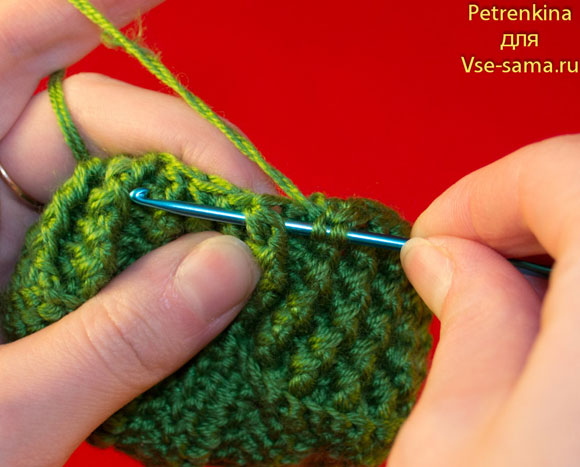
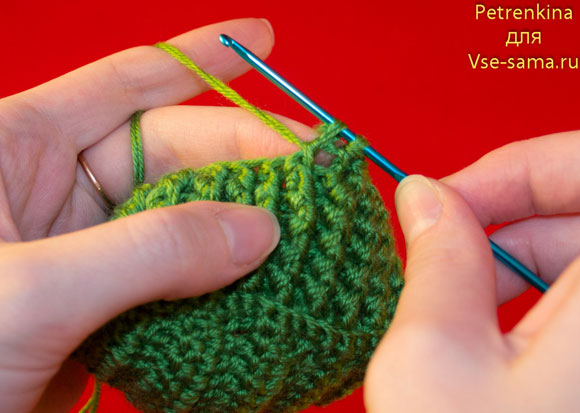
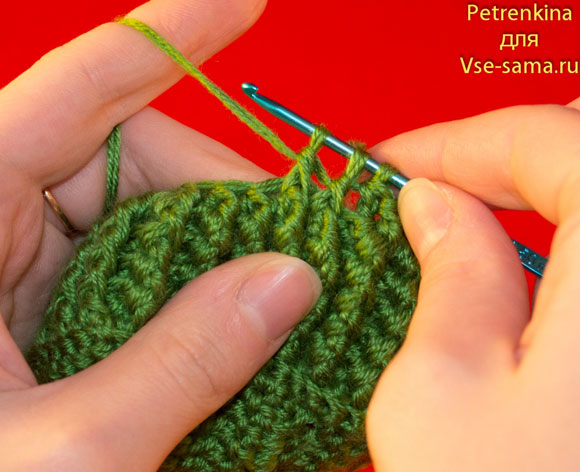
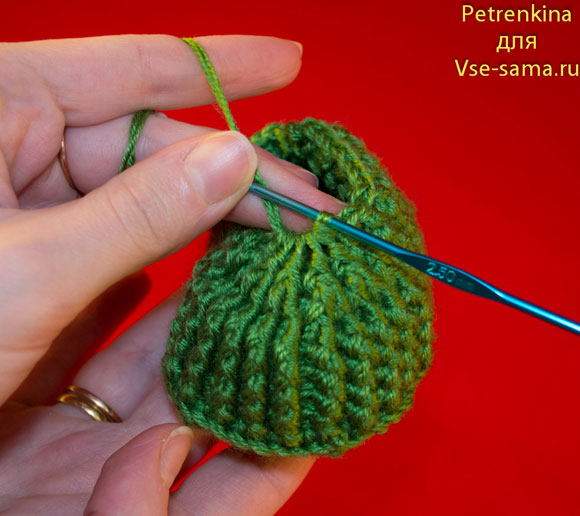
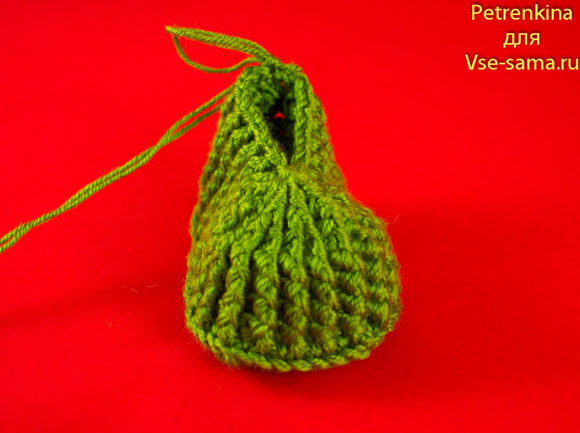
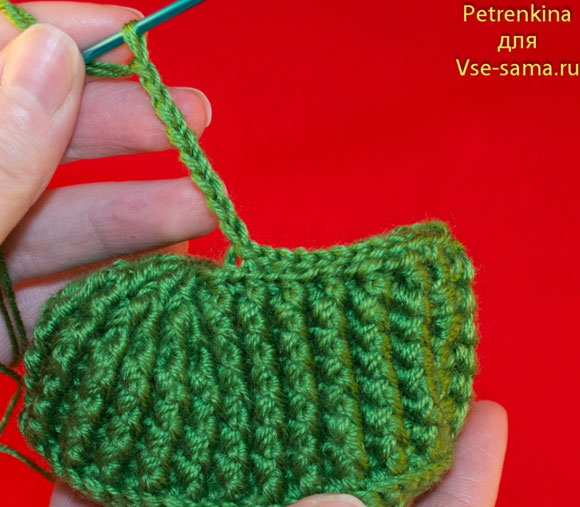
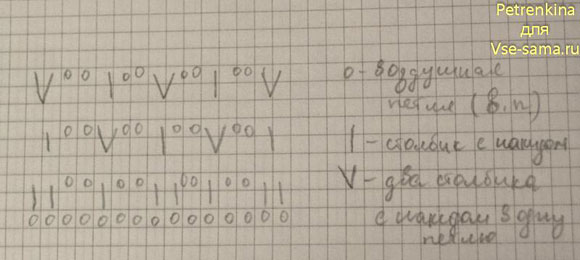
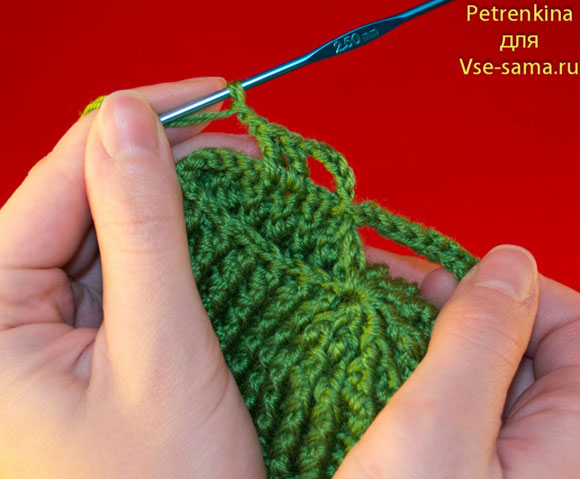
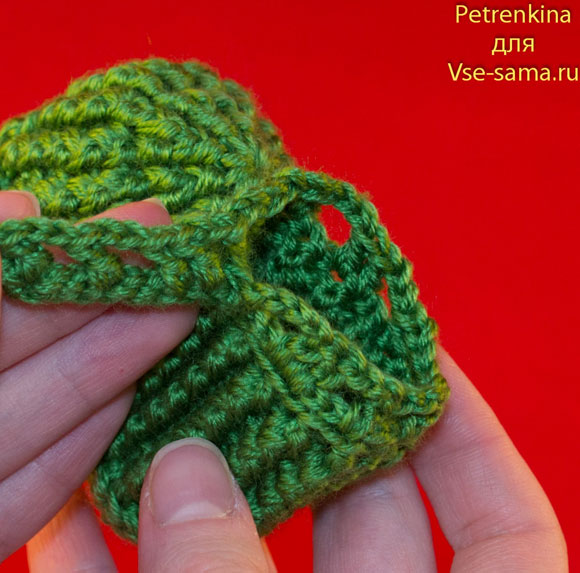
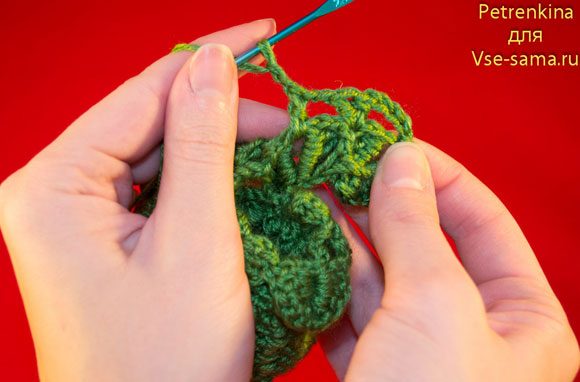
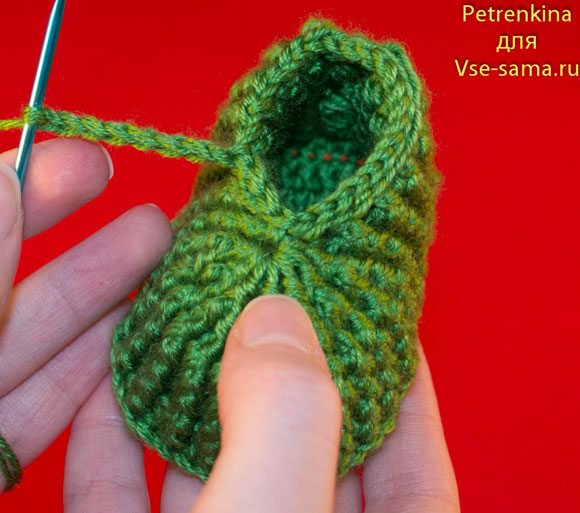
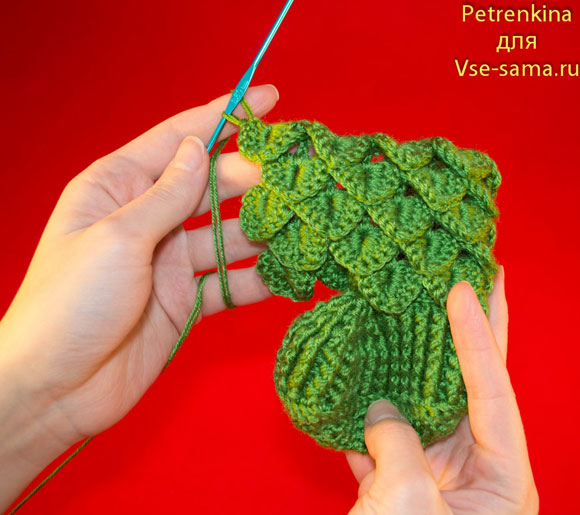
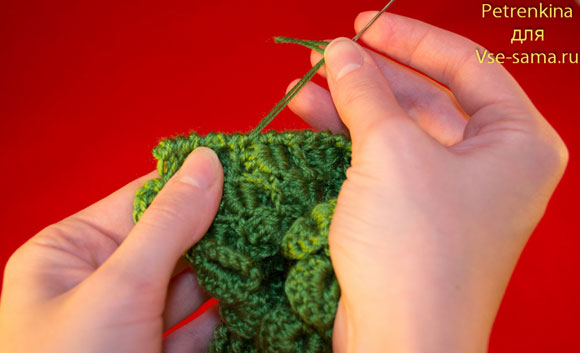
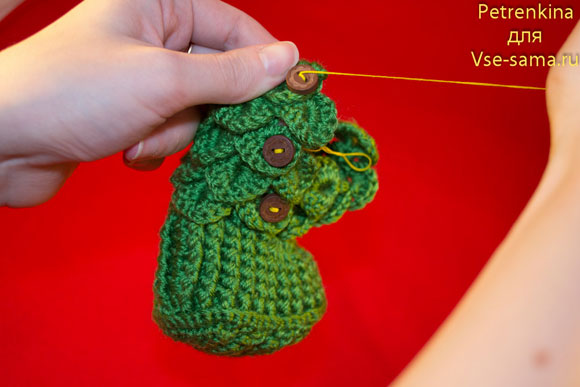
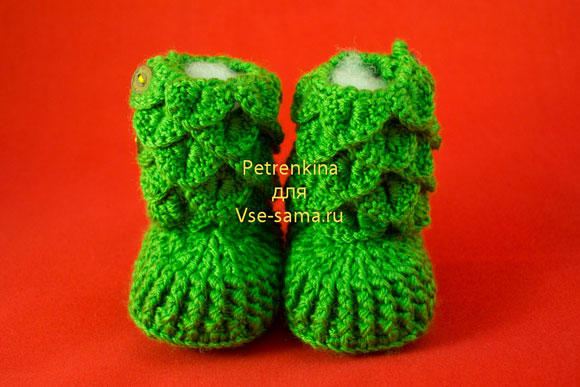
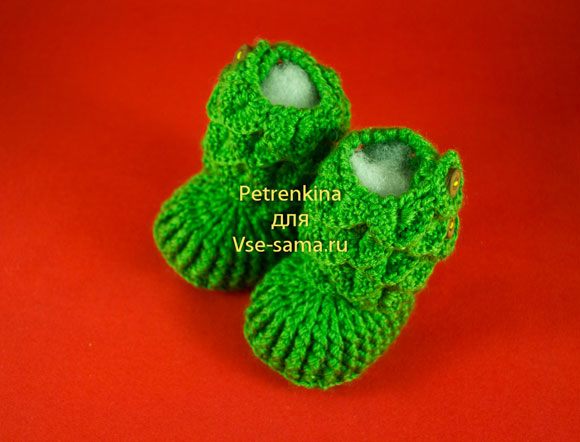
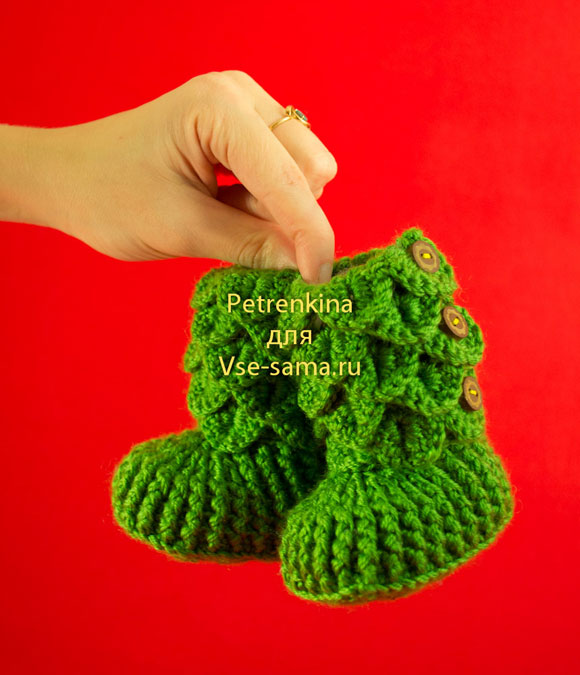
ѕинетки " рокодильчики" от Petrenkina |
Ёто цитата сообщени€ ѕурумпица [ѕрочитать целиком + ¬ свой цитатник или сообщество!]
http://vse-sama.ru/master-klassy-krjuchkom/pinetki-krokodilchiki-ot-petrenkina.html
|
¬ќ–ќ“Ќ» ј ” –јЎ≈Ќ»≈ |
Ёто цитата сообщени€ Ѕогданова_»рина [ѕрочитать целиком + ¬ свой цитатник или сообщество!]
|
ћ»Ћџ≈ ƒќѕќЋЌ≈Ќ»я |
Ёто цитата сообщени€ Ѕогданова_»рина [ѕрочитать целиком + ¬ свой цитатник или сообщество!]
|
“≈ѕЋјя ќƒ≈∆ƒј ƒЋя –” » Ќќ√ |
Ёто цитата сообщени€ Ѕогданова_»рина [ѕрочитать целиком + ¬ свой цитатник или сообщество!]
јктуально на сегодн€шнюю погоду-тепла€ одежда дл€ рук и ног.
|


