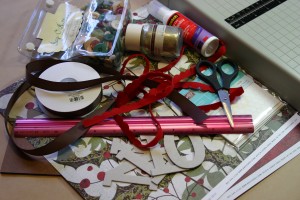
* 12" x 12" cardstock or patterned paper
* Paper Trimmer
* Ruler
* Ribbon
* Adhesive
* Chipboard Letters or alphabet stamps
* Dimensional Adhesive
* Embellishments
Step-by-Step
1.
Step 1
Use paper trimmer to cut 12" x 12" cardstock in half.
Each 6" x 12" piece will yield 3 individual pennants, so plan accordingly.

Step 2
Use a ruler to mark 6" x 12" pieces at 1", 6", and 11" at the top and 3 1/2" and 8 1/2" at the bottom.
Here, a template was made with a piece of cardstock. Instead of measuring again and again, use this to mark your cardstock. Drawing lines is optional.

Step 3
Transfer markings from template.

Step 4
Use paper trimmer to cut diagonally from mark to mark, cutting off outside edges first.
Depending on the paper trimmer, you may be able to do two sheets of cardstock at the same time.

Step 5
Cut from corners to middle marking to separate pennants.

Step 6
Six pennants cut from one sheet of 12" x 12" patterned paper.

Step 7
Here, the pennants were adhered to sheets of cardstock and trimmed with scalloped scissors.
Step 8
Cut ribbon to double the length of the banner.
Here, pennants were stapled to the ribbon. Start in the center of the ribbon to ensure even ribbon tails for hanging.
Variation: Punch holes in both top corners of each pennant and either thread ribbon or add brads or eyelets to attach pennants to one another. If you're ambitious, sew pennants to the ribbon!

Step 9
Embellish pennants as desired. Since these were stapled, more ribbon was adhered over the staples, and then tied between the pennants.

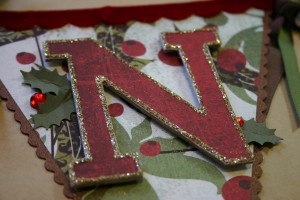
Step 10
Add decorated chipboard or stamped letters with dimensional adhesive, and embellish as desired.
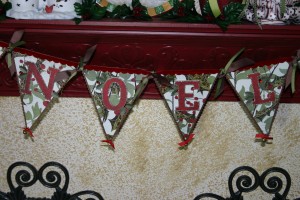
Step 11
Add more ribbon at ends of banner and display proudly!


 �
� �
� �
� �
� �
�


