-÷итатник
¬ышито-вал€но-уютные теплости от Dadaya, япони€. dadaya “окио, япони€ ...
ѕро дневник. - (0)ƒневник Patrick23owen «дравствуйте, читатели Liveinternet € рада приветствовать ¬ас в моЄм д...
-ћузыка
- Hebe Tien (田馥甄) - Insignificance (渺小)
- —лушали: 10 омментарии: 0
- Laure Shang-Je Passe Ma Vie a T'Attendre
- —лушали: 105 омментарии: 2
-ћетки
-–убрики
- Art of China (10)
- –ецепты. (6)
- Artists from different countries (4)
- Ћитература японии. (2)
- ћоЄ творчество (0)
- Art of Japan (18)
- Art of South Korea. (6)
- Art of Taiwan (2)
- јрхитектура японии. (1)
- »стори€ (1)
- итай. (16)
- итайска€ мудрость. (23)
- расивые виды японии. (6)
- Ќовости ультуры. (22)
- —таринна€ живопись японии. (4)
- ‘лористика. (10)
- японска€ поэзи€. (18)
-¬сегда под рукой
-ѕоиск по дневнику
-ѕодписка по e-mail
-»нтересы
-—татистика
—ери€ сообщений "–ецепты. ":¬ыбрана рубрика –ецепты. .
„асть 1 - —оус из клубники.
„асть 2 - —ок из арбуза.
„асть 3 - ћ€сные рулетики с помидорами черри.
„асть 4 - ¬кусное блюдо из тофу.
„асть 5 - ÷з€оцзы (китайские пельмени).
„асть 6 - “айваньские ананасовые пирожные.
ƒругие рубрики в этом дневнике: японска€ поэзи€.(18), ‘лористика.(10), —таринна€ живопись японии.(4), Ќовости ультуры.(22), ћоЄ творчество(0), Ћитература японии.(2), расивые виды японии.(6), итайска€ мудрость.(23), итай.(16), »стори€ (1), јрхитектура японии.(1), Artists from different countries(4), Art of Taiwan(2), Art of South Korea.(6), Art of Japan(18), Art of China(10)
—оус из клубники. |
ƒневник |
»нгредиенты:
- сливочное масло — 50-70гр.
- чашка клубники
- белый уксус — 1-2 ст.л.
- можно добавить сливки — 1-2 ст.л.
- соль
- сок лимона — 1-2ст.л.
ѕриготовление:
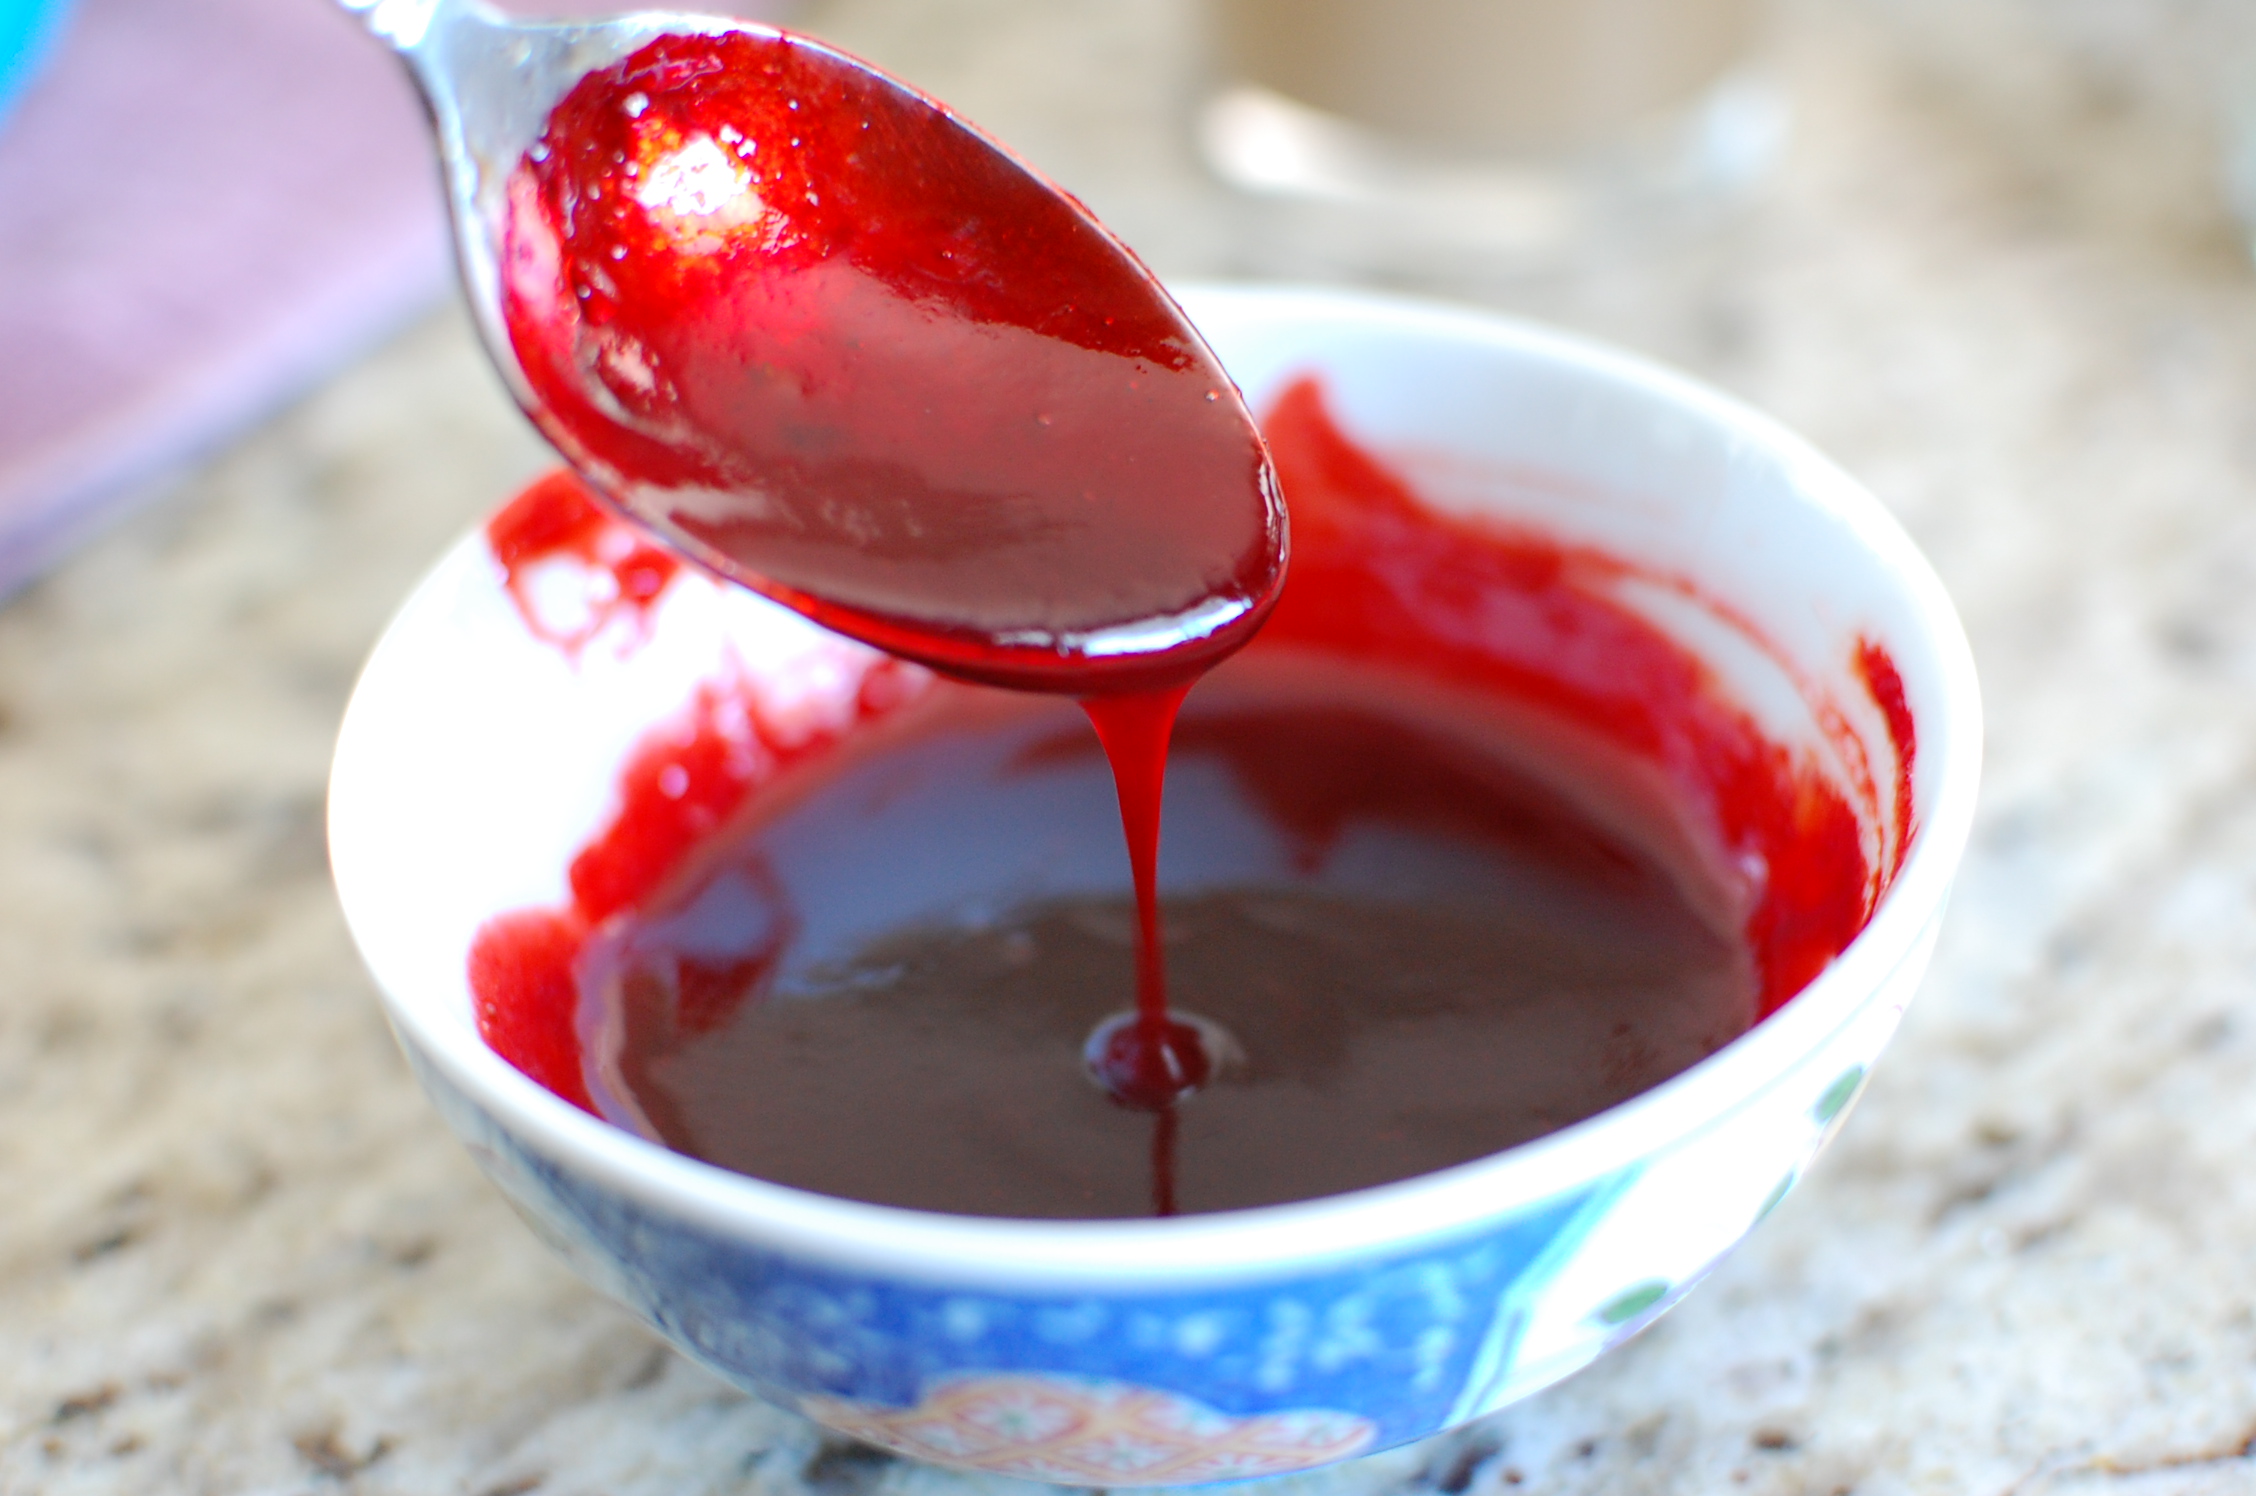
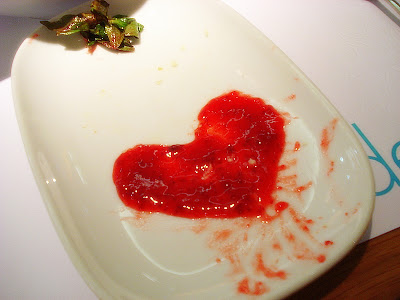
¬ сковороде, на маленьком огне, растворить сливочное масло, добавить, нарезанную на части клубнику, немного пожарить и добавить уксус и соль.

¬ыложить в чашку, добавить сок лимона и размешать, можно так же добавит сливки.
ѕри€тного аппетита!
|
ћетки: соус из клубники “айвань кухн€ тайвань клубника еда рецепты |
—ок из арбуза. |
ƒневник |
÷итата из сообщени€: http://www.the350degreeoven.com/2013/06/chinese-ta...nd-xigua-zhi-watermelon-juice/
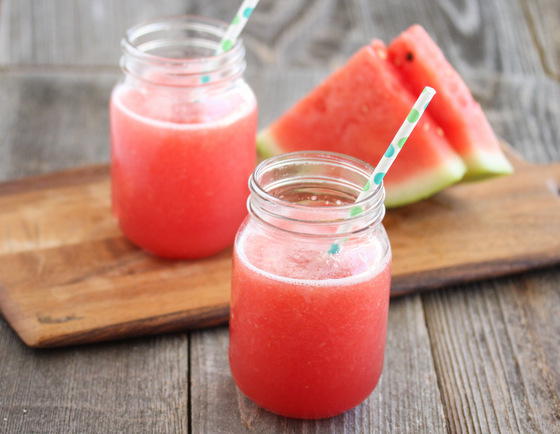
Watermelon Milk Juice (Xigua Niu Nai):
- 1/4 of a 12-13 pound seedless watermelon (about 3 lb. seedless watermelon chunks)
- 2 c. milk
- 1-2 T. sugar (optional)
Watermelon Juice (Xigua Zhi):
- 1/4 of a 12-13 pound seedless watermelon (about 3 lb. seedless watermelon chunks)
- 2 c. filtered water
- 1-2 T. sugar (optional)
1. It is best to use a seedless watermelon for this drink, as you won’t have to waste the time picking out the black seeds. Cut your watermelon in half, then cut the halves into quarters.
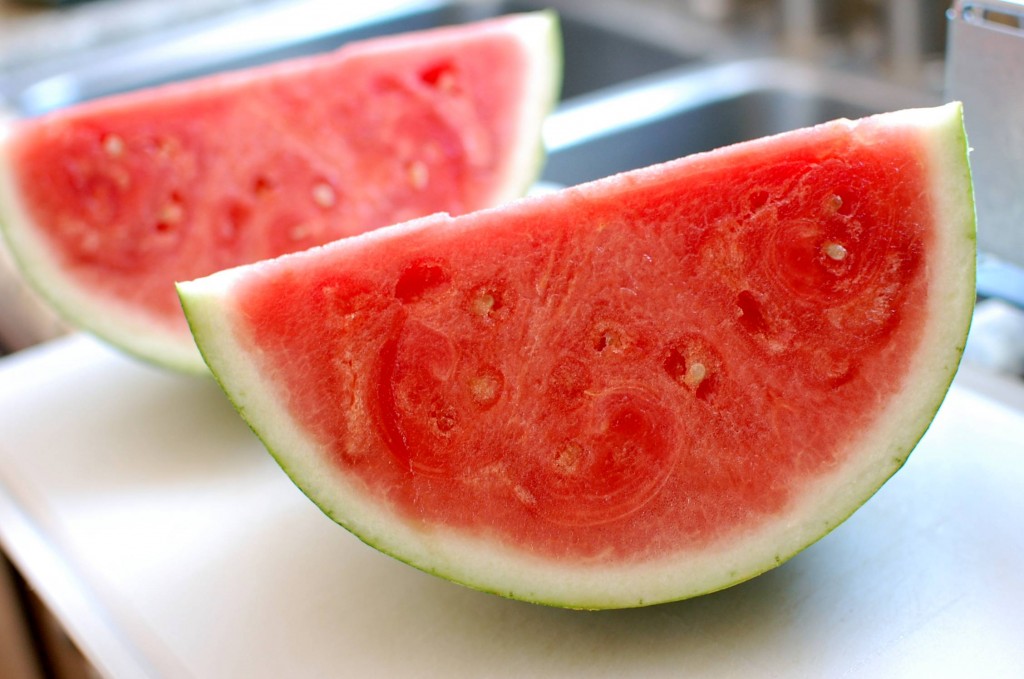
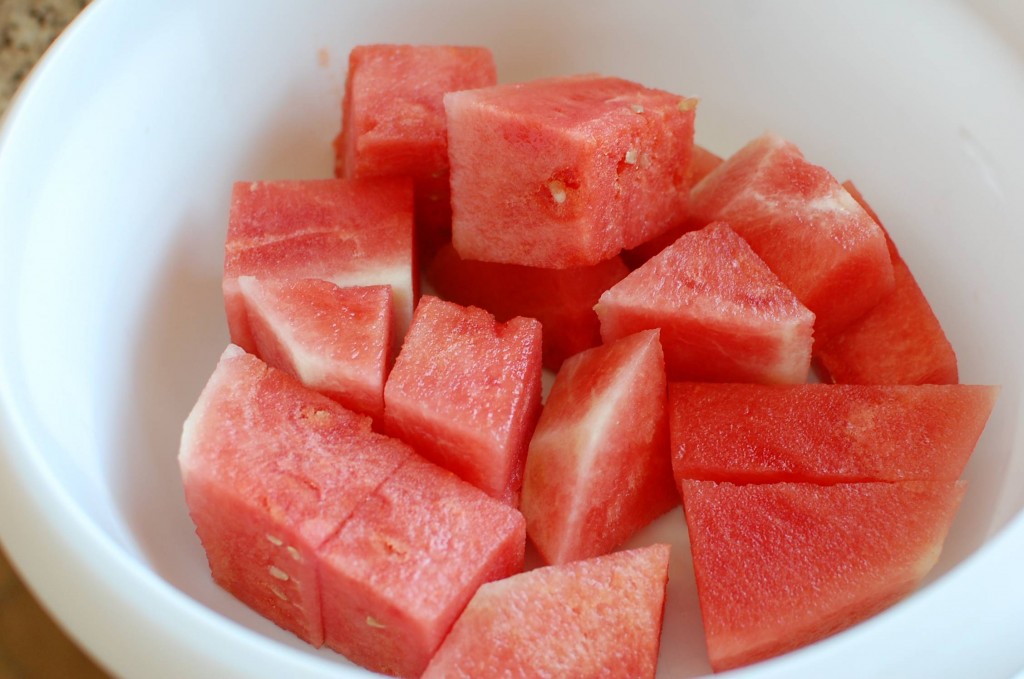
2. Using a sharp knife, cut the rind off a watermelon quarter, and cut the fruit into large chunks. For one batch, you should have about 3 lb. of watermelon chunks.
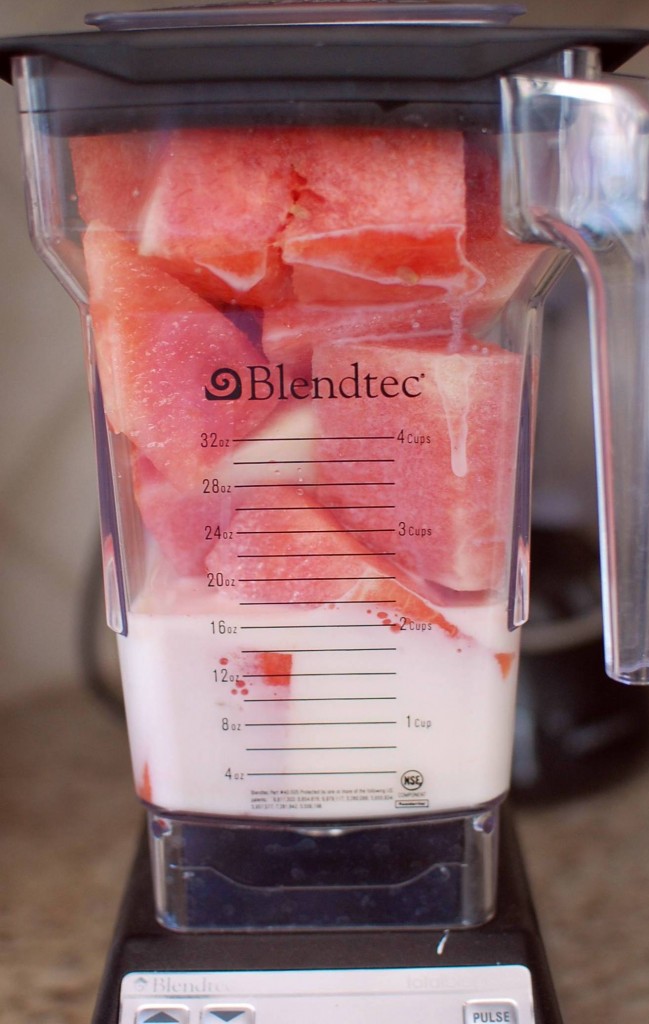
3. Put the watermelon chunks and the milk (or water if you are making Watermelon Juice instead of Watermelon Milk) into the blender. If your watermelon is very sweet, omit the sugar. If your watermelon is not sweet enough, you can add the sugar.
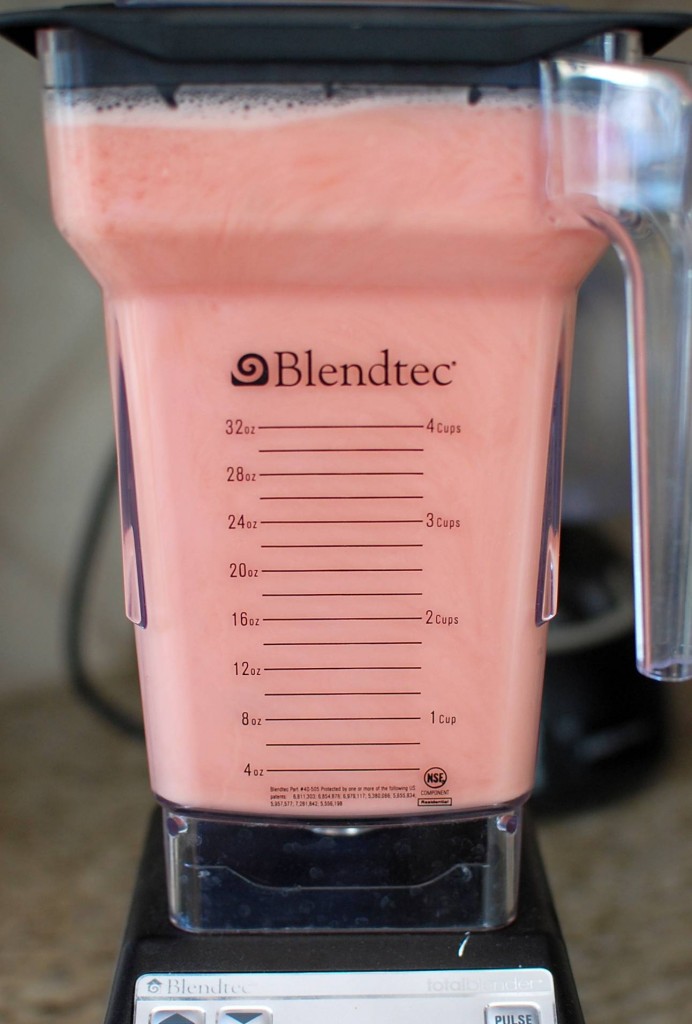
4. Blend the watermelon mixture for 15-30 seconds until liquefied. (The photo below shows the watermelon and milk blending – you will have a similar pink-ish color to your final milk juice).
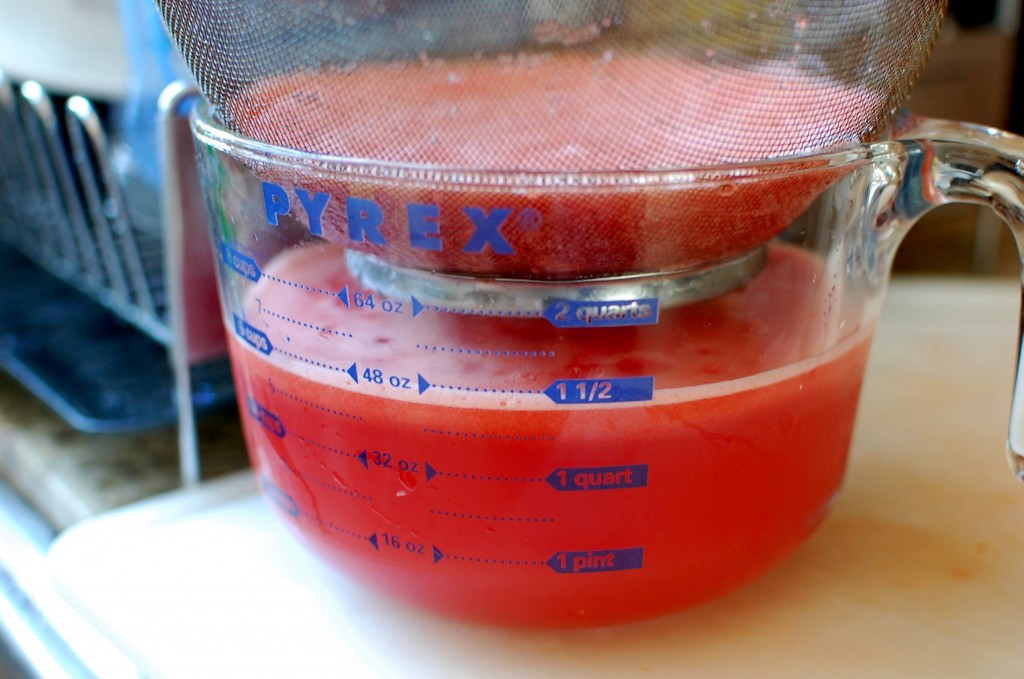
5. Strain the mixture through a large sieve. (This is to strain out the excess bubbles and foam. If you like the foam and watermelon pulp, you don’t have to strain.) (This photo below shows Watermelon Juice straining – made with water instead of milk – and you can see that the color is more red, instead of the pinkish color of the Watermelon Milk).
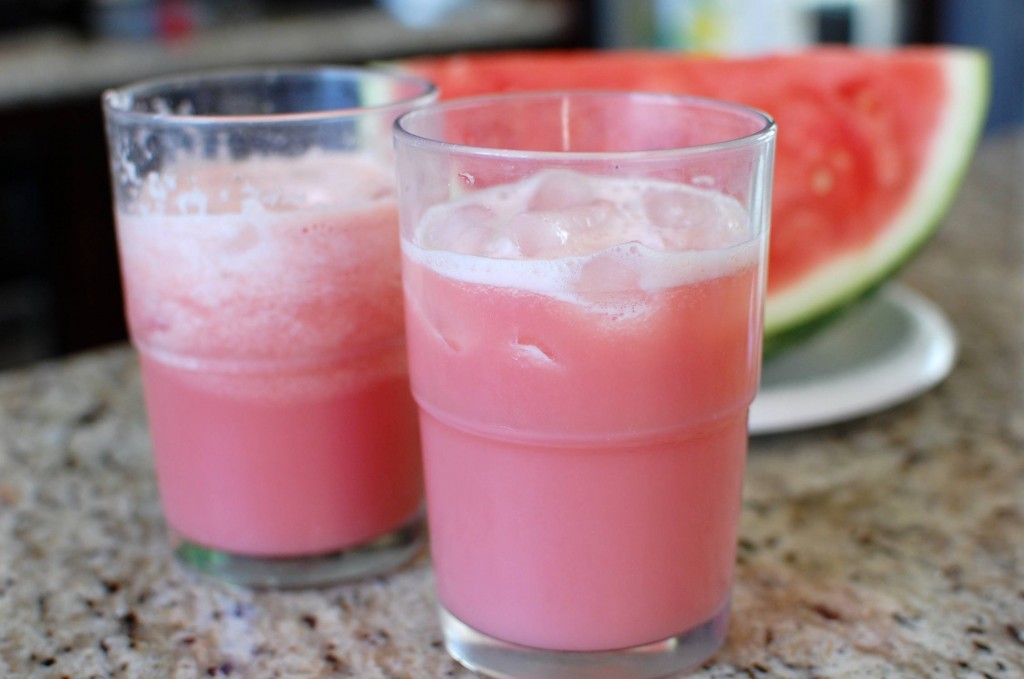
6. Store your juice in the refrigerator and serve chilled over ice. (In the photo below, the glass in the front has strained Watermelon Milk, the glass to the back left has un-strained Watermelon Milk. I think it tastes better (and looks better) strained – the foam isn’t that great tasting – but you can serve it either way depending on your preference.) Store in a covered pitcher in the refrigerator for up to two days. One batch should make about 4-5 servings.
ѕри€тного аппетита!
|
ћетки: арбузный сок рецепты кухн€ тайвань “айвань еда сок сок из арбуза арбуз |
ћ€сные рулетики с помидорами черри. |
ƒневник |
ћ€сные рулетики с помидорами черри.
»нгредиенты:
- м€со - дл€ барбекю (полоски)
- помидоры черри
- зелень
- черный перец
- соль
- дерев€нные зубочистки
- масло дл€ жарки

ћ€сные полоски посолить, поперчить. ¬ каждую полоску положить помидор и закатать в рулетик, проткнув зубочисткой, чтобы не развернулись. ѕожарить в большом количестве масла при температуре +160°— буквально 1 минуту. ¬ыложить, чтоб стекло масло и уложить на блюдо, посыпав зеленью.
|
ћетки: м€сные рулетики помидоры черри ухн€ “айвань “айвань еда |
¬кусное блюдо из тофу. |
ƒневник |

»нгредиенты:
- тофу — 1 квадрат, развесной
- мука — 150-200 гр.
- сахарна€ пудра — на присыпку
ѕриготовление:
“офу разм€ть в кашу, добавить муку, получитс€ желтоватое тесто. Ќа стол положить пищевую пленку, в центр тесто, накрыть другим концом пленки и раскатать скалкой на толщину 1 см. ¬ырезать форму круга или бублика и уложить на лист. ¬ыпекать в духовке при температуре 180°— до рум€ной корочки. √отовые гор€чие печень€ обсыпать сахарной пудрой.
ѕри€тного аппетита!
|
ћетки: тофу кухн€ тайвань рецепты “айвань еда ѕеченье из тофу |
÷з€оцзы (китайские пельмени). |
ƒневник |


|
ћетки: китайские пельмени ухн€ ита€ еда итай рецепты |
“айваньские ананасовые пирожные. |
ƒневник |
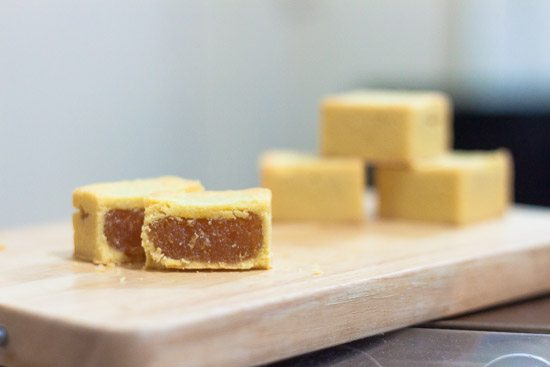
ќригинальный рецепт.
Ingredients for approx 37 tarts
1kg Pineapple Jam
360g Salted Butter
60g Icing Sugar
6 Egg Yolks
1.5 tablespoons Condensed Milk
570g All Purpose Flour
90g Full Cream Milk Powder
Square Pineapple Mould
Step 1 For convenience on the assemble part. Shape the Pineapple Jam and layer them with plastic for easier removal.
Step 2 Cream Butter and Icing Sugar until fluffy, add in the Egg Yolks one by one followed by Condensed Milk and whisk until smooth.
Step 3 Premix & sift the All Purpose Flour and Full Cream Milk Powder. Add in to the fluffed mixture part by part. Slowly a dough will be formed.
Step 4 Place the Square Pineapple mould on top of a Silicon Mat or Baking Paper. Similarly to Tart dough. Press the dough to surround the bottom & sides (full to the top) of the mould. Sometimes you have to do some patching work on the sides.
Step 5 When done, place in the square shaped Pineapple Jam then press it to avoid gaps.
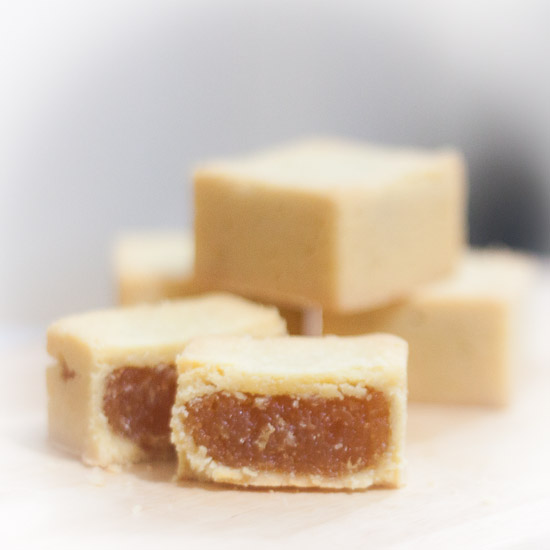
Step 6 Cover the Shortcake with more dough. Use a Icing Smoothen Tool to smooth out the top. Like shown in the picture below.
Step 7 Pre-heat the oven to 165°C. (For my moulding timing, I preheat before I reach at the final 6 of the tray's capacity.
Step 8 Bake for approx 23 to 25 mins. Until slightly golden brown then remove from oven.
Step 9 Let it cool in the tray for 10mins. then flip up it over to remove the Square Pineapple Shortcakes from the Mould.
Step 10 Lastly, ensure that it is totally cool before storing it in a air tight container.
|
ћетки: тайваньские ананасовые пирожные еда рецепты “айвань ухн€ “айвань пирожные сладкое |
| —траницы: | [1] |


