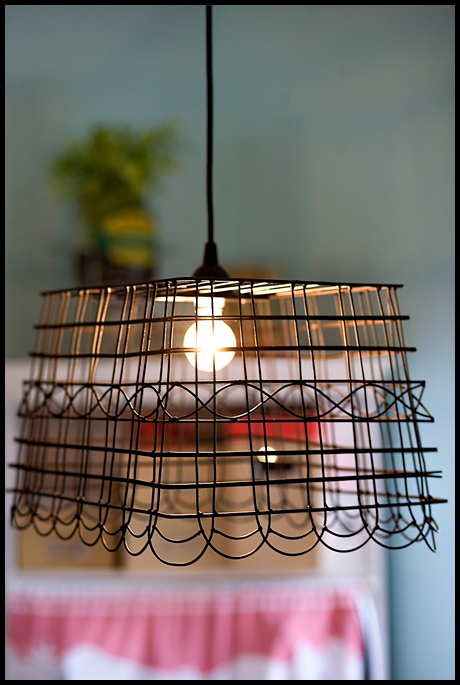

The idea for this was inspired by one of my high school students who covers everything in newspaper. I added neon/fluorescent pink embellishments because I like the contrast of B&W with the bright colors. And, using the mesh adds a technical, grid-look to the lamp.
Materials:
Hardware Cloth – I used the 1/2″ kind that comes in a 2′ x 5′ roll. (usually with the fence-building supplies at the hardware store)
Twist ties or the wire that holds the hardware cloth can be used
Tin Snips
Gloves (to protect hands when cutting the mesh)
Newspapers – I like Asian newspapers because of the added contrast created by the calligraphy or other type of paper (wrapping and art papers make nice lamps also)
Spray Adhesive
Lace and Flourescent Spray Paint (optional)
Neon Address labels (optional) – These only come in LASER, so either make sure you have a way to print on them or use a rubber stamp to create designs. You could also use a shaped paper punch. (Office Depot)
Hanging lamp fixture (Ikea)
Flame Retardant spray (Dharma trading)
1. Cut hardware cloth, using tin snips. I cut mine the size 12″ x 28″ since my newspaper was 30″ long. Make sure you can get your paper around it w/a bit of overlap. I chose 12″ tall because the mesh is 24″ in width and I figured I could get 2 lamps out of it. Leave some excess mesh to create the top of your lamp. **Hardware cloth can be difficult to flatten, but just make sure to wear gloves when unrolling and place it flat on the ground and step on it.
2. Attach long ends of mesh together with twist ties. Attach from the inside, otherwise they will be visible through the paper.
3. Measure, mark and cut out the top. I use the cylinder created to measure a circle out onto the mesh. I then, cut it out the best I can (it will not be exact). I also cut a hole to fit the light fixture. Next, I insert the top into the cylinder and attach it with twist ties about 2 squares down (this gives room to wrap the paper over the top).
4. Spray flame retardant on newspaper. I’m not sure if this step is necessary, but I feel alot better if I just do it.
5. When dry, wrap newspaper around the cylinder. I chose to do mine diagonally because I liked the design created. Use spray adhesive to attach where the paper overlaps. Then, trim around the top and bottom. Use the trimmed corners to fill in the gaps left on the cylinder. Then, fold in paper top and bottom of the lamp, use spray adhesive to attach.
6. Print out labels, cut them out and stick to your lamp.
7. Spray paint lace, using flourescent spray paint. I just use the regular kind available at the hardware store, it covers nicely and since this will not be worn or washed there’s no need to use fabric paints. I got the lace at a thrift store for very cheap, so I have no idea what it is made of. It’s very wide and off-white, that’s all I know. I used double-sided tape to attach it to the lamp.
8. Insert light fixture. Hanging lamp fixtures are nice because there is a ring that holds everything in place. Unscrew the ring, insert lamp fixture into lamp shade and screw ring back on. Then insert a light bulb that is the appropriate wattage for your lamp and you’re all done!
Here is an example of another lamp I made using wrapping paper and chandelier diamonds.




 наслождалс€ асбестовой смесью! »нструкци€ по смешиванию приводитс€ на каждом фасовочном пакете (читайте всЄ внимательно). ѕо€сню, почему мы поступили именно так. ¬азочка, которую мы раздобыли, никак не хотела сто€ть самосто€тельно, именно поэтому, нам пришлось ут€жел€ть дно конструкции. ћожно было поступить по-другому, но "хороша€ мысл€ приходит опосл€".

.jpg)
