-

 -

  •     , , , 24 . !
  •     - - . : Internet Explorer 6, Fire Fox 1.5, Opera 9.5, Safari 3.1.1 JavaScript.
  • , . , , , , , , -, ,

 - -

 -

   M_A_G_D_A

 - e-mail


 -

 LiveInternet.ru:
: 13.01.2010
:
:
: 4255

:

(0)

dye

, 21 2013 . 01:23 +
-- [ + !]

:))


, ,  ". ".

, , . ...


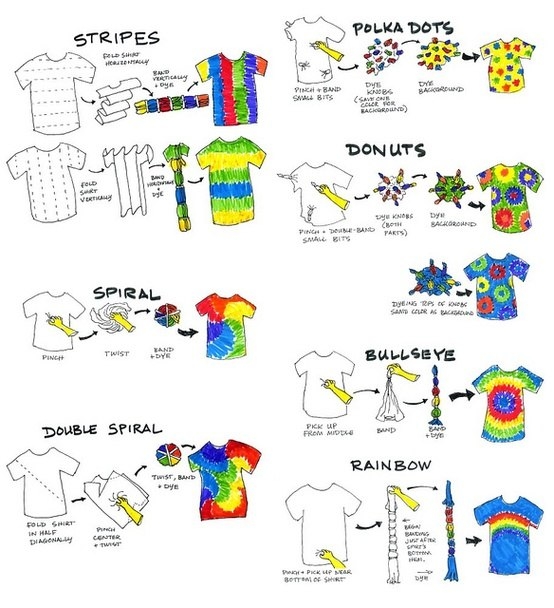
-http://secondstreet.ru/blog/pachkaem/posobie-kak-krasit-veshi-kraskami.html

"Dye, stamp":
1 - natural dye
2 - painting easy
...
12 - dye a t shirt
13 - stencil animal skin
14 - dye


:  
(0)

dye a t shirt

, 17 2012 . 00:16 +
alona777 [ + !]

. .


  .

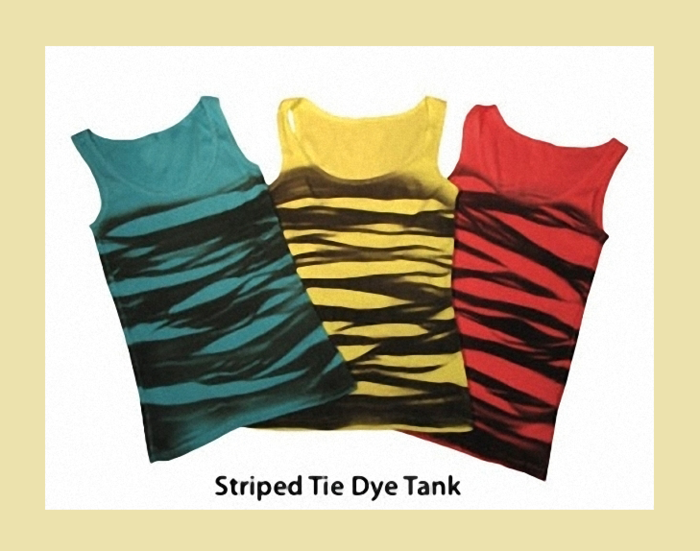
Tie Dye Tank.

, «Tie Dye Tank». .


4195696_TS_4 (700x551, 395Kb)


: 

30 .

- …

"Dye, stamp":
1 - natural dye
2 - painting easy
...
10 - interesting prints
11 - re fashion a skirt
12 - dye a t shirt
13 - stencil animal skin
14 - dye

FASHION/Re-fashion
FASHION/T-shirts transformation

:  
(0)

re fashion a skirt

, 10 2012 . 20:02 +

"Mending":
1 - Mending bag's corners
2 - using lace
...
7 - widen pants
8 - diy belts
9 - re fashion a skirt

"Dye, stamp":
1 - natural dye
2 - painting easy
...
9 - dye t-shirt
10 - interesting prints
11 - re fashion a skirt
12 - dye a t shirt
13 - stencil animal skin
14 - dye

FASHION/Re-fashion
FASHION/Embllishment

:  
(0)

dye t-shirt

, 30 2012 . 01:34 +
alona777 [ + !]

. -.


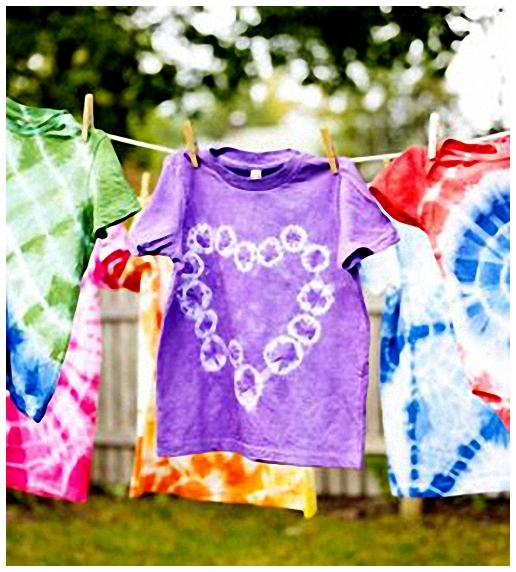
  - ( , ).  

4195696_img1005 (516x572, 265Kb)

  .  

… - …

"Dye, stamp":
1 - natural dye
2 - painting easy
...
7 - bleach dye
8 - dye a shirt
9 - dye t-shirt
10 - interesting prints
11 - re fashion a skirt
12 - dye a t shirt
13 - stencil animal skin
14 - dye

FASHION/T-shirts transformation

:  
(0)

dye a shirt

, 30 2012 . 08:40 +
_ [ + !]


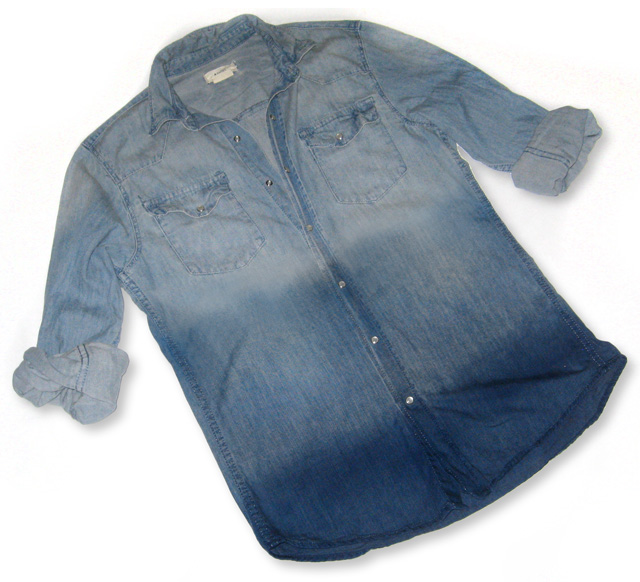
Supplies: Shirt from H&M, Brilliant Blue iDye, Navy blue fabric dye and plastic gloves (bucket optional)
Steps after the break! 


I just used my sink, but you can use a bucket for easier clean up. 
First dissolve the Brilliant Blue in a full sink of water.  
 
Next dip half your denim shirt into the dye, making sure you have a straight line across the chest. Let the shirt soak in the dye for 10 minutes. 
Wash out the dye. 
Let your shirt dry to make sure you achieved the desired color. If not, re-dip in dye. 
 
Next fill up your sink with water and dissolve the navy blue dye. 
 
Dip half of the area you already dyed into the navy blue, and let sit for 10 min. 
Let dry!

" ":
1 -
2 -
...
8 - ,
9 -
10 -
11 - . !!!!!! -
12 -
13 -

"Dye, stamp":
1 - natural dye
2 - painting easy
...
6 - different effects by paint
7 - bleach dye
8 - dye a shirt
9 - dye t-shirt
10 - interesting prints
...
12 - dye a t shirt
13 - stencil animal skin
14 - dye


:  
(0)

bleach dye

, 28 2012 . 00:11 +


To DIY For: The Bleached Mini Dress

Posted by Loret Gamboa on Fri, Sep 25, 2009 at 1:44 PM


Finished bleached dress
To DIY For is back! I figured you had enough fashion tips and advice to digest during Fashion Week without my forcing more clothes down your throats! It's officially fall now, so I will be cutting you no more slack and will expect nothing less than full completion of weekly assignments.


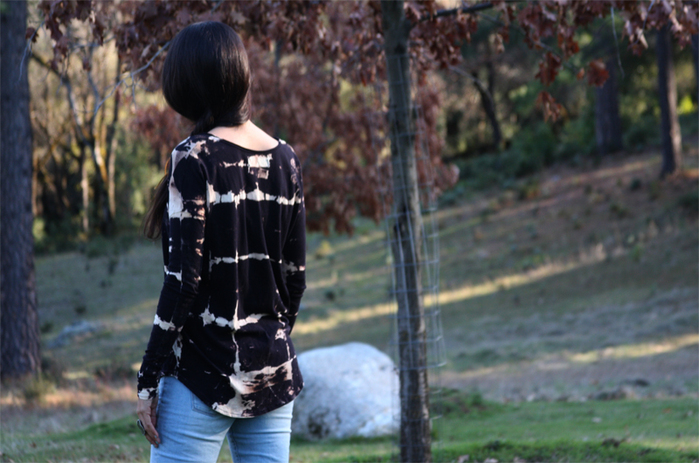
So, I hope everyone had a fabulous and enlightening Fashion Week. Almost as fun as watching the fashion shows themselves is looking at what the fashionable attendees of said fashion shows are wearing. It's a great barometer of what the trends will look like this fall from fashion insiders. As the folks over at Fashionista quite observantly pointed out, the long-sleeved mini dress was everywhere. Here, I created my own version of this versatile fall staple that can be worn for almost any occasion, and it will look great with tights when the temperature begins to dip. I also incorporated another fall trend, strong shoulders which, as Laurel already told you in our Fall Fashion issue, are, well, BIG.

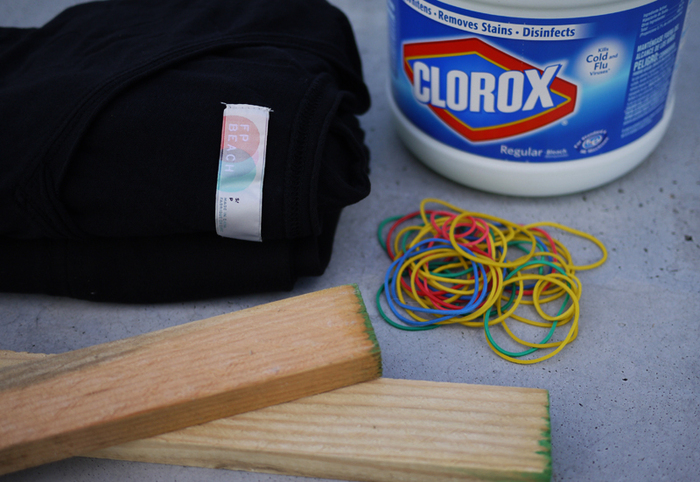
TOOLS
—long-sleeved mini dress
—bleach
—shoulder pads
—plastic bucket
—rubber bands (about 40)

Step 1 
Start with a long-sleeve American Apparel dress—I know you have one. I bought this little double u-neck number; I went for the black because it's pretty classic and simple, but I think this would also work really well in other colors. I'd love to see how a purple one would turn out!


Original dress


Step 2
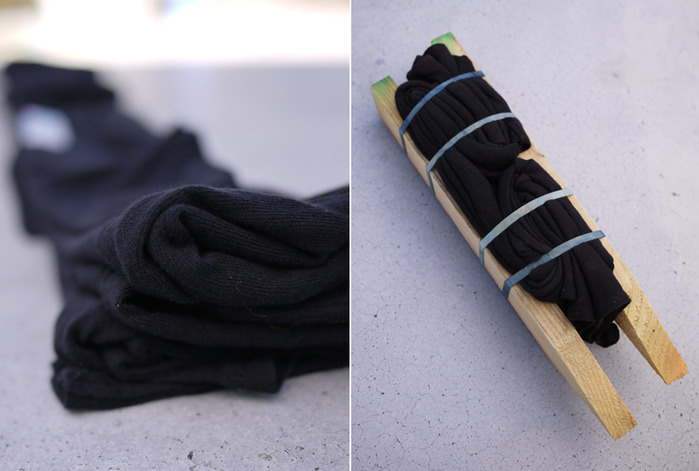
Gather the dress into a vertical strip with the sleeves aligned with the body of the dress. The overall effect we're trying to achieve with this is horizontal bleached stripes. You'll need a lot of rubber bands to ensure the bleached and unbleached portions are even. Those really thick rubber bands; the ones that crush paper and posters, as it turns out, are perfect for this project. The finished product should look something like a sandworm.


Rubber bands


Step 3
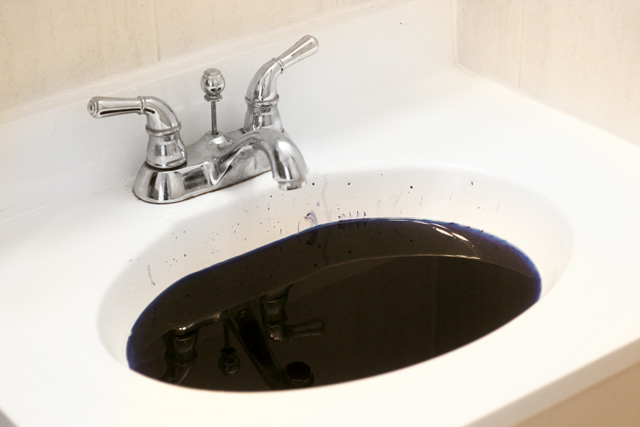
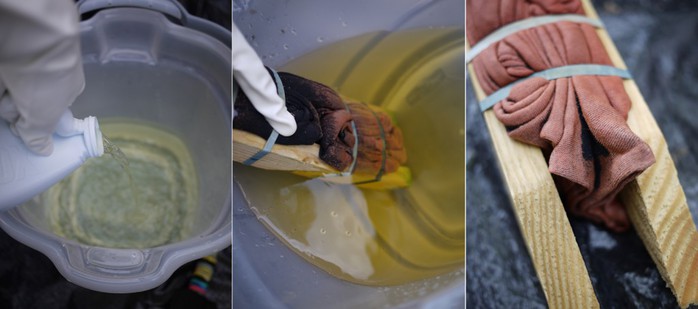
Dilute bleach in two parts water and pour to cover the dress. Let soak until the desired color is achieved. I wanted to bleach out as much of the color as possible so I let mine sit for about an hour, but it bleached all it was going to bleach in the first 20 minutes or so.


Dress in a bucket


Step 4
I had a pair of shoulder pads lying around from a shirt I bought at a thrift store, but you can probably purchase a pair from any trimming store. They come in a variety of sizes and shapes. These are on the conservative side. To attach, simply sew along the edge of the neck. This should keep it in place, but I would recommend you make a small stitch at the tip of the shoulder pad to prevent moving .


shoulder pads


There you have it! A great fall party dress. You know what would go really well with this? A chunky, shiny statement necklace! Stay tuned next week when I attempt my first accessory!


finished.jpg
 

"Dye, stamp":
1 - natural dye
2 - painting easy
...
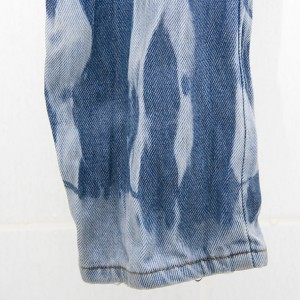
5 - dye with bleach
6 - different effects by paint
7 - bleach dye
8 - dye a shirt
9 - dye t-shirt
...
12 - dye a t shirt
13 - stencil animal skin
14 - dye


:  
(0)

different effects by paint

, 25 2012 . 01:24 +
_ [ + !]

.

!

, . .

...

"Dye, stamp":
1 - natural dye
2 - painting easy
...
4 - dye the whole fabric
5 - dye with bleach
6 - different effects by paint
7 - bleach dye
8 - dye a shirt
...
12 - dye a t shirt
13 - stencil animal skin
14 - dye

DECOR/Painting, stamp

:  
(0)

dye with bleach

, 25 2012 . 00:48 +
OLISS-OLGA [ + !]

-.

. , !

!

tiedye1 (700x447, 223Kb) 

4 1 .  2 , - , , , .

!

tiedye2 (700x482, 309Kb)

tiedye3 (700x471, 75Kb)

tiedye4-1024x453 (700x309, 46Kb)

tiedye61 (700x463, 296Kb)

"Dye, stamp":
1 - natural dye
2 - painting easy
3 - dyed feather pen
4 - dye the whole fabric
5 - dye with bleach
6 - different effects by paint
7 - bleach dye
...
12 - dye a t shirt
13 - stencil animal skin
14 - dye


:  
(0)

dye the whole fabric

, 24 2012 . 01:50 +
_ [ + !]


:  
(0)

dyed feather pen

, 23 2012 . 13:20 +


来源:

/www.google.com.hk/s2/u/0/favicons?domain=huaban.com" target="_blank">http://www.google.com.hk/s2/u/0/favicons?domain=huaban.com); background-attachment: initial; background-origin: initial; background-clip: initial; background-color: initial; padding-left: 20px; background-position: 0px 8px; background-repeat: no-repeat no-repeat; " title="花花_的采集 - 复古鹅毛笔DIY,很美~~快来学习...">huaban.com  花花_的采集 - 复古鹅毛笔DIY,很美~~快来学.../cdn.duitang.com/img/0/mdetail.png?20120315" target="_blank">http://cdn.duitang.com/img/0/mdetail.png?20120315); float: right; padding-top: 0px; padding-right: 20px; padding-bottom: 0px; padding-left: 0px; line-height: 31px; background-position: 100% 8px; background-repeat: no-repeat no-repeat; ">查看来源
复古鹅毛笔DIY,很美~~快来学习吧!更多内容,请关注

"Feather":
1 - Peacock Wedding Items
2 - Feather Broach
...
6 - feather flowers
7 - thread feather
8 - dyed feather pen

"Dye, stamp":
1 - natural dye
2 - painting easy
3 - dyed feather pen
4 - dye the whole fabric
5 - dye with bleach
...
12 - dye a t shirt
13 - stencil animal skin
14 - dye


:  
(1)

painting easy

, 22 2012 . 02:54 +


来源:

/www.google.com.hk/s2/u/0/favicons?domain=weibo.com" target="_blank">http://www.google.com.hk/s2/u/0/favicons?domain=weibo.com); background-attachment: initial; background-origin: initial; background-clip: initial; background-color: initial; padding-left: 20px; background-position: 0px 8px; background-repeat: no-repeat no-repeat; " title="我的首页 新浪微博-随时随地分享身边的新鲜事儿">weibo.com  我的首页 新浪微博-随时随地分享身边的新鲜.../cdn.duitang.com/img/0/mdetail.png?20120315" target="_blank">http://cdn.duitang.com/img/0/mdetail.png?20120315); float: right; padding-top: 0px; padding-right: 20px; padding-bottom: 0px; padding-left: 0px; line-height: 31px; background-position: 100% 8px; background-repeat: no-repeat no-repeat; ">查看来源
owl【自己动手】这,用的是一次性饭盒吗?真是简易的吹塑纸版画啊。
/cdn.duitang.com/img/0/quot.gif" target="_blank">http://cdn.duitang.com/img/0/quot.gif); background-attachment: initial; background-origin: initial; background-clip: initial; background-color: transparent; background-repeat: no-repeat no-repeat; "> 

owl【自己动手】这,用的是一次性饭盒吗?真是简易的吹塑纸版画啊

"China & Kitchen ware":
1 - decorative plates
2 - lamps out of recycled items
3 - painting easy

"Dye, stamp":
1 - natural dye
2 - painting easy
3 - dyed feather pen
4 - dye the whole fabric
...
12 - dye a t shirt
13 - stencil animal skin
14 - dye

DECOR/Painting, stamp

:  
(0)

natural dye

, 21 2012 . 01:58 +


/www.google.com.hk/s2/u/0/favicons?domain=weibo.com" target="_blank">http://www.google.com.hk/s2/u/0/favicons?domain=weibo.com); background-attachment: initial; background-origin: initial; background-clip: initial; background-color: initial; padding-left: 20px; background-position: 0px 8px; background-repeat: no-repeat no-repeat; " title="我的微博 新浪微博-随时随地分享身边的新鲜事儿">weibo.com  我的微博 新浪微博-随时随地分享身边的新鲜.../cdn.duitang.com/img/0/mdetail.png?20120315" target="_blank">http://cdn.duitang.com/img/0/mdetail.png?20120315); float: right; padding-top: 0px; padding-right: 20px; padding-bottom: 0px; padding-left: 0px; line-height: 31px; background-position: 100% 8px; background-repeat: no-repeat no-repeat; ">查看来源
【自己动手】有人用感光面料和自己种在花园里的植物DIY了一件漂亮的衣服和一幅精美的画。步骤不是很复杂,但效果非常神奇。

"Dye, stamp":
1 - natural dye
2 - painting easy
3 - dyed feather pen
...
12 - dye a t shirt
13 - stencil animal skin
14 - dye

DECOR/Frames, wall art, mirror

:  
(2)

natural dye

, 23 2011 . 00:56 +


DIY NATURAL DYES with FREE PEOPLE

 
I've been a fan of Free People for ages, mainly because of their perfectly bohemian aesthetic and super cool warehouse headquarters (thanks instagram for reminding me daily of where I DON'T work). I always tune in for their WednesDIY on the Free People blog, so when they asked me recently if I wanted to guest post for today's DIY I couldn't say no - check out the DIY Fishtail Skirt I made for them.
 
We also thought it would be lovely to feature one of their DIYs here.  Free People blogger Julia (um, best job ever?) did this amazing natural dyes project which I knew you would love. 


I have always wanted to experiment with natural dyes and on a gloomy day in September I decided that it was time. This is such a fun, environmentally friendly project that takes a little bit of time, but very little cash.

There are a number of plants that can be used to make natural dyes, but for my first go-round I chose to use fruits and vegetables that I picked up at a local market.

 
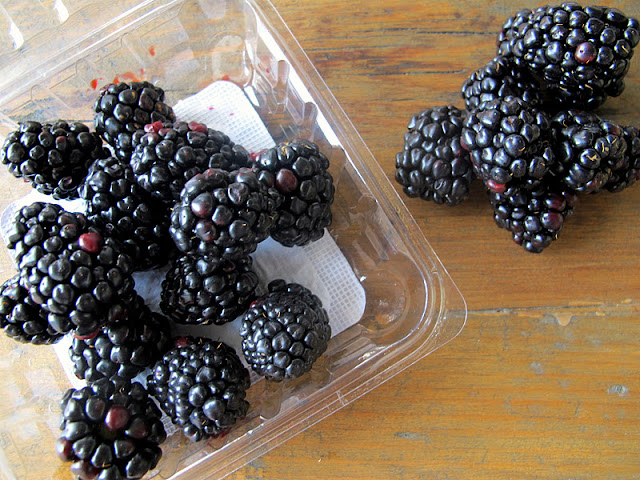
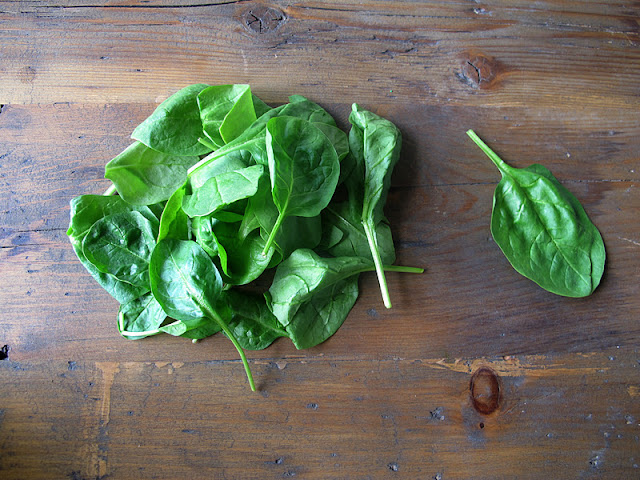
What I got: red cabbage, lemons, oranges, beets, yellow onions, blackberries, blueberries, spinach.
 
*It’s important to remember when working with natural dyes that experimentation is key – depending on the amount of ingredients you use and how long you leave a garment in the dye, the color you get can vary.

For pinkish/red dyes:
Beets and blueberries can make a really lovely dusty rose color.
 
 
For bluish/purple dyes:
Blackberries and red cabbage can be used to make bluish/purple dyes.  
  
For copper/orange dyes:
I never realized what a beautiful color yellow onions can have! Their skins can make an alluring mustard yellow, coppery color.
 
 
For yellow dyes:
Orange and lemon peels can be used to make a soft pale yellow dye. 
 
 
For green dyes:
Finally, spinach can be used to make a beautiful shade of green. 
 
 
Now what?
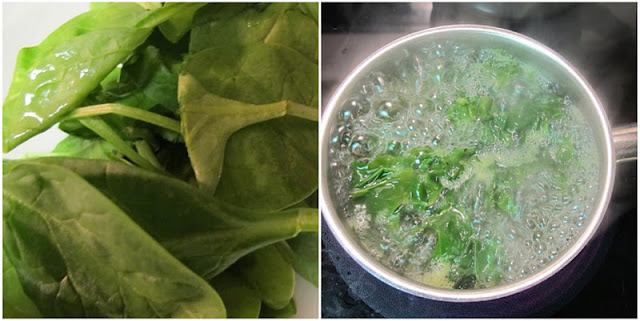
To make the dye, chop up your ingredients and put them in a pot with twice as much water as ingredients.  Bring the water to a boil and let simmer for an hour.  For deeper colors, you can leave the ingredients in the water (without heat) overnight.
Remove the hard materials from the mixture with a strainer, leaving you with the liquid dye.
 
 
The beets were such a beautiful deep red color! I chopped them up and added water and when I started boiling the water turned red almost immediately.
 
  
For the onions, I peeled off the skins and used only that part – I have seen other examples of this online that yielded really nice results but I was actually doubtful that this would really work.  Turns out I was pleasantly surprised!
 
 
I had high hopes for the spinach… if anyone has tried this with spinach and gotten good results let me know what your secret is :)
 
 
After bringing each ingredient to a boil, I let them simmer for an hour while I prepared the fabrics to dye.
 
 
Before dying, you will also need to create a fixative, which will help your fabric hold the dye.
When working with berries, use a salt fixative – put 1/2 cup of salt in 8 cups of water, put the fabric in and simmer for one hour.
When working with vegetables, use a vinegar fixative – mix one part vinegar and four parts water, add your fabric and simmer for one hour.
When you remove the fabric, rinse in cold water.
The fabric is now ready to dye! 
 
 
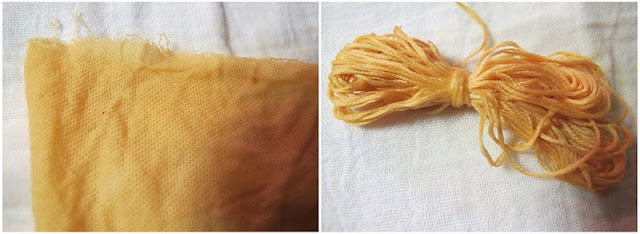
I put the fabric in the dye and let it sit for a little while – the longer you let it sit, the deeper your shade of color will be. I removed the fabric when I felt like it had reached a nice shade of reddish pink – such a pretty color:
 
  
I was happiest with the color I got from the onion skins – a beautiful amber that worked so well on the fabric.
 
  
Wouldn’t it be cool to make friendship bracelets using naturally-dyed string?!
 
 
By the next day, the fabric dyed with the beets faded into more of a light pink color, but it was still really pretty! I think next time, though, I would leave the fabric in the dye for longer.  The fabric dyed with onion skins actually held out really well, and I LOVE the color it created. I loved it so much, I tried it out on one of my Free People bras:)
 
 
FASHION/Re-fashion

:  
(0)

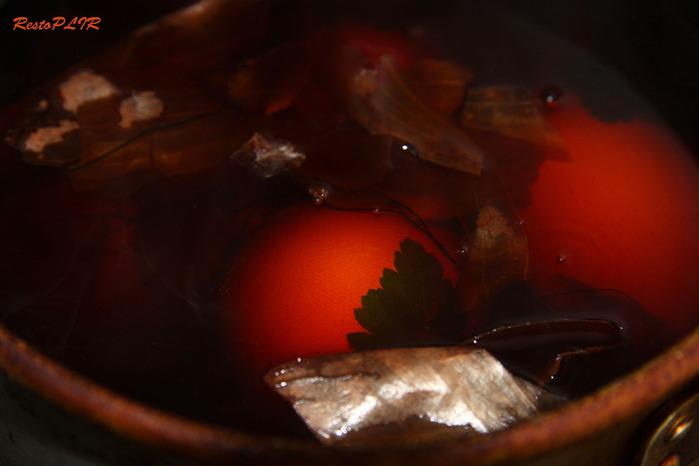
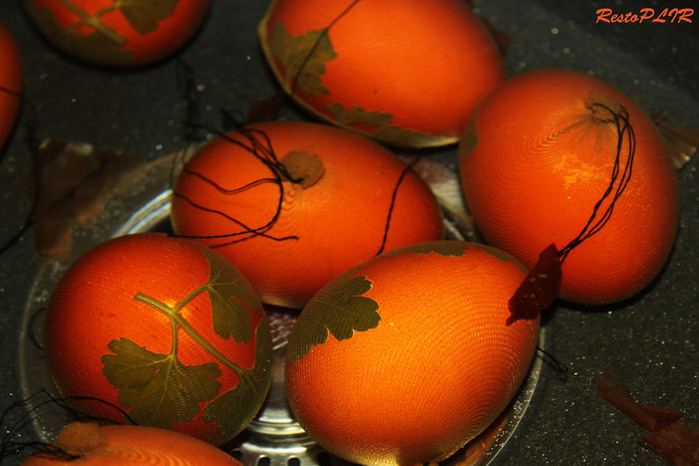
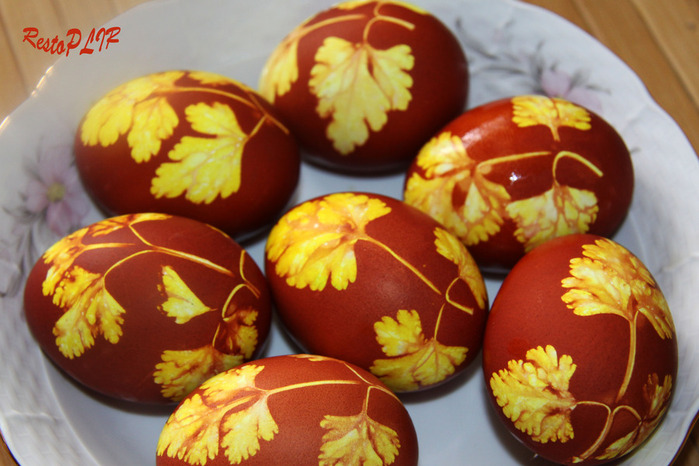
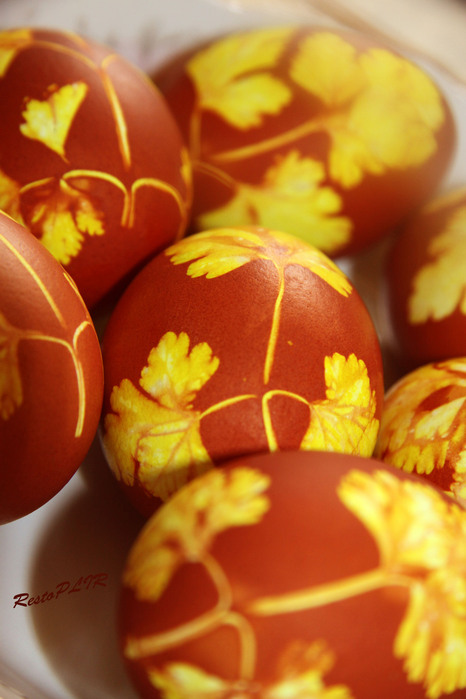
dye eggs

, 12 2011 . 01:18 +
--- [ + !]

( )

, - . .

, , .

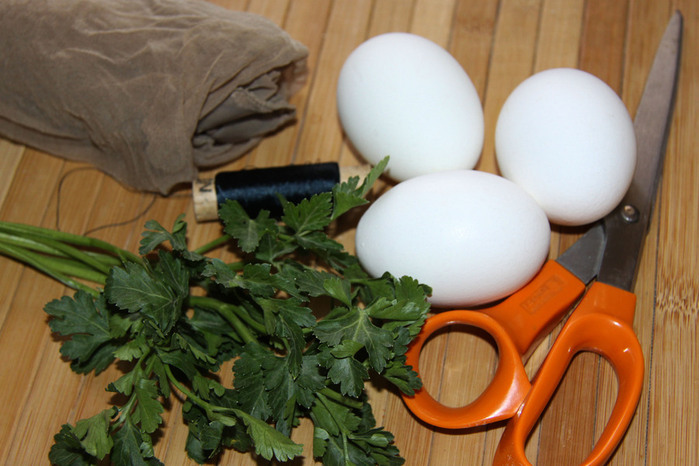
:
1. ;
2. ;
3. ;
4. (, );
5. ;
6. .
IMG_1864-1 (700x466, 107Kb)


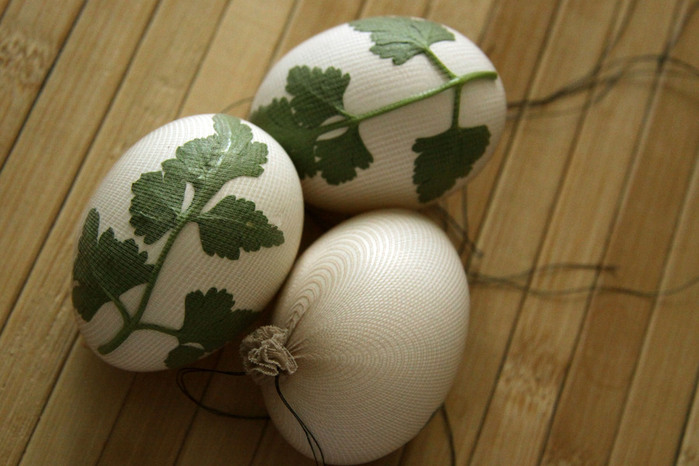
, .

, . , ( , ). .
IMG_1867-1 (700x466, 93Kb)


7-10.
IMG_1868-1 (700x466, 85Kb)
IMG_1870-1 (700x466, 64Kb)


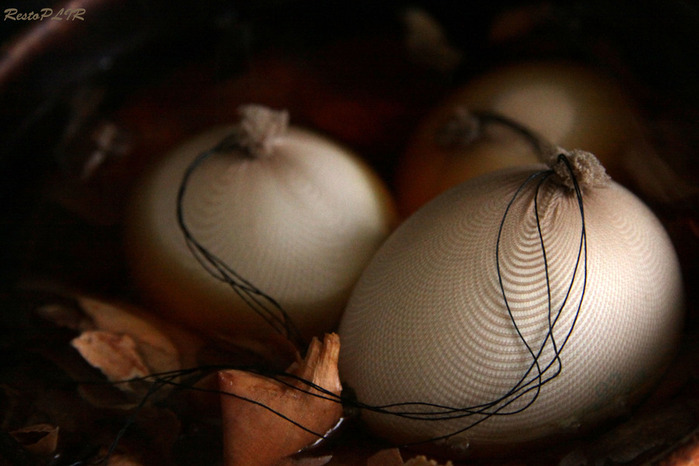
. .
IMG_1871-1 (700x466, 108Kb)


, . =)
IMG_1874-1 (700x466, 121Kb)
IMG_1875-1 (466x700, 89Kb)

!


" ()":

1 -
2 - ( )
3 - ,
4 -
5 - ( )


"Egg Shells":
1 - DIY apple tray
2 - another tray out of carton and egg shells
...
5 - flower arrangements with egg shells
6 - box with egg shells
7 - dye eggs
8 - decorative bottle
9 - easy frames
10 - decorative bottles
11 - clock

"Egg":
1 - boiled eggs
2 - puff pastry plates
...
17 - heart egg
18 - stuffed toast
19 - dye eggs
20 - decorative serving
21 - stand for eggs
...
31 - decorative serving
32 - egg white dessert
33 - meringue in the microwave

DECOR/Kitchen

:  
(0)

dye simple

, 02 2010 . 19:46 +
helen1 [ + !]

!

: . ! , , , . , . , . , …

...

:  
(0)

, 11 2010 . 02:27 +
Nudeloper [ + !]

, .


 2010- . - . - . ? 20 , 80-.  .

, :

- , , ;

- (), ;

- ;

- ( );

- ( ), , ;

- .

, .


1. .

. , .

, . , . - . - .

2. .

, .

80 , (). .

3. .

.

, .   . .  , (). 15 . , .

4. .

. . , . , , .

.

.

. . . .


http://projeans.ru

:  

 : [1]