-Метки
баклажаны как грибы жареные на зиму блины блюда из кабачков булочки варежки винный погребок выпечка десерты дюкан еда елочка заготовки на зиму закуска закуски запеканки из ненужного кексы коктейль с водкой новый год рецепты коктейлей куколки кулинария ликёр из чёрной смородины. мясные блюда напитки новый год обереги огород на балконе оригинальные идеи пастила из вишни первые блюда переделка одежды печенюшки пироги пирожки подарки! поделки из отходов полезные советы рецепт корзинки из дрожжевого теста ромашка из яиц рукоделие для дома своими руками рыбные блюда рыбный день салат ромашка салаты салаты. символ 2013 года символ года скрабы и маски сладости соусы торт торты украшение блюд хлеб
-Рубрики
- Flash (10)
- Видео (33)
- Всякое полезное (72)
- Вышивка (9)
- Вязание (164)
- Гороскопы (14)
- День Святого Валентина (35)
- Живопись (12)
- Журналы по рукоделию (2)
- Здоровье (86)
- Игрушки (146)
- Интерьер (22)
- Картинки (56)
- Комнатные растения (36)
- Кулинария (1849)
- Любопытно и интересно (79)
- Магия денег (22)
- Магия.Домашние приметы. (22)
- Мастер-классы (293)
- Молитвы и заговоры на все случаи жизни (14)
- Мыловарение (57)
- Народная медицина (84)
- Новости и события (3)
- Новый Год (317)
- Отмечаем праздники (18)
- Оформление дневника (5)
- Пасха (131)
- Полезные ссылки (10)
- Продукты питания, добавки, специи и пряности (33)
- Путешествия (12)
- Рукоделие (595)
- Рукоделие /бумаготворчество (95)
- Секреты красоты (195)
- Скрапбукинг (65)
- Следим за фигурой (96)
- Советы хозяйкам (44)
- Стихи (49)
- Украшения своими руками (25)
- Упаковка подарков (6)
- Фото-жизнь (52)
- Фотошоп (14)
- Цветы из ткани (59)
- Чудеса своими руками (11)
- Шитьё (328)
- Юмор (35)
-Музыка
- Сальваторе Адамо — Падает снег
- Слушали: 11664 Комментарии: 0
- FLORIZEL - LES VALSES DE VIENNE
- Слушали: 9458 Комментарии: 0
- Сергей Беликов Снится мне деревня
- Слушали: 2938 Комментарии: 0
- Bruno Lorenzoni - Melodie d`amour. Аккордеон- мировая бессмертная мелодия из песни "Любовь"
- Слушали: 65400 Комментарии: 0
- F.R.David - "Words"
- Слушали: 29054 Комментарии: 0
-Поиск по дневнику
-Подписка по e-mail
-Статистика
МК волосы для куклы |
Цитата сообщения Nadin72
МК волосы для куклы
Make a size 6 Mohair Wig ©
МК волосы для куклы
Make a size 6 Mohair Wig ©
|
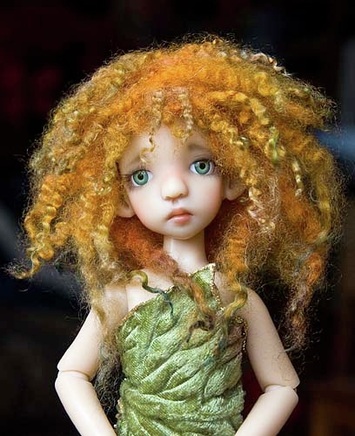
I make all my own mohair doll wigs, and in this tutorial I will share my technique so you can create your own one-of-kind wig.
The instructions in this tutorial are for making a wig using separate mohair curls, which will be sewn into strips of 'wefting, then attached to a crochet cap. The mohair curls I used for Cinnamon's wig were a rough texture and very tightly curled, perfect for the 'wild' look I had in mind. I create the caps for my wigs by crocheting with very fine baby wool or heavier gauge crochet thread. The instructions in this tutorial will make a size 6 wig cap, and assume you already know how to crochet. By experimenting you could make a larger wig cap to fit a larger doll. |
First, let's make the wig cap...
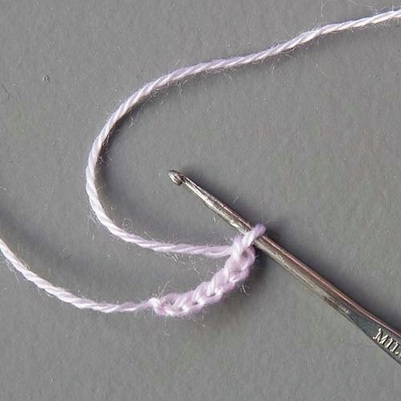
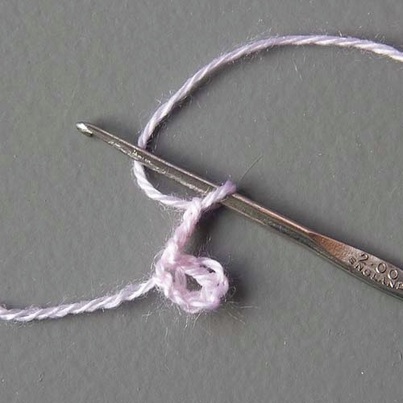
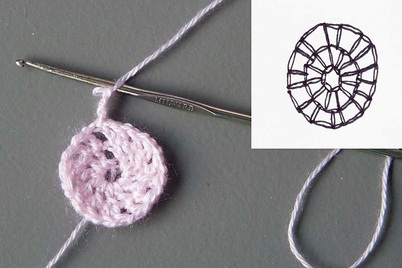
The following Instructions are from the previous tutorial on making a size 6 wig cap using fine baby wool.
For the wig in this tutorial I've used a heavy gauge dark brown crochet thread instead, but the instructions are exactly the same.
For the wig in this tutorial I've used a heavy gauge dark brown crochet thread instead, but the instructions are exactly the same.
|
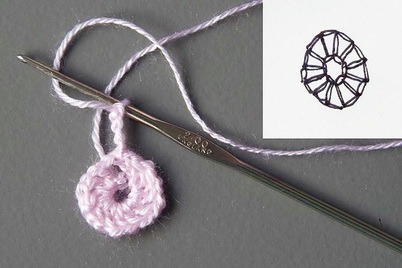
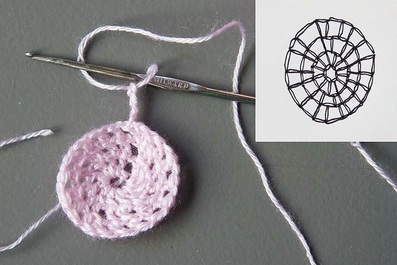
5. Third Row: continue with 'double crochet, chain one' pattern increasing twice at opposite sides (18 spokes in circle) Chain 4.
|
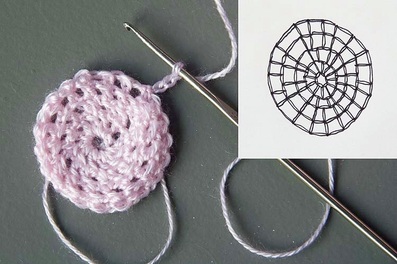
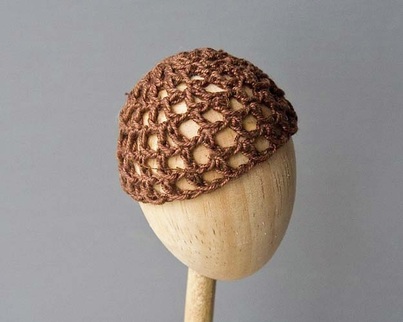
6. Fourth Row: continue with 'double crochet, chain one' pattern increasing twice again (20 spokes in circle) Chain 4. Crochet two more rows without increasing. Cut thread and work away loose ends.
|
Now let's make the wefting....
|
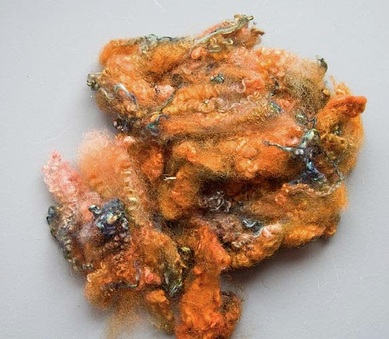
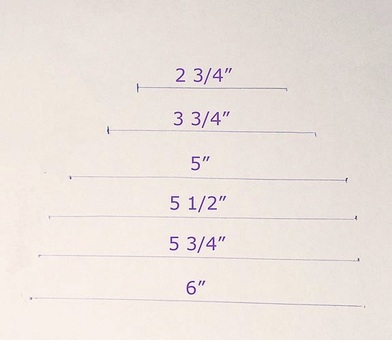
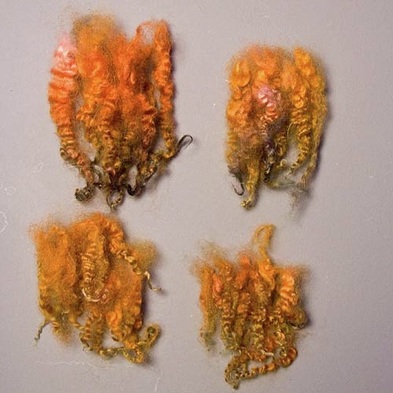
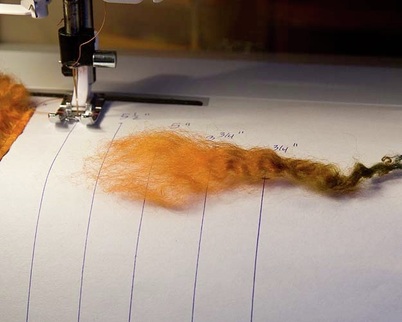
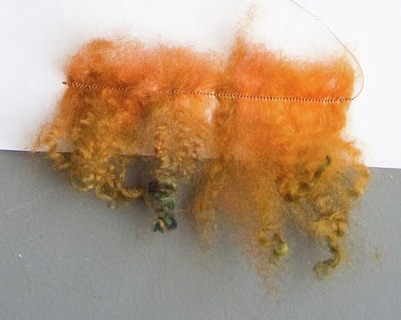
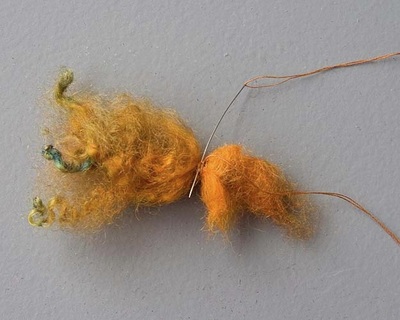
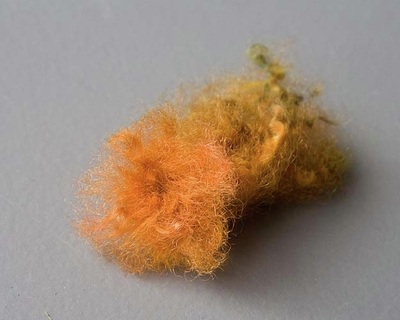
8. Separate the mohair into separate piles of long, medium and short locks.
|
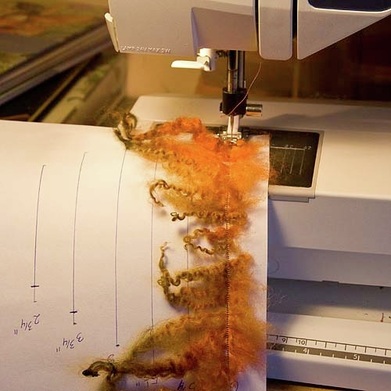
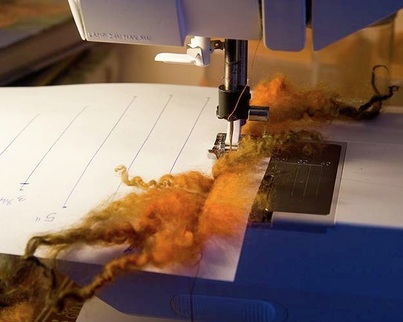
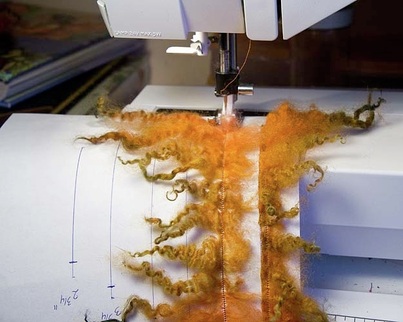
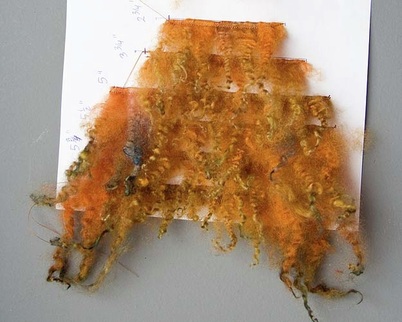
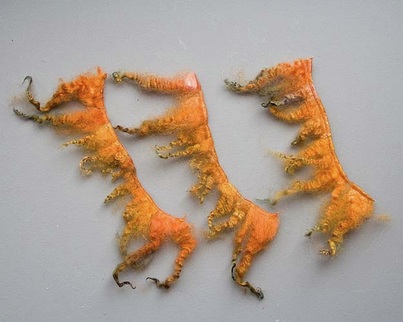
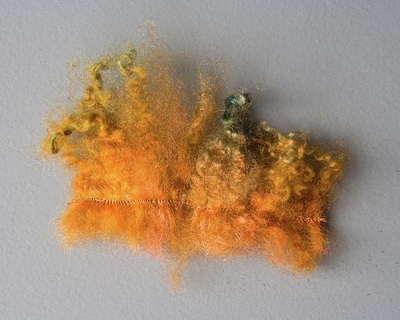
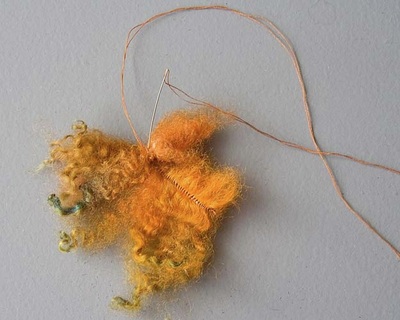
9. Starting with longest line on the paper, insert sewing machine at beginning of line, then take one of the longest mohair locks, spread out the top (sheared end) and stitch with matching coloured thread. The two ends of the sewing line correspond to the back of the wig, the front is in the middle, so decrease lock length towrds middle of line with shortest locks in the center, as shown.
|
Now, let's glue the wefting to the wig cap...
|
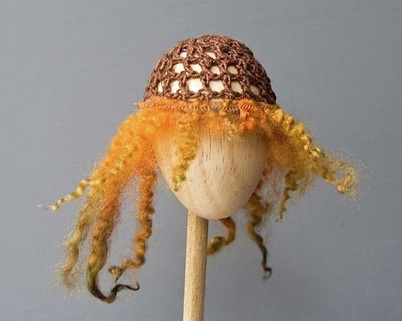
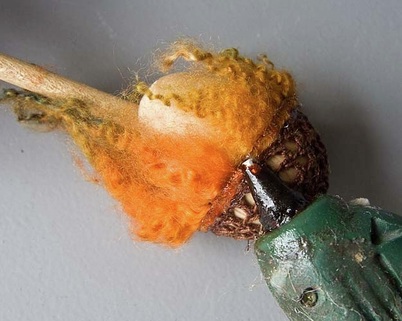
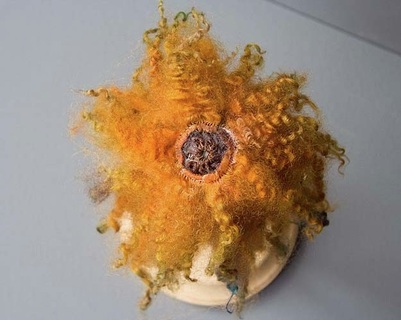
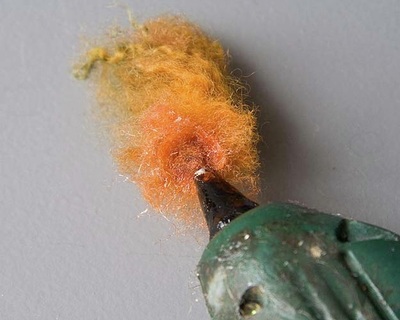
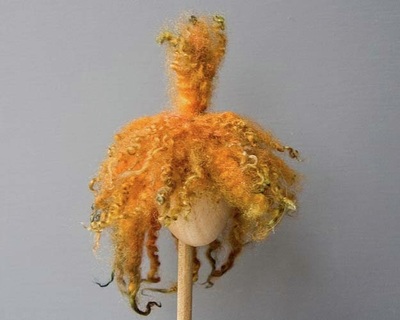
16. Apply bead of hot glue along top edge of mohair wefting, and glue onto bottom edge of wig cap. *Cover wig stand with foil to prevent glue from going through crochet cap and sticking to wig stand. ( I forgot, and ended up with hot glue all over my wooden egg)
|
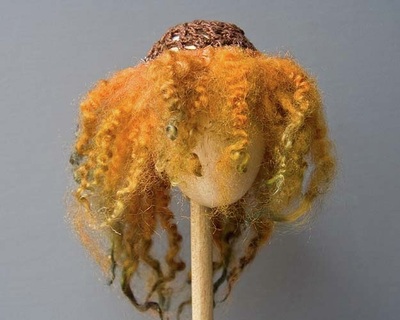
17. Apply a thin bead of glue on outside edge of mohair wefting and with hot nozzle of glue gun slowly melt the glue into the top of the mohair to help hold all the fibers permanently into place.
|
Update & Improvement
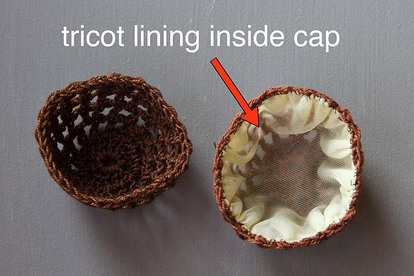
When gluing on the mohair strips, the glue often came through the holes in the crochet cap and would stick to the wooden egg support underneath. Covering the egg with foil only made the glue stick to the foil and I ended up with a messy-looking inside to the wig.
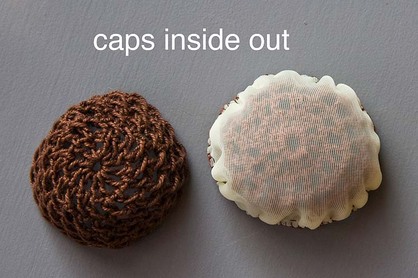
I've since discovered that a lining of nylon tricot sewn into the inside of the crochet wig cap will prevent the glue from coming through and sticking to the supports underneath.
I've since discovered that a lining of nylon tricot sewn into the inside of the crochet wig cap will prevent the glue from coming through and sticking to the supports underneath.
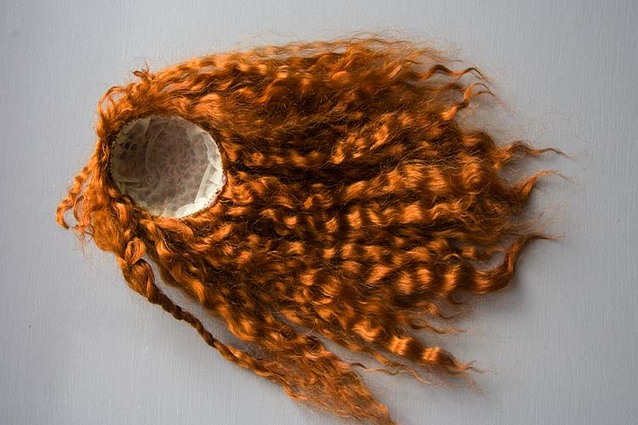
Inside view of a wig made with a nylon tricot lining in the cap. The dark spots are where the glue came through between the crocheted 'lace' of the cap, but the nylon tricot prevented it from coming all the way through to the supports underneath.
| Рубрики: | Мастер-классы |
| Комментировать | « Пред. запись — К дневнику — След. запись » | Страницы: [1] [Новые] |
