¬сем привет! я тут недавно пообещала сделать ћ по текстильным кофейным лошадкам, так вот...не буду изобретать велосипед, просто расскажу как это делаю €.
Ѕез заголовка |
|
Ѕез заголовка |
|
Ѕез заголовка |
|
Ѕез заголовка |


|
Ѕез заголовка |
|
Ѕез заголовка |


|
Ѕез заголовка |


|
Ѕез заголовка |


|
Ѕез заголовка |


|
Ѕез заголовка |
|
Ѕез заголовка |
|
Ѕез заголовка |
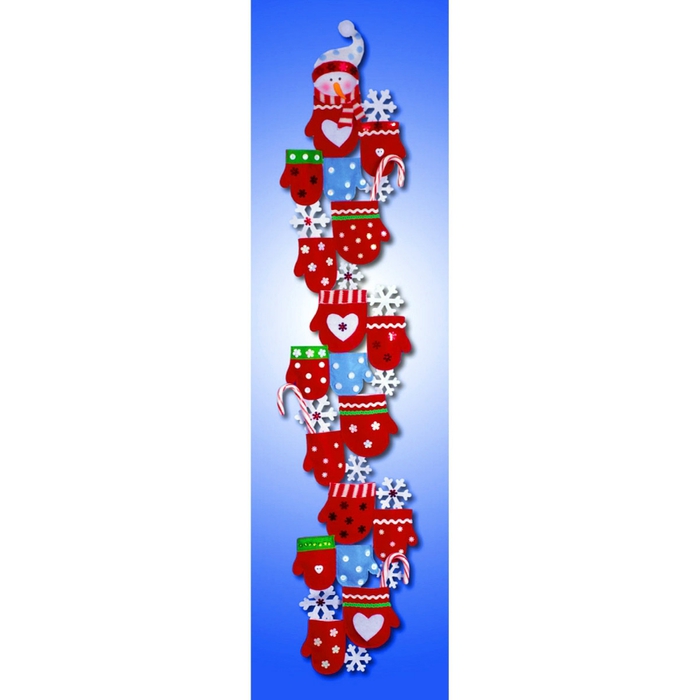
ѕодарочные варежки - из бумаги и фетра. ¬ыкройка.
“акие варежки легко сделать кому нибудь на подарок, использовать можно бумагу, а также фетр.
1.
|
Ѕез заголовка |
|
Ѕез заголовка |
|
Ѕез заголовка |
лассна€ кукл€шка из флиса. ќчень похожа на куклу нопку смотрите бывший пост о куколке нопке.«ƒ≈—№ и выкройка есть в конце этого поста. —пасибо ![]() ”–√јЌ ј это она нашла ћалышку.....))
”–√јЌ ј это она нашла ћалышку.....))
»—“ќ„Ќ»
√од назад € начала шить нопку и заболела. ј 24 окт€бр€ этого года € упала и сломала левую руку. “еперь при всем желании шить не смогу несколько мес€цев. а значит € оп€ть подвожу тех кто очень хотел сшить нопочку.
Ѕлагодар€ находке ”–√јЌ » можно сшить куколку по этой выкройке и ћ . а также немного по импровизировать по своему желанию и сделать ут€жечки........ј если кто то сможет перевести текст. € буду очень признательна. я знаю что среди моих читателей есть те кто это может сделать. «аранее всем спасибо за понимание. (и еще печатать одной рукой ещЄ можно. а вот зап€тые ставить не получаетс€....))) )

|
Ѕез заголовка |


|
Ѕез заголовка |
|
Ѕез заголовка |
|
Ѕез заголовка |
|
Ѕез заголовка |
|
Ѕез заголовка |
|
Ѕез заголовка |
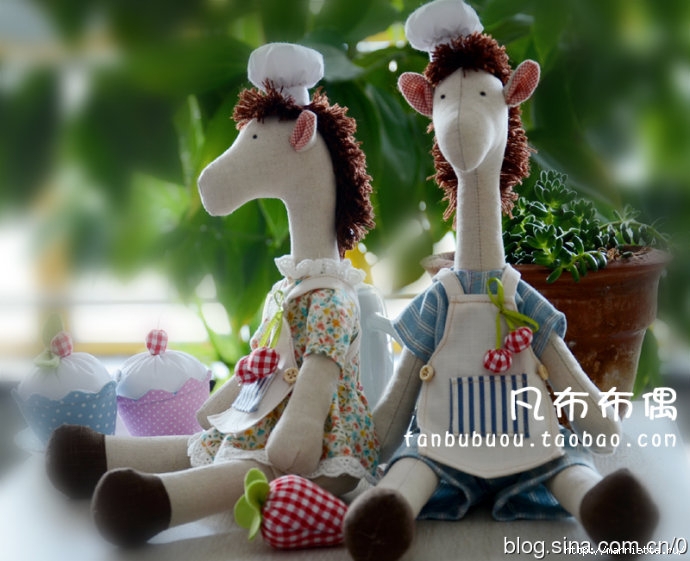
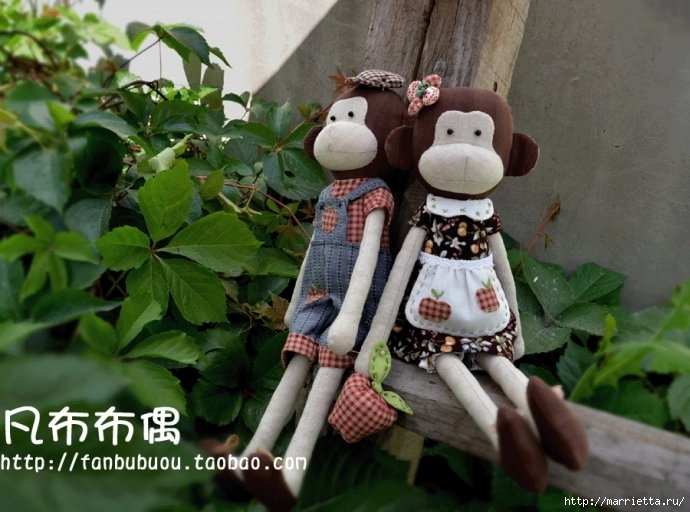
Ўьем игрушки. Ћошадки и обезь€нки. ¬ыкройки
|
Ѕез заголовка |
¬сем привет!
“ильды как €вление по€вились не так давно, всего каких-то четырнадцать лет назад (в 1999 году), но за это врем€ они получили просто сумасшедшую попул€рность - и среди покупателей, и среди рукодельниц. ѕо большому счету, "тильда" - это бренд, который имеет своего автора, правильнее, на мой взгл€д, даже говорить брендированный стиль, т.к. сейчас рукодельницы всего мира уже создают собственные лекала дл€ тильдо-творений, но выдержанные в том стиле, который был задан изначально и задаетс€ до сих пор автором первой тильды и всего направлени€ норвежкой “оне ‘инангер (Tonne Finanger).
ћне всегда было интересно, что все-таки относитс€ к тильдам - только длинноногие куклы? стати, порой даже продавцы тильд на рукодельных выставках довольно путанно высказываютс€ на эту тему:) Ќа самом деле, тильда - это стиль создани€ кукол, зверей, птиц, неодушевленных предметов. Ќадо заметить, что к насто€щим тильдам относ€тс€ только те творени€, которые были созданы по рекомендаци€м, лекалам и схемам торгового дома “оне ‘инангер. ак любому стилю, тильде присущ набор определенных качеств - работы всегда создаютс€ исключительно из натуральных тканей, имеют плавные изгибы, чаще всего мы узнаем тильд по длинным конечност€м, игривому рум€нцу и маленьким глазкам:) Ќо насколько разнообразно воплощение!
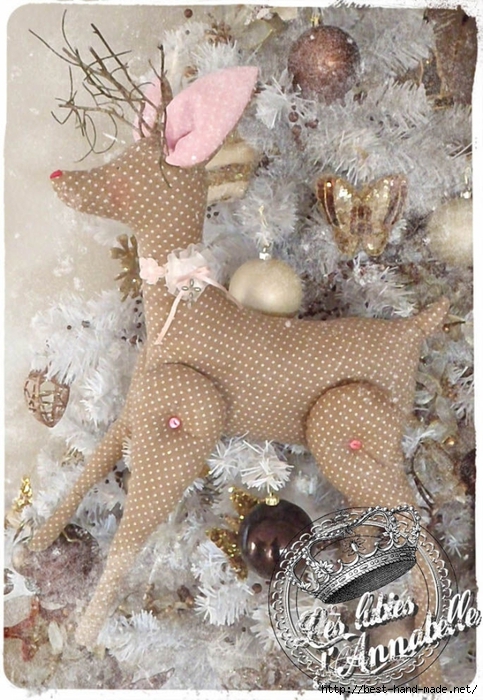
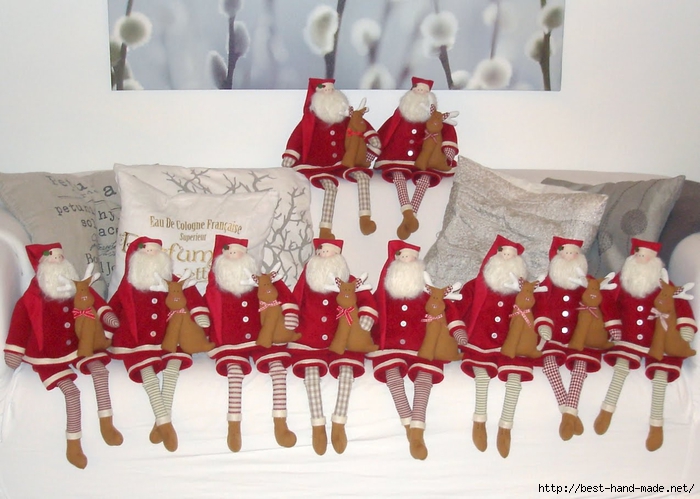
Ќовогодние тильды - это ангелы и эльфы, романтичные санта клаусы и снегурки, задорные снеговики, элегантные олени, длинноухие зайцы, задумчивые мышки, медведи, лоси, пр€ничные человечки и, конечно, вс€кие очаровательные елочки, сердечки и другие аксессуары. я предлагаю вашему вниманию подборку новогодних идей создани€ тильд, собранную мной по всему миру и немного лекал дл€ изготовлени€. ƒл€ тех, кому интересно изучить более подробно этапы и секреты создани€ кукол, приглашаю загл€нуть на сайт Tildamaster, где представлено множество мастер классов на сайте http://tildamaster.ru/. ѕри€тного просмотра!
|
Ѕез заголовка |
—ери€ сообщений "ћ€гка€ игрушка.":
„асть 1 - уклы
„асть 2 - ≈жик ћарта
...
„асть 40 - Ўьем игрушку. ѕ≈—» “ќЎ ј
„асть 41 - ≈вгени€ —мирнова и ее мишки “едди и их друзь€.
„асть 42 - «амечательна€ игрушка Dinky Baby
|
Ѕез заголовка |
Ќашла очень симпатичную лошадку)))) —мотрим ћ ! ƒальше текст автора.

|
Ѕез заголовка |
|
Ѕез заголовка |
ћаленькие пони.¬ыкройка.
|
Ѕез заголовка |
|
Ѕез заголовка |
|
Ѕез заголовка |
|
Ѕез заголовка |
|
Ѕез заголовка |

|
Ѕез заголовка |
ћ “екстильно-кофейные лошадки
|
Ѕез заголовка |
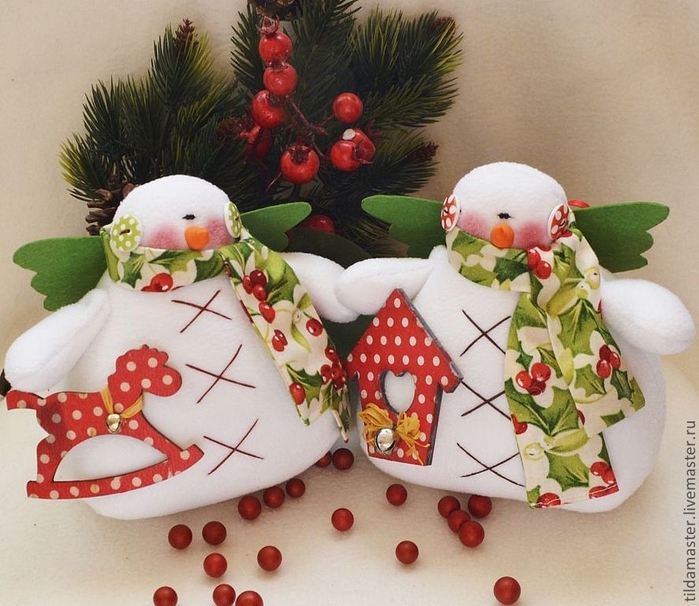
ѕодготовка к новогодним праздникам продолжаетс€! —егодн€ вместе с ќльгой ѕархоменко будем шить симпатичного снеговика “ильду.
|
Ѕез заголовка |
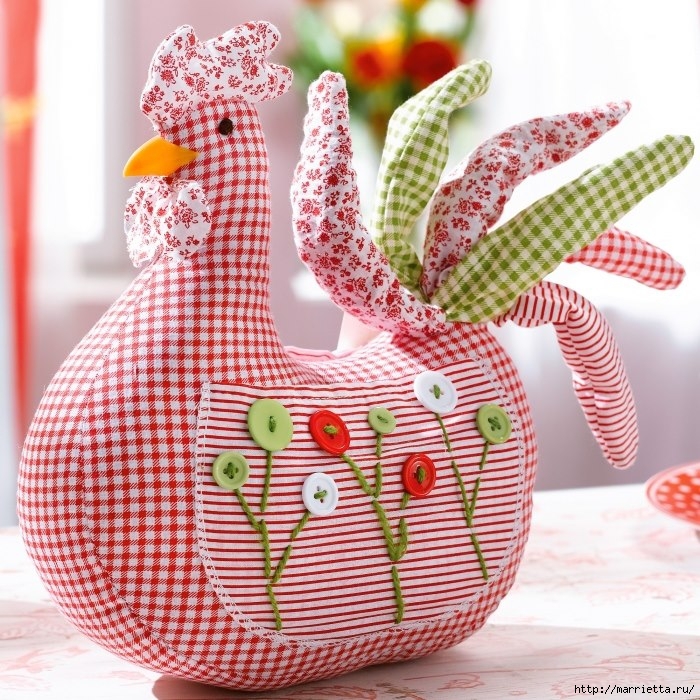
¬еселенька€ курочка сшита из хлопчатобумажной ткани, наполнена холлофайбером и украшена цветочками из пуговиц. ¬ыкройку смотрите ниже
|
Ѕез заголовка |
¬ интерьере у мен€ были клетки.«аполн€ю то цветами,то свечами,то другими тематическими праздничными штучками.Ќо очень хотелось птичек и не маленьких,соответственно клеткам. ѕтицы-более правильнее,на мой взгл€д.—шила птиц.“еперь все гармонично!!!
ј мой попугай
Ќе зимует на юге!
≈го не пугают
Ќи стужи , ни вьюги ...
Ќа зиму частенько
ќн смотрит в окно ...
» думает ,верно,
„то видит кино?
ј может след€
«а снежинкой
ѕорою ,
—читает себ€
ѕопугаем - героем ?
|
Ѕез заголовка |
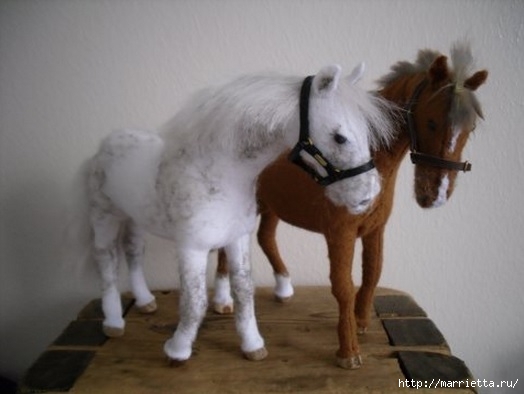
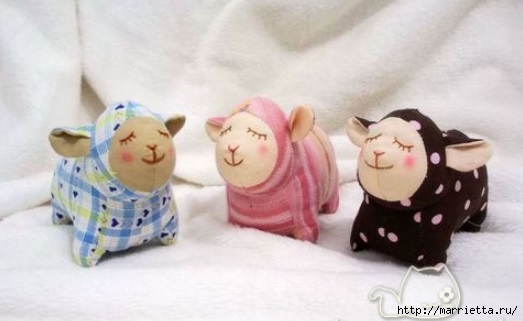
Ќовый год уже совсем не за горами) ј вы помните, что наступающий 2014 год €вл€етс€ годом синей ƒерев€нной Ћошади, самой доброй и чувствительной из всех символов? ¬ будущем году нам всем, дабы быть счастливыми и успешными, придетс€ много работать, ведь на лошади пашут и она животное трудолюбивое) стати, нам рукодельницам и до наступлени€ года придетс€ "отпахать", ну как не сшить лошадку дл€ себ€ и дл€ подарков) ≈ще не раз кто-нибудь да опубликует лошадок с кон€ми, но может из всего увиденного вам понрав€тс€ именно эти варианты? ¬ыкройки есть ниже, там еще и барашки. —ошьем? ќсобенно мне понравились сид€чие пони, прикольные) ќчень рекомендую сшить таких в качестве подарочных сувениров, а еще предлагаю посмотреть прикольное видео дл€ подн€ти€ настроени€. Ќа сайте дл€ киноманов freeonlinemovie.ru у вас есть возможность смотреть фильмы, видео, любимые сериалы и развлекательные программы бесплатно, в режиме онлайн


|
Ѕез заголовка |
|
Ѕез заголовка |
|
Ѕез заголовка |
  |
|
  |
|
  |
Ќа далекой Ћуне где раскинулись елки,
»ногда перед сном просыпаетс€ еж.
ƒосчитав до семи расправл€ет иголки,
» как птица летит, пусть совсем не похож!
|
Ѕез заголовка |
 ћатериалы:
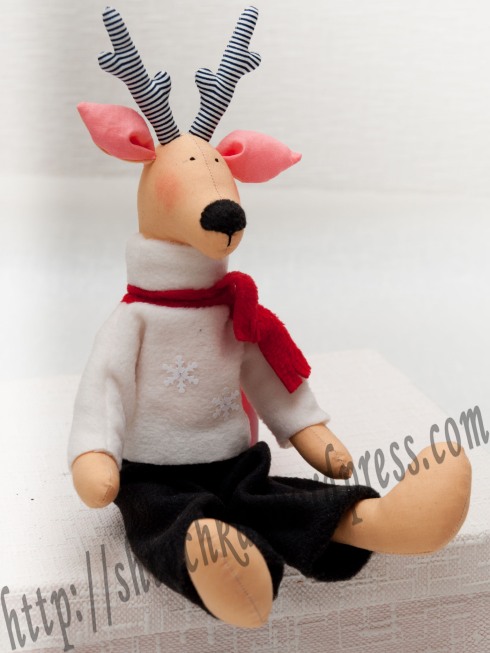
 2. ¬ырезаем выкройки, переводим на ткань, выкраиваем с припуском на шов, и сшиваем. ћы сначала шили тушку ќлен€, а потом уже одежду. “ельце игрушки шьем из б€зи, а рога из поплина.
 3. ѕеред тем, как выворачивать детали, делаем небольшие надрезы на изгибах, чтобы ткань аккуратнее ложилась при выворачивании.
 5. Ќабиваем детали м€гким наполнителем. ћы использовали холлофайбер.
 6. —шиваем части тела “ильды потайным швом.
 7. ѕриступаем к пошиву одежды. ѕереводим выкройки на флис и вырезаем с припуском на шов.
 8. –азворачиваем детали свитера и складываем Улицом к лицуФ, затем сшиваем, как показано на рисунке Ц по красной пунктирной линии.
 9. ¬ыворачиваем. —витер готов.
 11. –азворачиваем. —шиваем, как показано на рисунке по красной пунктирной линии.
 13. ¬ыворачиваем. Ўтанишки готовы.
 16. ¬ышиваем глазки и пришиваем (или вышиваем) носик. ”крашаем по своему желанию и возможност€м. “ильда ќлень готов!
|
Ѕез заголовка |
 3. ƒл€ того, чтобы детали лучше вывернулись, делаем надсечки на изгибах, тогда ткань будет меньше топорщитьс€. √лавное не порезать шов.
 4. ¬ыворачиваем детали. ƒл€ этого используем тонкую дерев€нную палочку (шпажку).
 5. Ќабиваем куклу синтепоном или холлофайбером.
 6. ѕриступаем к сшиванию куклы. рай туловища подгибаем и приметываем. ¬ставл€ем во внутрь ножки и пришиваем потайным швом.
 7. ѕрикалываем булавками руки, чтобы были на одинаковом уровне и тоже пришиваем потайным швом.
 11. Ќамечаем карандашом место, где будут находитьс€ глаза и вышиваем их черными нитками.
|
Ѕез заголовка |
"Tilda Sommerliv". нига по пошиву в стиле “ильда.
—тиль “ильда завоевал столько женских сердец, что по€вилось целое направление - ткани “ильда, куклы и игрушки ,интерьер в цветах “ильды и множество других нюансов, которые ¬ы найдете в этой книге.
|
Ѕез заголовка |
"Tildas Varideer". нига по пошиву “ильд.
ѕросмотрев эту книгу, у ¬ас об€зательно по€витс€ желание , пополнить свою коллекцию куклами “ильдами и поделками в этом стиле - сумочки, игольницы, ну и конечно сами куколки, такие утонченные и привлекательные.
|
Ѕез заголовка |
|
Ѕез заголовка |
Ёто творение Tone Finnager вз€та из книги " ¬олшебный мир “ильды ", котора€ была опубликована в издании Knaur.¬се фотографии © Solvi ƒос —антос / Knaur
Ёти красивые и благородные птицы нрав€тс€ многим.Ќо не все в силу разных причин могут содержать их в доме.Ёто будет прекрасна€ замена жиывым красавцам и здорово украс€т ваш интерьер!—шить несложно,если есть ткань,дл€ украшени€-лента или бумага и ћ !—мотрим!
|
Ѕез заголовка |
"ћанекен - игольница, подставка под украшени€ и т.д.". »деи декора
“акой манекен может сам стать украшением интерьера, он будет винтажно смотретьс€ на женском столике или полочке, про€вите фантазию и создай свой неповторимый образ мини - манекена.
сожалению не знаю автора этих чудесных вещиц.
1.
|
Ѕез заголовка |
|
Ѕез заголовка |
|
Ѕез заголовка |
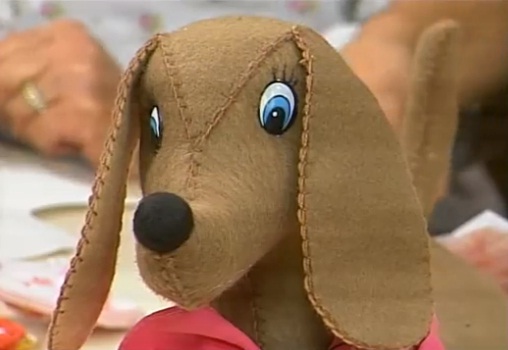
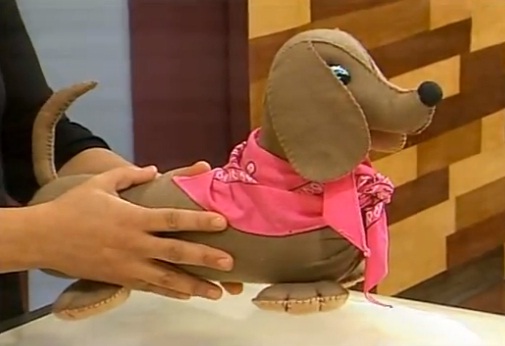
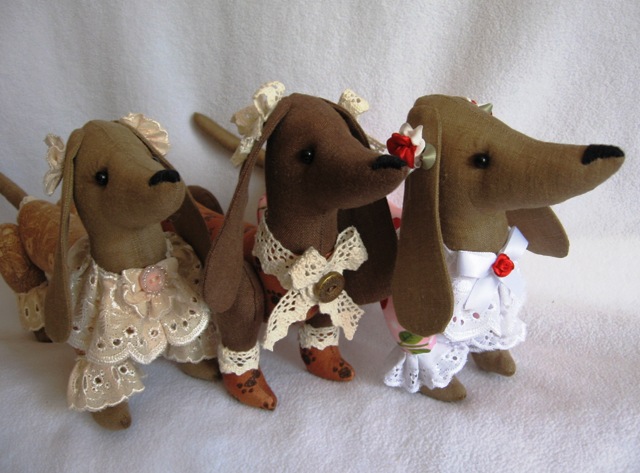
ƒевочки) Ќашла видео на португальском сайте, мастер-класс по пошиву таксы на основе пластиковой бутылки. ѕрикольное использование бросового материала) Ќо, к сожалению, к видео не прилагалось никакой выкройки. Ќу € и пошла искать) Ќарыла несколько выкроек и замечательные работы наших мастериц. Ћюбую выкройку можно использовать и сшить игрушку, руководству€сь видео мастер-классом. ∆елаю всем успехов в творчестве!

|