-Рубрики
- Сумки своими руками (63)
- восхитительное творчество Алисы Вербицкой (38)
- Жургналы вязание (21)
- БУСИНЫ ПАЙЕТКИ (13)
- ЦВЕТЫ (12)
- рецепты красоты (11)
- Удобные полезности (9)
- религия (2)
- Шторы (1)
- кинофильмы (1)
- ВАЛЯНИЕ (1)
- вышивка (22)
- вяжем детям (84)
- ВЯЗАНИЕ (427)
- шали шарфы снуды (23)
- модели для мужчин (12)
- брюгское кружево (4)
- Иллюзорное вязание (2)
- вязание + ткань (6)
- для курпулентных дам (9)
- жакеты, кардиганы, пальто (15)
- идеи для вдохновения (37)
- Ирландия фриформ (31)
- ленточное кружево (3)
- мастер класс (39)
- модели для женщин (103)
- полезное (37)
- разности (57)
- спицами (44)
- узоры -крючок (28)
- уроки вязания МК (34)
- филейное вязание (21)
- шапки женские (21)
- Как бы похудеть (19)
- питание (10)
- упражнения на пресс (7)
- Кулинария (87)
- закуски, на скорую руку (30)
- конфеты (5)
- торты, которые не надо печь (5)
- торты, пирожные и т.д. (тесто) (48)
- рецепты (56)
- мясные блюда (18)
- консервация (3)
- постное меню (28)
- учусь на лиру (30)
- хочу связать (32)
- шеби шик (8)
- шитье (244)
- шьем детям (68)
- уроки шитья (46)
- журналы шитье (8)
- переделки (6)
-Поиск по дневнику
-Подписка по e-mail
-Сообщества
Читатель сообществ
(Всего в списке: 1)
Как_похудеть_лентяйке
-Статистика
БРАСЛЕТ из кристаллов Swarovski |
Цитата сообщения Лённа
БРАСЛЕТ из кристаллов Swarovski.
...или заколка, брошь и т.п.!!!


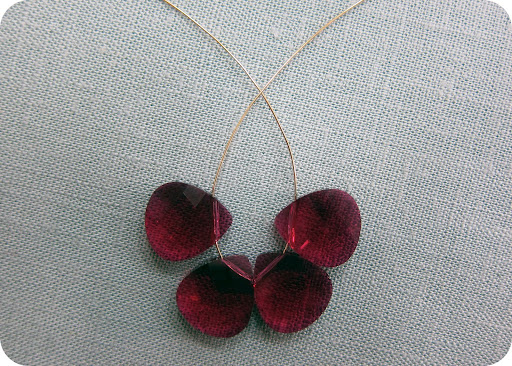

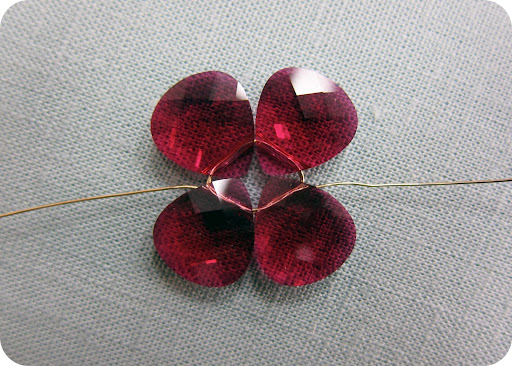
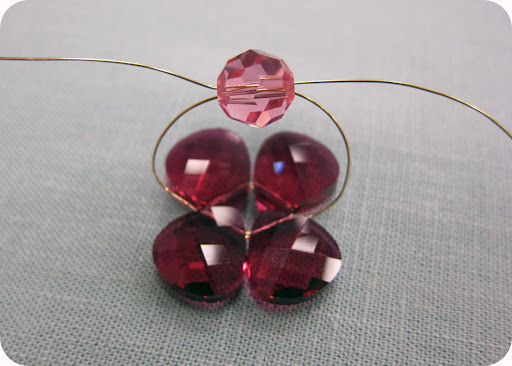
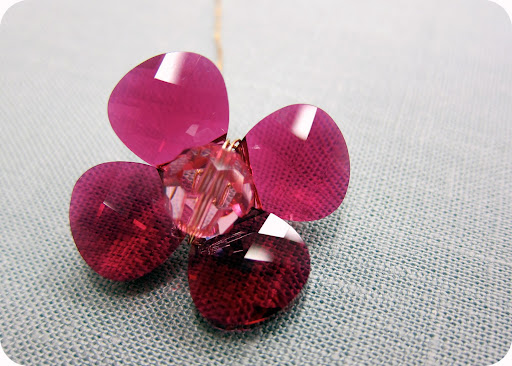
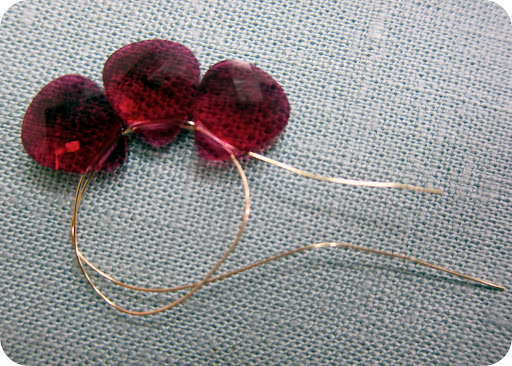

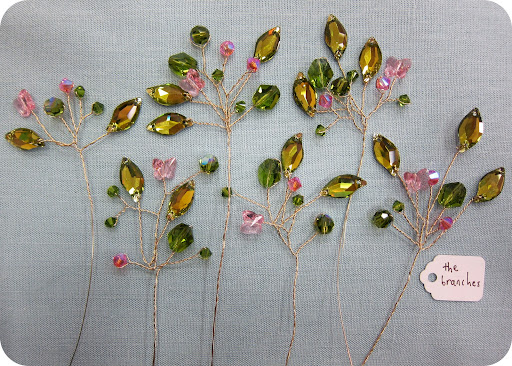


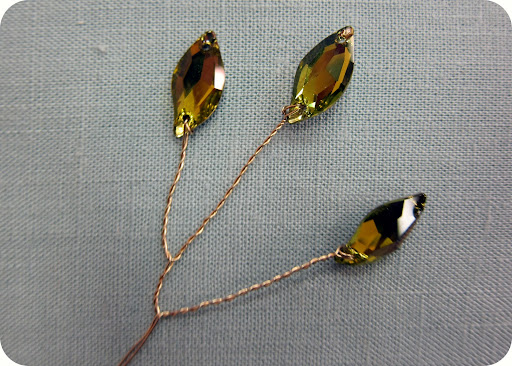
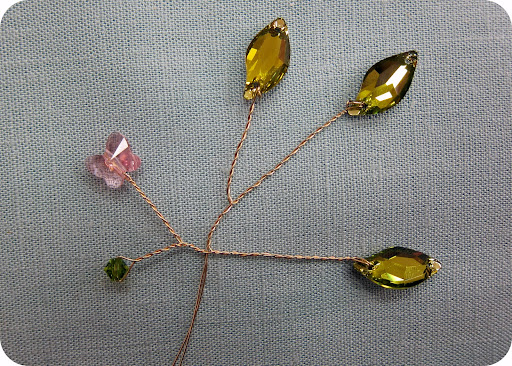

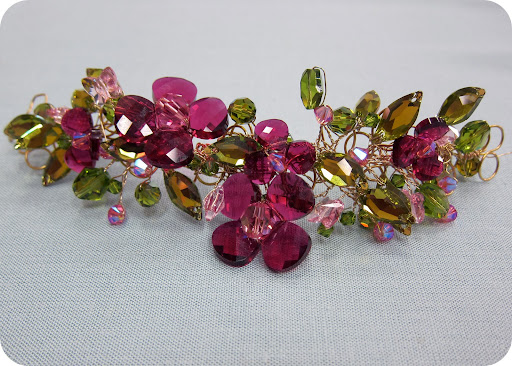
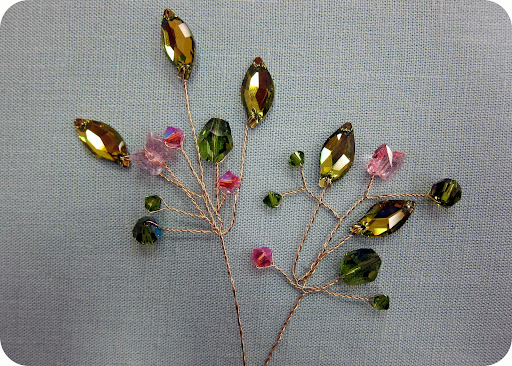
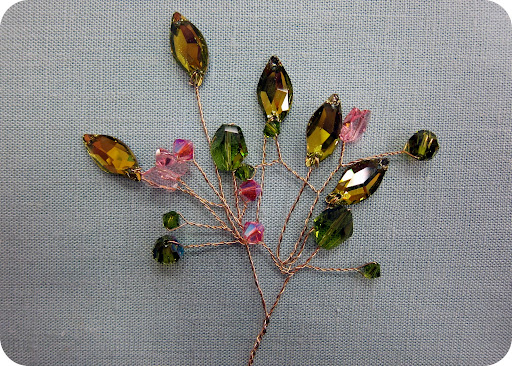
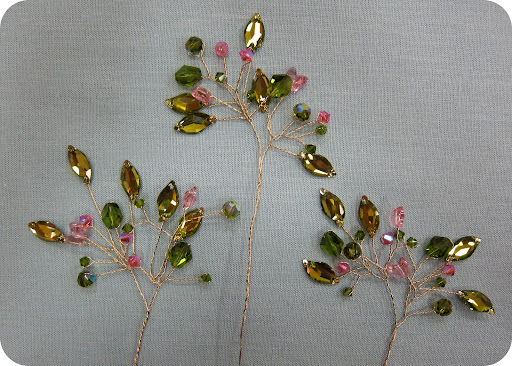

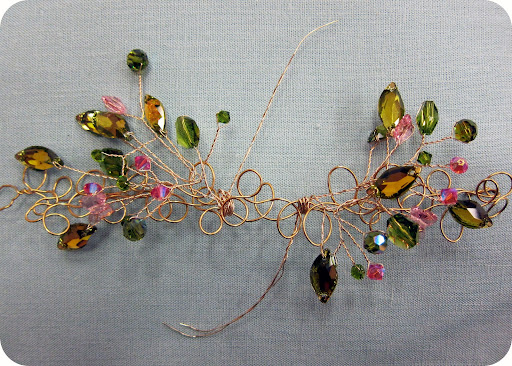
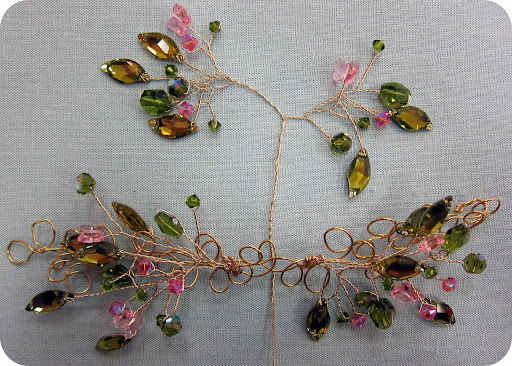
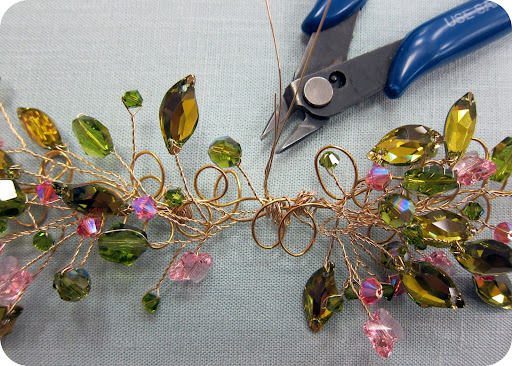
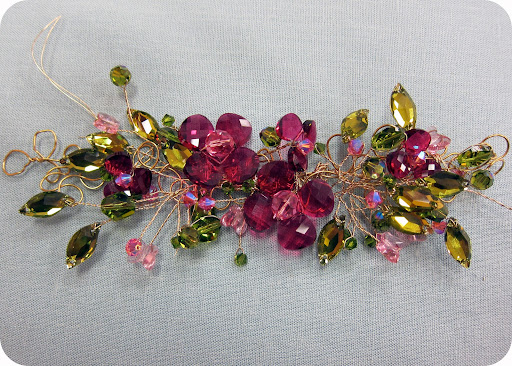
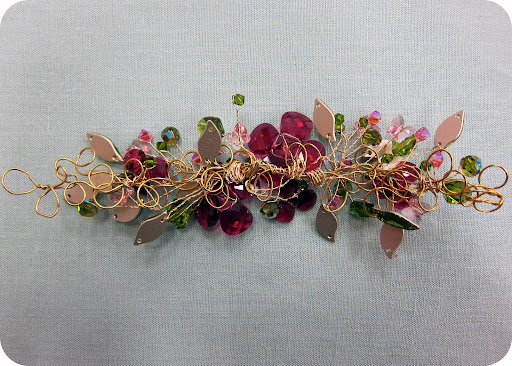
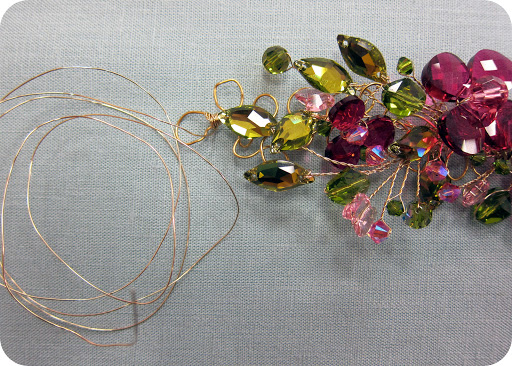

Make It : Live from Tucson!


Серия сообщений "БУСИНЫ ПАЙЕТКИ":
Часть 1 - Из бисера и паеток (для начинающих)
Часть 2 - Из пуговиц-2
Часть 3 - БРАСЛЕТ из кристаллов Swarovski
Часть 4 - Кайма, тесьма с бисером. (крючок)
Часть 5 - Бисерная бурёнка, рыбка, бабочка...
...
Часть 11 - Медный кулон в технике wire wrap
Часть 12 - Текстильные украшения и воротник-украшение
Часть 13 - Шарф-колье (подборка) / Шарфы
| Комментировать | « Пред. запись — К дневнику — След. запись » | Страницы: [1] [Новые] |


