Pinwheel Die Tutorial
You can see the card I made using the finished product on my design blog HERE. Thanks!
Tools you will need: Pinwheel Die, die cutting machine, one brad (the longer the *stem* the better) Optional: glue dots, lollipop stick, embellishments
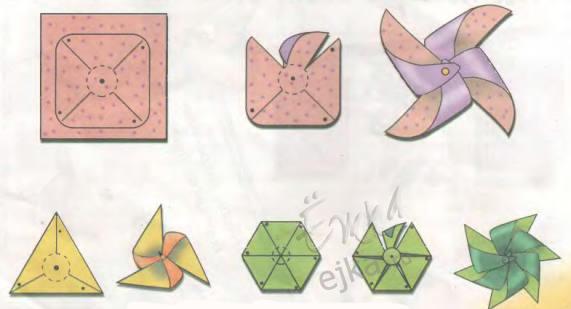
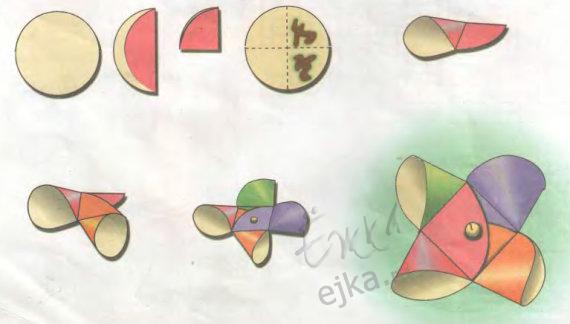
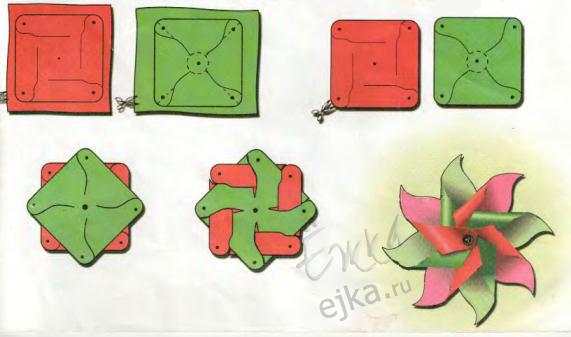
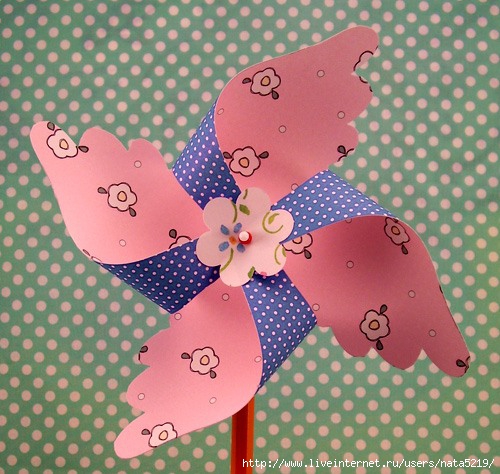
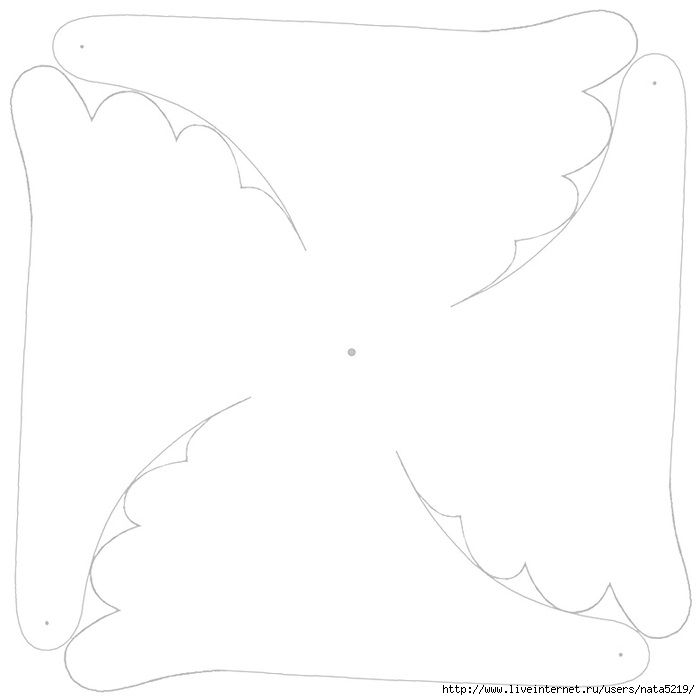
Meet the Pinwheel Die. Somewhere along the lines I've mentioned in my posting that it looks more like a worm than a pinwheel. With some easy assembly it will be a beautiful, 3-D pinwheel. Six die cuts will form your final or full pinwheel, so this is what one looks like.
This is 6 pinwheel petals all cut and waiting for assembly. I knew I wanted this fun orange dot pattern to be my *inside* pattern or the prominent pattern on my pinwheel so I placed my paper facing up and my die on top of it cut side down. So, choose your *inside* pattern (which is what I've been referring to it as), then inside pattern side up and die on top of it cutting side down.
After all your petals are cut, stack them all on top of each other and insert your brad into the hole on the longer, straighter edge of the die cut so that the *head* is on the opposite side and the *stem* is poking up through the stack and facing you.
Then, in order one by one start bringing over the opposite sides of the petals and secure onto your brad. We are basically working backwards, so you will be seeing your pinwheel from the back at this point.
When each petal has been folded over, secure your brad closed. You may see something that looks like this:
or this after you've fanned everything out
Flip it over and you're done! Ta-daaaaa! Isn't it so pretty and cute? You can use your pinwheel exactly like this, but I like to add a *stem* and some embellishments. Also, sometimes I lightly press my finger over the folds of the pinwheel to flatten them ever so slightly, but it's really not necessary.
I like to add a stem 2 different ways. A strip of paper works great, but here I'll show you how a lollipop stick is really fun! These are just the Wilton's lillipop sticks that are 2.5 in long. I think I got them on sale for $1.39 for 150 of them! I also like to add buttons and twine. I find all of these embellishments are easily secured with craft size glue dots.
I added coordinating buttons in a stack and tied with some hemp twine and then plopped it (technical term, ha) right onto my roll or glue dots.
Ѕез заголовка |
Ёто цитата сообщени€ Ћана_Ѕерг [ѕрочитать целиком + ¬ свой цитатник или сообщество!]
ѕлатье дл€ куклы
http://bimba-little-country.blogspot.com/2011/02/blog-post_04.html#more
ѕо себе знаю как иногда сложно найти подход€щую выкройку одежды дл€ куклы. ¬роде кукла готова, а вот с одежкой часто возникают проблемы. то-то не умеет конструировать, дл€ кого-то сложно переделать выкройки под свою куклу, кто-то не может найти ничего подход€щего..
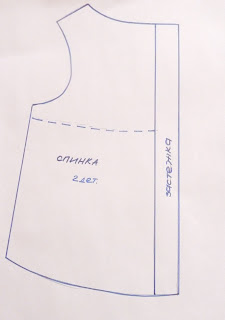
ѕоэтому хочу поделитьс€ очень удобной и простой выкройкой плать€, на основе которого можно придумать массу вариантов. Ёта выкройка не мое изобретение, это классическое плечевое изделие. я лишь упростила ее дл€ кукольной фигуры. ѕлюс приведу вариант как из этой выкройки пожно сделать платье силуэта ампир, очень красивое, эффектное, и совершенно несложное в исполнении!
ѕри пошиве нужно регулировать ширину плеча и ширину самого плать€. ѕриложите выкройку к плечу и ручкам и загните лишнее в середине, так вы уберете лишнюю ширину (или добавите).
ѕо этой выкройке получаетс€ вот такое платье-сарафан. ‘орму горловины, как вы заметили, тоже можно изменить.
|


