Без заголовка |


One buzz saw block:

Four blocks:

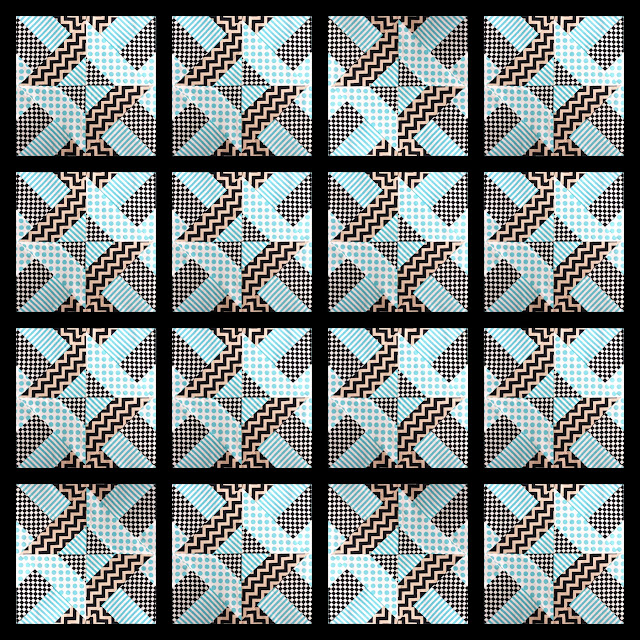
24 blocks:


This tutorial will show you how to make a log cabin quilt block that will be 8″ square when finished. You can make your block larger or smaller by changing the width of your fabric strips, or by changing the number of fabric strips in your block.
To make this block, you will need…
Note: These measurements include a 1/4″ seam allowance on all sides!
If you are making a lot of these blocks, you may want to just make long fabric strips that are 1.5″ wide, and cut them to size as you go. This method makes it easier to design your blocks as they take shape, rather than having to plan them out in advance.

Starting with the 2.5″ square, stitch the strips around the sides one at a time. Start with the shortest strips and make your way to the longer ones. Remember to use a 1/4″ seam allowance, which is standard for quilting. Keep checking that your seams are as square as possible while you sew, and make adjustments if you need to. Every strip of fabric you add should be flush with the rest of the block.

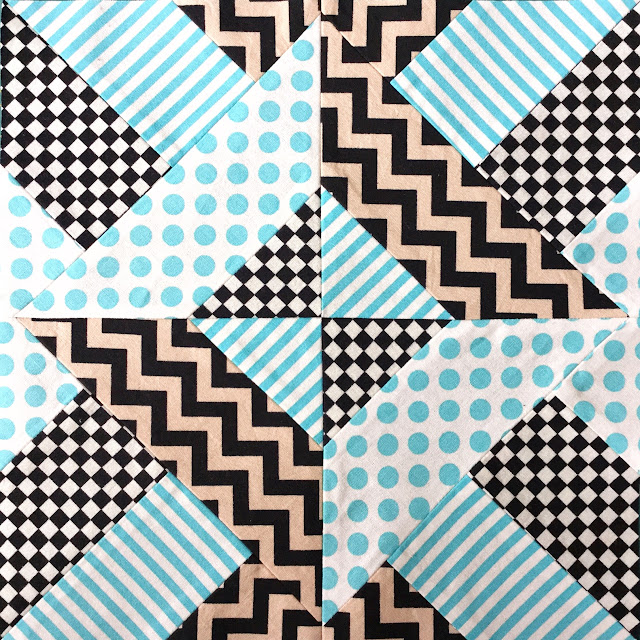
When you’ve stitched all of the fabric strips together, you should have a block that looks like this:

Now that you know how to make a log cabin block, you can start thinking about your colour scheme and how you want to use these blocks in your overall quilt design.
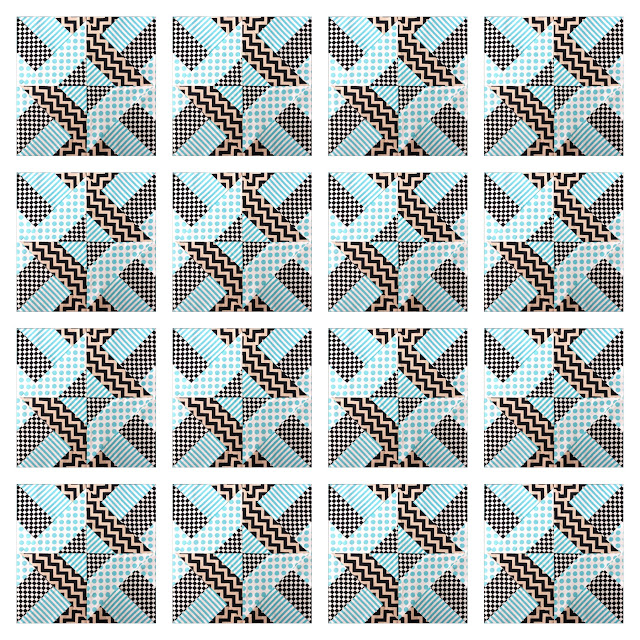
You may choose to arrange your colours and fabrics randomly, so that your quilt is more colourful and fun:

You could also choose to use this pattern to make a more geometric pattern. In the quilt block below, reds have been used on one side of the block, and blues on the other:

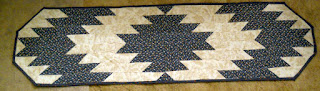
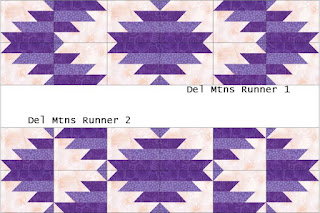
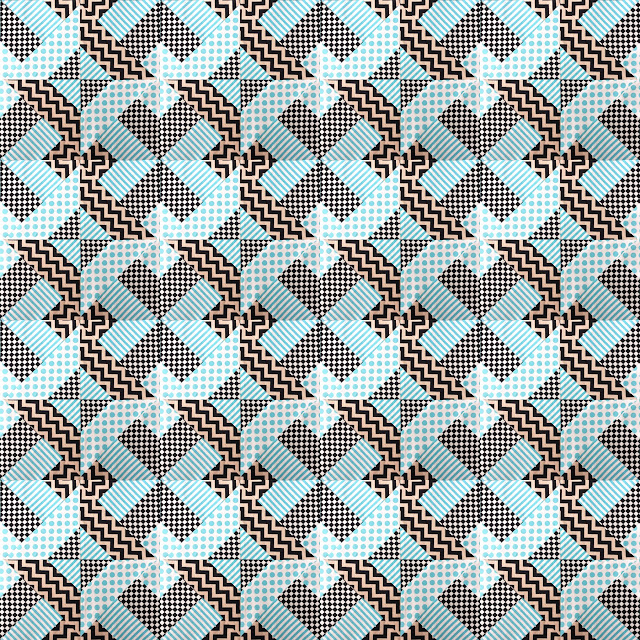
This kind of block can be arranged to make some really cool patterns:

Try stitching up a few blocks and experimenting with different colour and fabric combinations! You can use this quilt block as the basis for a full quilt, or even for a smaller project like a cushion or potholder.
Quilt with sashing
Quilt with sashing in black. Other colours can be used to match your choice of fabric for the block.


| Рубрики: | лоскутное шитьё/лоскутные блоки |
| Комментировать | « Пред. запись — К дневнику — След. запись » | Страницы: [1] [Новые] |


