-Ссылки
-Цитатник
Гламурные елочки 2 - (0)
Подарки на новый год http://stranamasterov.ru/node/652769 < Изысканное рождественское панно ...
1 часть подборки новогодних упаковочек. 8 мастер-классов - (0)1 часть подборки новогодних упаковочек. 8 мастер-классов. Новогодние упаковки своими руками. ...
Идеи на Новый Год - (0)Украшалки 1. 2. 3. 4. 5. 6.
Поделки своими руками из шишек на Новый Год - (0)Поделки своими руками из шишек на Новый Год Что может быть приятней,когда ты своими руками тв...
Кардиган Переплетенных кос - (0)Кардиган Переплетенных кос Оригинальный пуловер с переплетенными полосами Для работы по...
-Метки
азиатский колосок бабушкин квадрат бисер вязание вязание крючком вязание спицами вязанные мелочи вязанные украшения вязанные цветы гипертония дома елочка живопись здоровье зимний пейзаж игрушки интересное ирландия ирландка ирландское кружево история картины крючком крючок кулинария ленточное кружево магия мастер класс мотивы крючком музыка натюрморт пейзаж пейзажи политика россия румынское кружево русские салат спицами спицы стихи украина фотошоп цветочная живопись цветочные натюрморты цветочный натюрморт цветы цветы в живописи цветы крючком юмор
-Рубрики
- Вязание (545)
- уроки вязания крючком (113)
- вязанные мелочи (108)
- Вязание крючком (94)
- Ирландское вязание (64)
- кофточки, жилеты, пуловеры (48)
- Румынское кружево. Уроки (37)
- Вязание спицами (33)
- Уроки вязания спицами (25)
- Шарфы, снуды, бактусы (23)
- Уроки Натальи Сазоновой (20)
- Вязанные сумки (18)
- головные уборы (13)
- вязанные украшения (9)
- вязание + ткань (9)
- Азиатский колосок (8)
- Брюггское кружево (7)
- Воротнички (7)
- Ленточное кружево (6)
- Маечки и топы (5)
- Юбки (5)
- Живопись (261)
- Пейзаж (58)
- Цветочная живопись (55)
- Натюрморт (29)
- Жанровая (27)
- Открытки, плакаты, реклама, иллюстрация (25)
- Портретная (18)
- Юмористические (15)
- Духовная (6)
- Дети (5)
- Зимний пейзаж (4)
- Морской пейзаж (4)
- ПОЛИТИКА (55)
- Здоровье (54)
- История (51)
- Музыка (32)
- Юмор (30)
- Стихи (29)
- Фасончик (10)
- Уроки Лиру (10)
- Ремонт (8)
- Идеи уютного дома (7)
- Бытовая техника (1)
- Путешествия (7)
- фотографии (5)
- Фильмы (4)
- Комнатные цветы (4)
- Гибискус (1)
- Сад и огород (2)
- скульптура (1)
- Кулинария (121)
- Выпечка (38)
- салаты (17)
- Рыбные блюда (13)
- соленья (7)
- вторые блюда (7)
- Напитки (6)
- бутерброды, тарталетки и т.д. (6)
- интересное сочетание продуктов (4)
- молочные продукты (2)
- Мороженное (1)
- мясные блюда (1)
- Помощь для "чайников" (5)
- Рукоделие (120)
- Советы для дневника (27)
- Не так страшен ФШ (16)
- Это интересно (127)
-Музыка
- Джони
- Слушали: 5991 Комментарии: 0
- Закрой, блин, тюбик!
- Слушали: 4869 Комментарии: 0
- Джулиана Стрейнджлав - Libertango
- Слушали: 6797 Комментарии: 0
- Neomaster - Из кинофильма "Осенний марафон"
- Слушали: 2632 Комментарии: 0
- Г. Свиридов. Романс из к-фма "ОВОД"
- Слушали: 40 Комментарии: 0
-Видео

- Бонжур, Вашей хате! Или Евроинтеграция
- Смотрели: 1 (0)
-Поиск по дневнику
-Подписка по e-mail
-Статистика
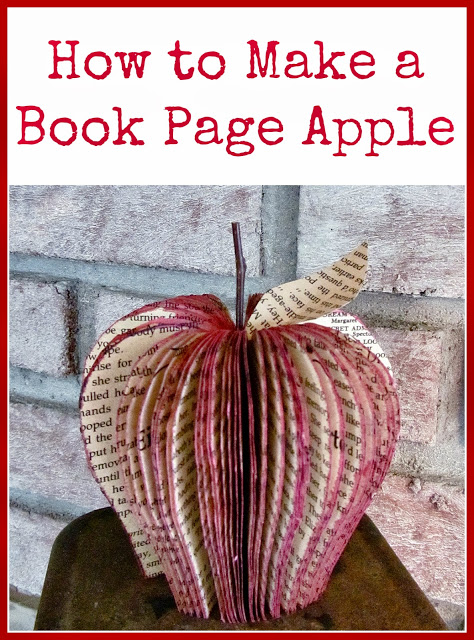
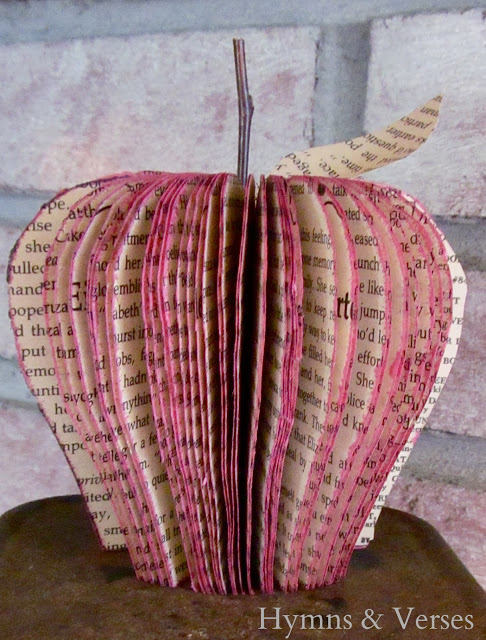
Объемное яблочко из книги |
Заинтересовало. Из книги , конечно удобнее, не надо склеивать страницы, но как то кощунственно. У меня трепетное отношение к книгам.
How to Make a Book Page Apple
by DOREEN CAGNO filed under: UNCATEGORIZED 10 Comments
Today I’m going to show you how to make a book page apple. It’s a super easy and inexpensive project! Let’s get started!
Step 1: You need an old paperback book. Choose the small, novel type book. I prefer a book that has some yellowing of the pages. If you don’t have any old paperbacks, stop by your local thrift shop for one. I got mine for 35 cents. On a side note, we made these this past weekend with a group and the ladies were reminiscing about when they read “Sweet Valley High” books when they were young!
Step 2: Remove the front and back covers.
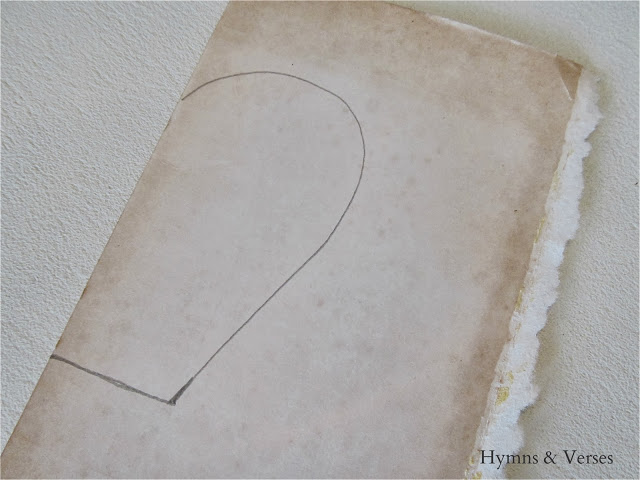
Step 3: Using the cover, draw a template for your apple as shown and cut it out.
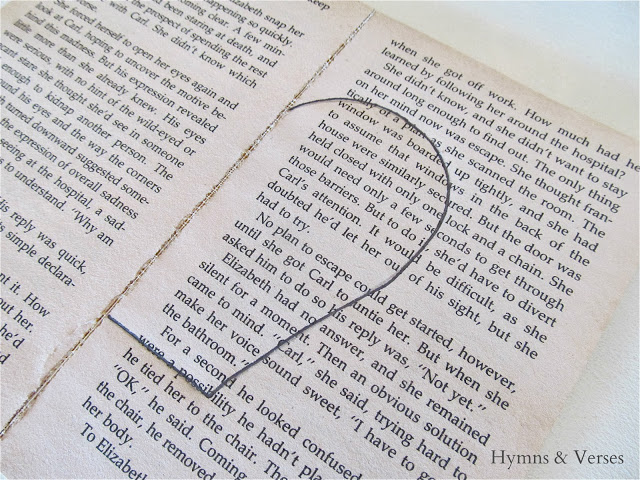
Step 4: Find the approximate center of your book and open it up so it lays flat. Use the template you cut out and trace around it on the right side as shown.
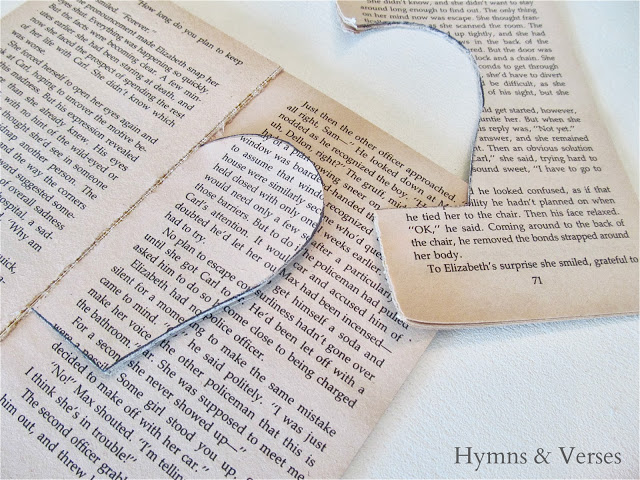
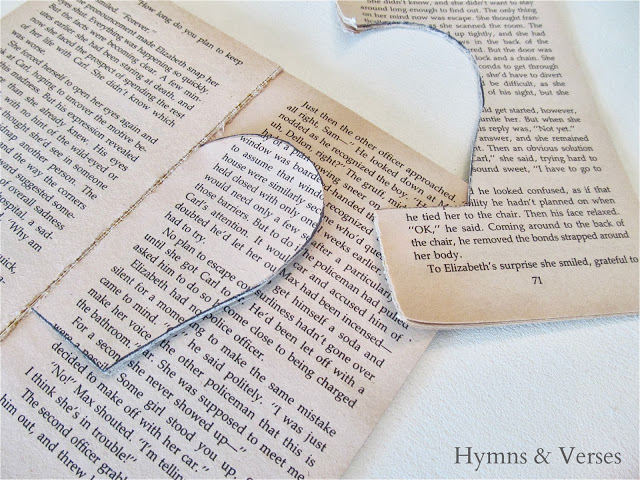
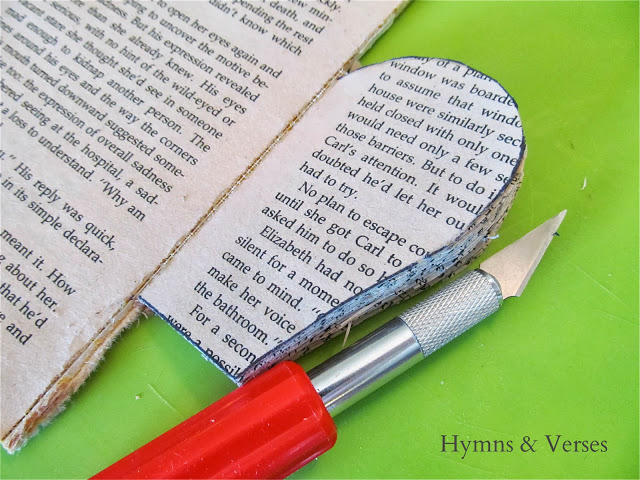
Step 5: Using an Exacto knife, carefully cut on the apple outline. You will want to press firmly. If your knife is leaving a ragged edge and catching on the paper, you need a new blade.
Step 6: Once you have cut around the outline, remove the remainder of book page – leaving only the apple shape as shown.
Step 7: Continue this process until you have cut through all pages on the right side. Remember to protect your work surface. I used an inexpensive cutting mat that I purchased at Walmart. The mat came in a set of 3 and were near the cutting boards. These mats come in handy for crafting.
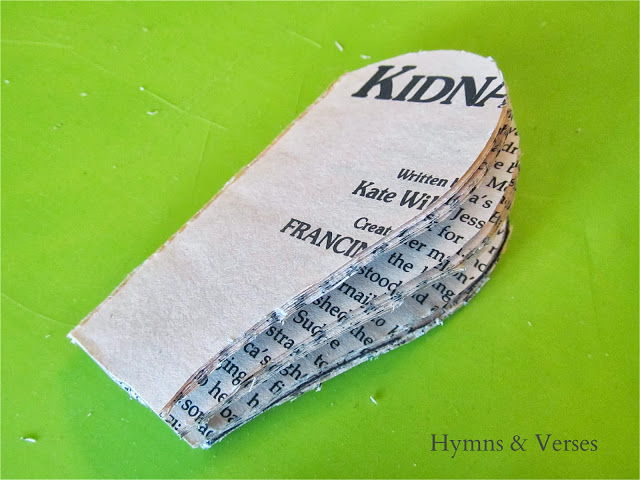
Step 8: Now repeat the process on the left hand side. When finished with all cutting, this is what you will have.
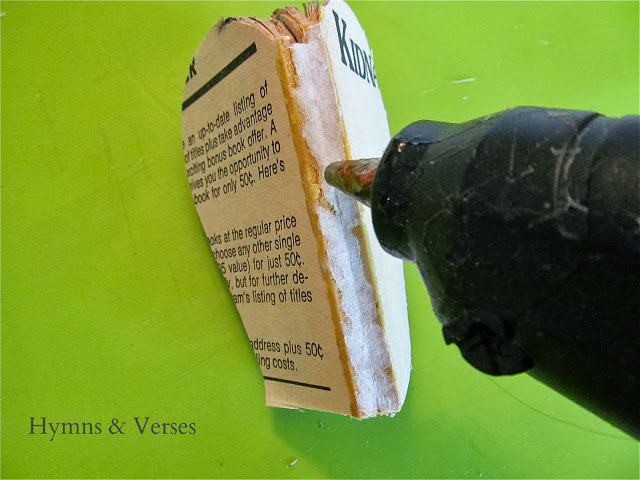
Step 9: Run a bead of hot glue down the spline and fold together to secure.
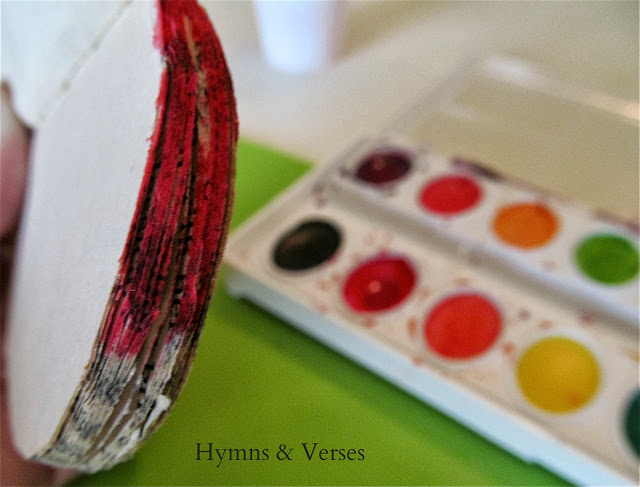
Step 10: Keep your book pages together and use watercolor paints to paint the edges red. Be liberal with the water so the paint soaks into the edges.
Step 11: Once your edges are painted. Fan out your pages as shown. Use a bit of hot glue to attach a twig stem. I cut out a leaf from one of the book pages and attached it with hot glue as well.
That’s it! Like I shared before, we made these this past weekend with a group of ladies from my church. There were some in their 20’s and some in their 80’s and everyone’s apple turned out beautifully! So, give it a try!
Thanks for stopping by! I’ll be back tomorrow with a free printable for you to use for Thanksgiving!
Sharing today at:
| Рубрики: | Рукоделие |
Понравилось: 42 пользователям
| Комментировать | « Пред. запись — К дневнику — След. запись » | Страницы: [1] [Новые] |

