Star Fruit Cushion Tutorial

This cushion is really a large version of a Lotus Biscornu, and used May Britt’s Pincushion Tutorial as a starting point (with her permission). I thought it ended up looking like a cut piece of Star Fruit, hence the name. This cushion is about 14 3/4″ in diameter and about 7 1/2 ” high.

You will need:
15 x 6″ squares, in three different colours (it looks great if the 3 colours are similar, but progressively darker). If you have fat quarters on hand, you will definitely get 5 x 6″ squares from each fat quarter.
Approx 1/2 kg of stuffing (enough for an middle sized cushion)
3 buttons – 2 Large ones for the top and the bottom, and a third one (of any size) that you will use temporarily to hold things in place. My large buttons measure approx. 3 1/4″ or 3cm.
30″ of 6 stranded embroidery floss (or 60″ of dental floss, doubled over)
A very long needle (such as those used for doll making or upholstery)
A Pencil
A quilting ruler with grids marked in 1/4 inches.
A Sewing machine with a quarter inch foot. Thread your machine with polyester thread which is stronger than cotton, the firm stuffing will put the seams under a fair bit of stress.
General sewing supplies.

1) On the back of each square, in every corner, mark a dot 1/4″ in from each side. These dots will show you where to start and stop sewing.

2) Locate the 5 squares of fabric you have chosen for the top of your cushion (if you are using fabric with stripes, read step 6 before continuing). Place 2 of the squares right sides together, and stitch along one side, between the dots, with a 1/4″ seam allowance. Make sure you back stitch about 5 stitches at the beginning and end, but do not go past the pencil dots.


3) Sew 4 of the squares together with 3 seams, so they look like the photo above. Finger press each seam open as you go.
As you progress with this tutorial, sometimes you will need to hold other layers out of the way, as you stitch close to the starting and finishing dots.
You should be able to pull the other fabrics far enough out of the way, unless you have stitched past the dots.

4) Pin the fifth square to one side of the gap in the other four, and sew together between the dots. 
5) Pin this fifth square to the other side of the gap – it will help to fold the top as I have done above. Sew up this last seam and you top should end up looking like this below……

6) Now it is time to locate the five squares of fabric that you have chosen for your underside.

Repeat steps 1) to 5) with these pieces.
A Note About Stripes. I have used striped fabrics for the bottom of my cushion. If you are using them for the top or bottom of your cushion, a little attention to the stripe direction can make all the difference. As you sew the squares together, make sure that you orientate the stripes so that they run perpendicular to the stripes on the other square of that seam. e.g. If one side of the seam has horizontal stripes, turn your square so that the other side will have vertical stripes. If you do this for each of the first 4 seams, you will find that the final 5th seam works itself out, as you can see above.

7) Lay out the bottom piece as you see above. Pin the first of the side squares in exactly this position, and sew it in place (this is one of the stages where things can go awry with the shape).

8 ) Lay it down again on your table top in the same position. The arrow above indicates where you will be sewing your next seam.

You will need to fold the bottom like this to sew this next seam.

You cushion bottom should now look like this (above).

9) Orient your cushion bottom in the same way as the photo above, and pin the next side-square in the corresponding place. Sew this square in place, from dot to dot.

10) The arrow (shown left) indicates where you will be sewing your next seam. You will need to fold your cushion bottom like this, (see below right) to sew this seam.

After you have completed step 10), your cushion bottom should look like this (above).

11) Add the remaining 3 side squares in the same manner, as indicated by the arrows above.

The result should look like this (above).

12) Find your top piece, and place it right-side-down on your table in the same position as I have. On the bottom right square, mark a line 1/4″ from the bottom edge, that runs from the left dot, and is 1″ long. Do the same on the other side, from the right dot. These are sewing lines, and the space in between is a gap you will leave for turning right-side-out, and for stuffing the cushion. The gap will be 3 1/2″ wide – if you think your hand will need a wider gap, mark slightly shorter lines.

13) Joining the Top to the Bottom. Place the Bottom/Sides component of the cushion on your table, with the right side in, as shown above.

14) With the top part right-side-in, place it on top, so that the “points” of the squares meet as shown above.

This will mean that the seam between the squares on the top piece is meeting the intersection of three squares on the bottom pieces.

Pin the top and bottom/sides pieces all the way around, like so.

15) Sew around the top in 5 sections. Follow the photo above for each section, back stitching at the start and end of each square segment.

When you sew the segment that has the gap-for-turning marked on it, follow the picture above. You will be sewing two separate sections with 4 lots of back stitching.

16) Once you have finished sewing the Top and Bottom/Sides together, turn the cushion out the right way through the gap. Use the wrong end of a paintbrush, or other similar tool to push all the edges out.

It should look like this (photo on left).

17)Finger press back the 1/4″ seam allowance of the opening in the cushion, to get a nice clean edge (see above).
18) Start stuffing three of the “petals” furthermost from the opening. Pay particular attention to getting stuffing up into the points of the “petals”. Once half you cushion is firmly stuffed, put your cushion aside and locate you three buttons, embroidery thread and super-long needle.

19) Thread your needle with the 30″length of 6 stranded embroidery thread. Knot the end. Take the large button you have chosen for the underside of the cushion, and bring the needle through one of the holes, from the back of the button to the front. *NB: If you are worried about the stress on the stranded cotton, you might like to use doubled, knotted dental floss if you have some*

20) Near the knot, split the thread so that there are three stands on each side, and pass your needle through this gap.

This will form a secure knot on your button.

21) Turn your cushion face down on the table. Take the needle through a point just beside the 5 seam intersection, and draw it right through to the front of the cushion, bringing it up in the middle of the 5 seam intersection. While the cushion is only half stuffed, this should be easy enough to do.

22) Thread the button you have chosen for the top onto the thread, and tie off your third temporary button, at the very end of the thread. This will prevent your thread from disappearing back inside the cushion while you continue stuffing.

23) Keep stuffing the other half of the cushion. Before it gets too firm you will need to pass the needle back through the cushion to the back again. To do this just cut off the small temporary button, and take the needle back through another hole in the top button and out through to back button again.

Take two more passes with the needle – back through to the top and again to the back. Don’t knot off the thread, just leave the long tail and tie that extra button on the end of the thread again.
24) Keep Stuffing until the cushion gets really firm, remembering to stuff the “petal” points as firmly as possible.

25) The last “petal” will be difficult until you start closing up the gap. Take a small needle and thread (polyester for strength) and start ladder stitching up the gap, starting from the pointy end of the “petal”. As you sew, stop every few stitches to stuff more of the “petal” point. Melly has a great tutorial for Ladder Stitch. Keep stuffing and sewing until your cushion is very firm and your gap is closed.

You are nearly there! Your cushion should look like this (above).

25) Cut off your extra button. Thread your big needle again, and take the thread to the underside of the back button, but not through the cushion again. Pull on the thread. Carefully and gradually, draw the two button closer together, changing the shape of the cushion.

*****************************************************************************
If the worst should happen, and you thread breaks, I have a little tip for you. Insert the needle into the cushion. Place a very small tin, under the cushion, where you have just inserted the needle. Use both hands to push down on the cushion, to send the needle back through the full width of the fully stuffed cushion – something to avoid if at all possible!
*****************************************************************************
26) Take your needle off the thread and wrap it around the underside of the button a few times.


27) Split the thread into two lots of three strands (see left).
28) Tie a knot with these two lots of threads.

29) Take the two threads to the other side of the button and repeat (above). Do this 5 or 6 times, alternating sides each time.

30) Bring both lots of threads together again and thread them back onto the needle. Send the needle through the cushion and out again nearby, hold the thread taught and cut the thread, where it exits the cushion. This will bury the thread tail, out of sight. Phew. Finally, you are done.

Now you can sit back and enjoy looking at your sculptural creation. Please send me a picture of any Star Fruit Cushions you make with this tutorial, I would love to see them. Don’t hesitate to drop me a line if you have any questions. claire (at)matchingpegs(dot)com

If you would like to make one in another size, try May Britt’s tutorial for the pincushion size, or follow these instructions using 4 1/2″ squares for the middle sized cushion. In the near future I am going to try scaling it up even further and making it with upholstery fabric for a kids floor cushion or foot stool. Enjoy.
This entry was posted
on Monday, February 15th, 2010 at 2:16 pm and is filed under Tutorial.
You can follow any responses to this entry through the RSS 2.0 feed.
You can skip to the end and leave a response. Pinging is currently not allowed.
23 Responses to “Star Fruit Cushion Tutorial”
Julie Says:
February 15th, 2010 at 4:22 pm
Your cushion looks gorgeous. Great tutorial, I have it saved for future reference, I wondered how you made it!!!
libby Says:
February 15th, 2010 at 5:01 pm
I get it!!! now that I can see the tutorial I understand how it comes together!! Well done Claire, very easy to read and follow…. might have to make one now
 hmmm not on my UFO list lol
Jennifer Says:
February 16th, 2010 at 11:04 am
Cool – just love these, will try one for the girls, they\’ll love it – especially to watch TV. Will keep you posted as to my success \”or lack of\”

Rachel L Says:
February 16th, 2010 at 9:59 pm
That’s a brilliant tutorial Claire! Really clear instructions, and the cushion looks fabulous – I didn’t realise it was going to be so big!
Rachel x
Lynn in Tucson Says:
March 10th, 2010 at 2:16 am
That is just lovely! Thank you so much for the tutorial.
Tipnut Says:
March 10th, 2010 at 4:50 pm
What a cool project, thanks so much for the tutorial! This was submitted to me at Tipnut and I’ll be sure to feature it soon, great job!
angelina Says:
March 10th, 2010 at 8:46 pm
hi, thanks for taking **so much time to get this tutorial. i am totally all over this! i just did my first semi tutorial pattern thing on my blog and it was no where near your hard work, however it completly wore me out. . . !
Anne Says:
March 11th, 2010 at 1:25 am
Love it!!! I linked to your tutorial on Craft Gossip Sewing:
http://sewing.craftgossip.com/tutorial-star-fruit-throw-pillow/2010/03/10/
–Anne
apple wrangler Says:
March 11th, 2010 at 2:13 am
i love love love this!!! tk you SO much! this will be the first couch pillow i tackle i think! ill let you know it turns out!:)
Libuse Says:
March 11th, 2010 at 6:29 am
You are so clever. I love the look of those and I bookmarked the tutorial for future use. At the moment i don’t have sewing machine but your project is at the top of my to do list!!!! So so inspiring.
terri sue Says:
March 11th, 2010 at 2:35 pm
this is so cleaver. i am trying to go for a year without spending any money except for necessities. my sons birthday is coming up as is my son-in-laws. i just showed this to my husband and he loved it. i want to make them out of material i have. my husband thought i should make our sons out of camo, he’s in the army. i think i’ll stick with my idea. it really has been fun looking for free ideas on line and using materials i have on hand. but as this is only march it will be interesting to see how i am doing towards the end ofthe year. thank you so much for the wonderful idea for the two hardest people i have to get presents for!
elsa Says:
March 12th, 2010 at 2:12 am
oh my goodness! what a wonderful pillow and one of the best tutorials I’ve ever seen! REALLY! and I’m definitely wanting to make it for my kitties, think they would love it!
thanks for being so generous and sharing your creativity!
George Says:
May 30th, 2010 at 8:46 am
Oh my goodnes,
Beautifull!
thank you for this
Phenocal Says:
June 11th, 2010 at 10:54 am
This is one of my best arts and crafts site.
Barbara (Friday movie nights) Says:
June 11th, 2010 at 6:15 pm
Claire!!
Have finally made a “cushion” (too small for a display cushion, too big for a pin cushion) following your tutorial. Presently up to step 15 – need to fill and then close. It was so easy to follow. Thanks so much.
Vickie E Says:
June 18th, 2010 at 10:37 pm
very cool. I made the original sized pincuhion..yours is much cooler..
Hicham Says:
August 17th, 2010 at 5:30 am
THANK YOU FOR THE VERRY HELPFULL TUTORIAL, ONE OF THE GREATEST I SAW AND GOOD EXPLAINED.
GREETING FROM GERMANY ^^
Edna Forbes Says:
September 5th, 2010 at 6:50 am
I would like to make this star pillow out of tapestry. it is so unique, thank you for sharing the directions so clearly. Could you let me know when you make the necessary changes for the other pillow?
Edna Forbes emforbes1@suddenlink.net
dendy Says:
September 30th, 2010 at 10:56 pm
amazing! very fascinating!
Vee B Says:
January 12th, 2011 at 2:27 pm
Just finished this using 2 1/2″ squares,can’t wait to make a bigger one as a gift
Goizalde Says:
January 27th, 2011 at 7:52 pm
Thanks a lot!! This tutorial is great, very thoroughly explained, and the cushions are beautiful.
 Mine is still in the process because I need to buy the stuffing material.
I was wondering if you actually went on to try the floor cushion version of it. Maybe it would make a nice bean bag… What do you think? Would the shape be ruined? What size of square were you thinking about for it?
I’ll spend some more time now reading through your blog. You’re SO creative.

Naomi Gies Says:
February 18th, 2011 at 5:29 am
Hi, Just found this tutorial. Wow. That is one amazing pillow. I will be making it at some point (too many projects on the go for right now). Thank you so much for taking the time to make the tutorial. Have you actually made the floor cushion version yet?
Staci Says:
March 25th, 2011 at 10:04 am
These are so cute! I’m including them in my Friday Favorites feature this week. The theme is fruit and I was happily surprised to be able to include star fruit! Thanks!



 ОООООЧЕНЬ ПОЛЕЗНАЯ ПРОГРАММА
 Встроенная библиотека одежды предлагает широкий выбор костюмов - более 100 вариантов в полной версии, включая мужскую и женскую одежду, гражданские костюмы и военную форму. Кроме того, есть возможность сравнить разные варианты одежды, подстроить цветовой оттенок костюма и импортировать новые костюмы из Photoshop.








 ...
...
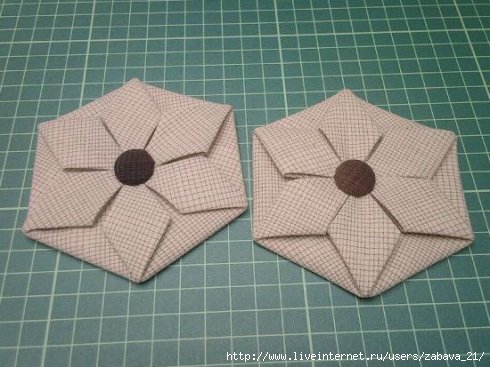
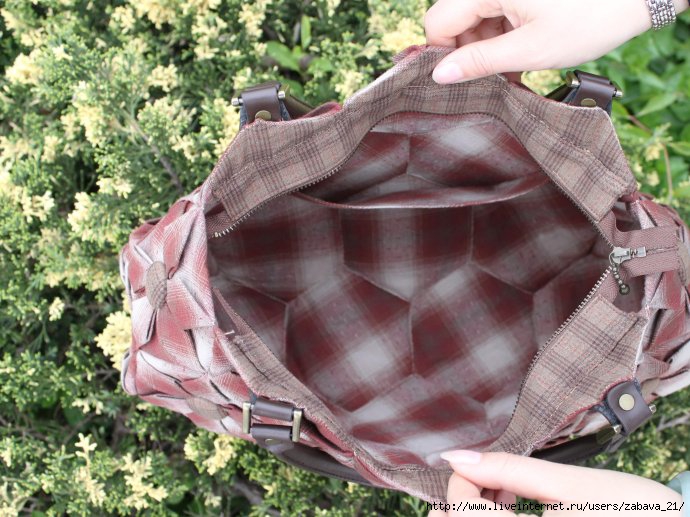 как сделать шестиугольный цветок














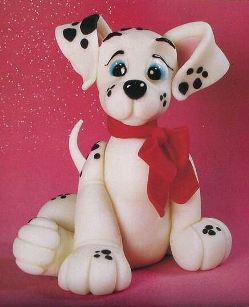 Ага!! Испугались слова ФАРФОР??
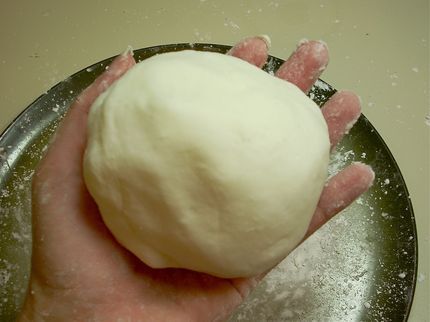
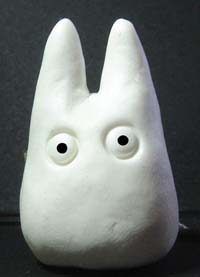 Вам наверняка много раз встречались в интернете различные поделки из, так называемого, BISCUIT. Это игрушки, различные украшения, цветы... Масса изделий может быть выполнена из этого материала.