не помню как оно называется
|
|
Вторник, 31 Января 2012 г. 17:44
+ в цитатник
http://www.adventuresindressmaking.com/2011/05/as-promised-cute-burlap-boutonniere.html
Super cute, right??
How about a tutorial?!?
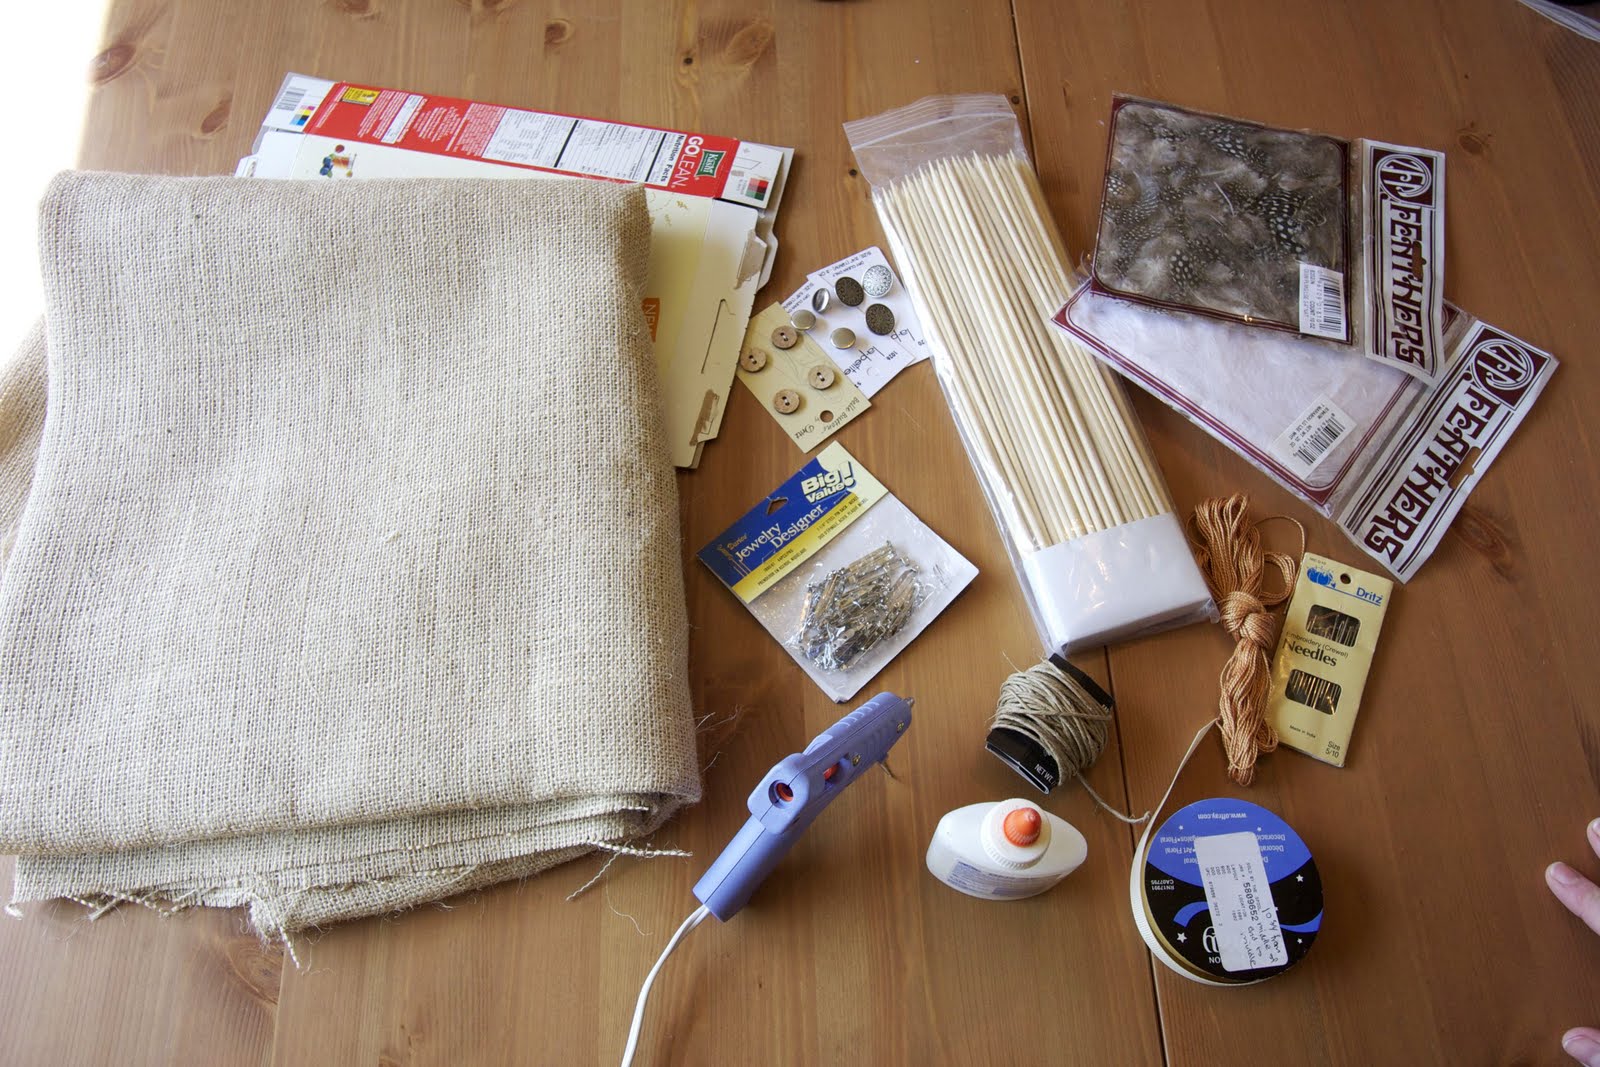
Materials:
-
Burlap
-
Cereal box-weight cardboard
-
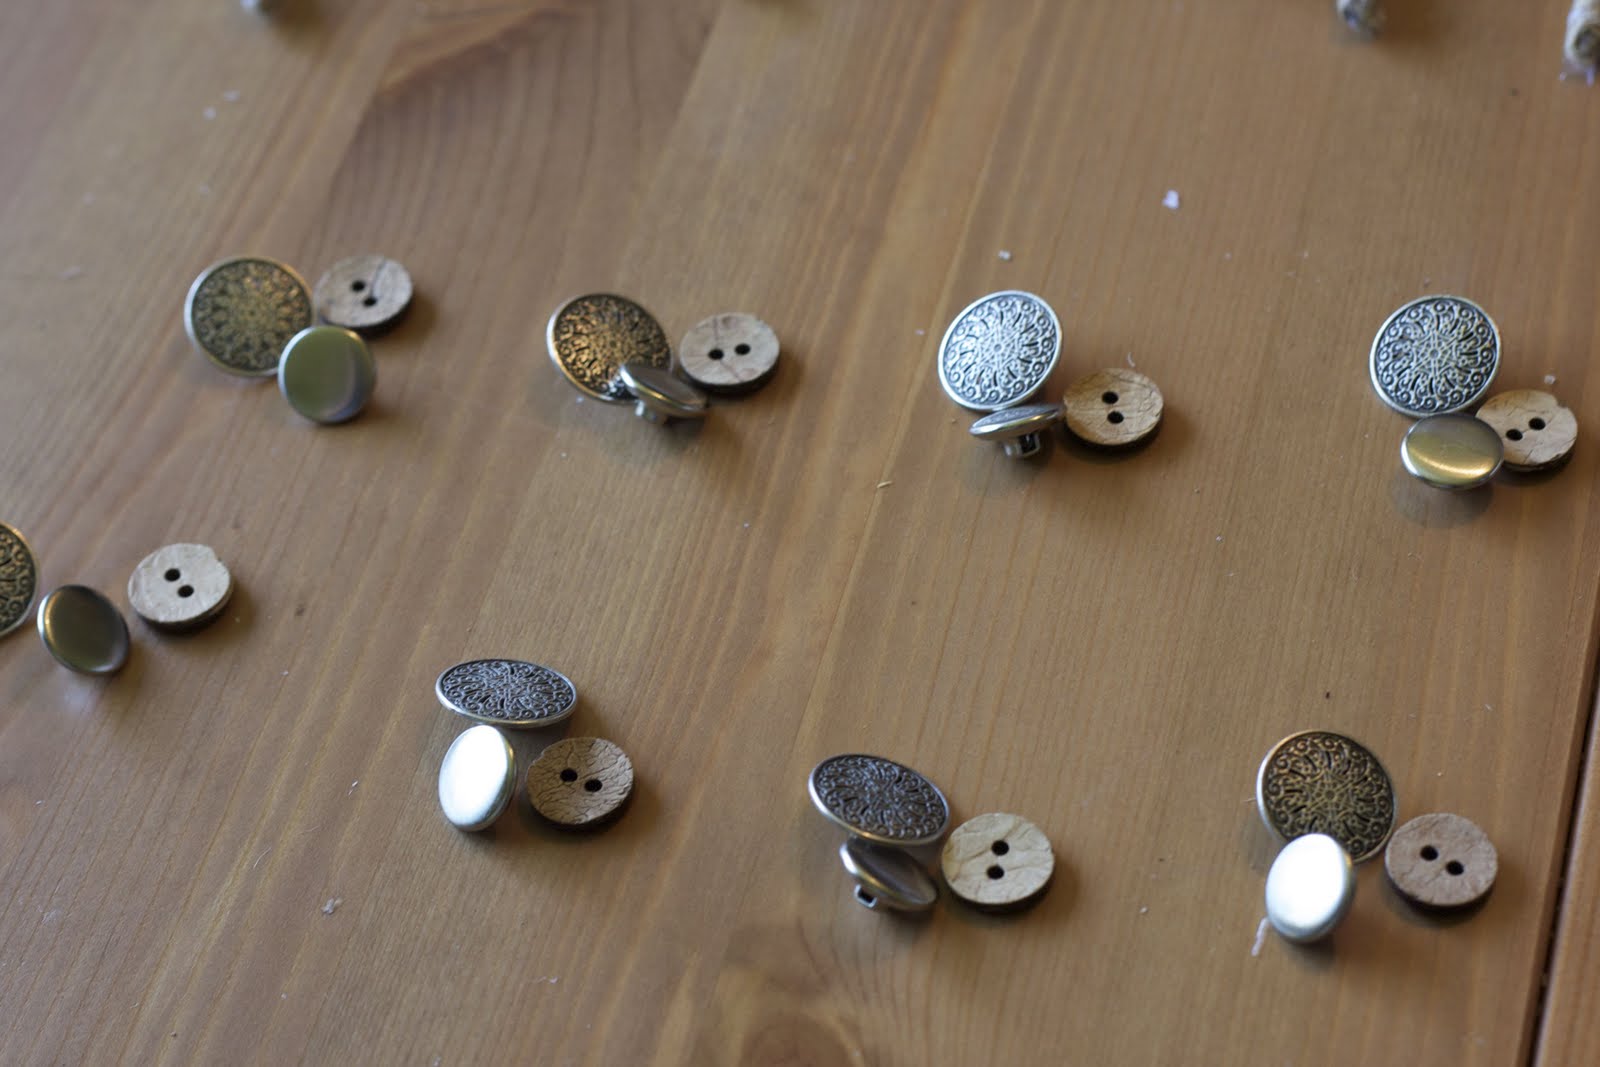
Three kinds of buttons, one of each on each boutonniere
-
Two kinds of feathers
-
Pin backs
-
Natural jewelry cord
-
Elmer's Glue
-
Hot glue gun
-
3/4" wide ribbon
-
Embroidery floss and big needle (optional)
-
Sturdy bamboo skewers
So here's the tutorial:
-
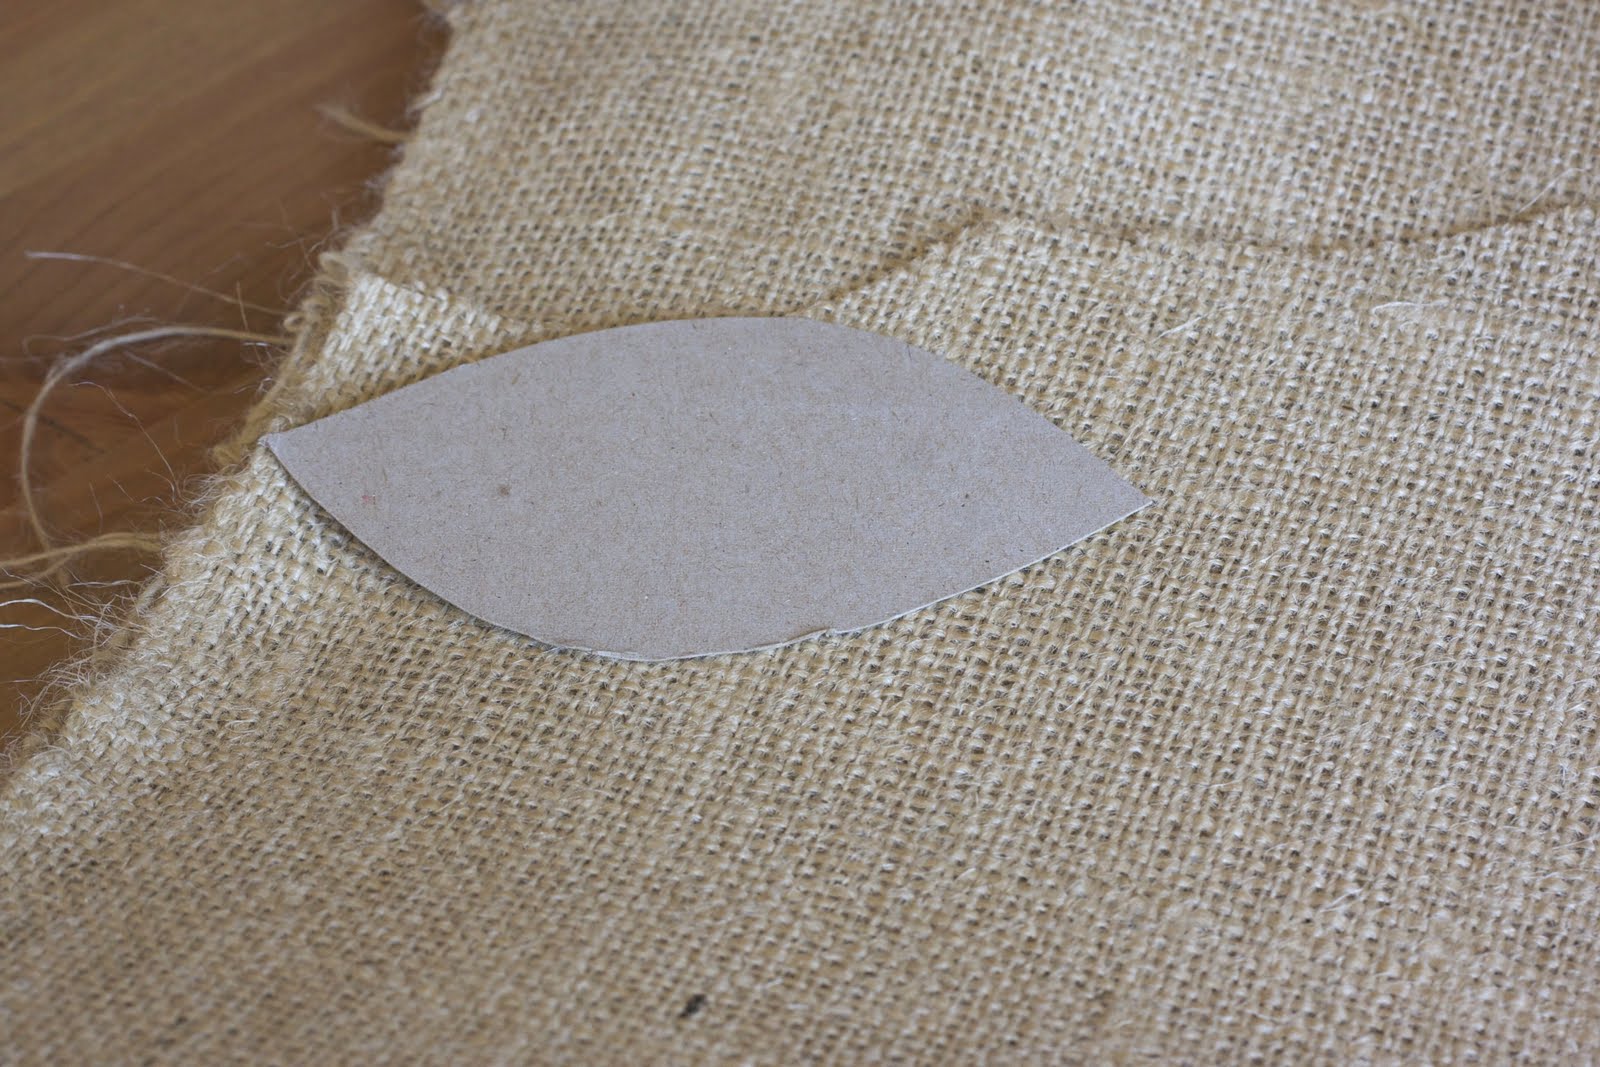
You'll need to cut leaf shapes out of the cardboard. Trace with pencil the shape you want, and once you get what you like, cut out one teardrop per boutonniere.
-
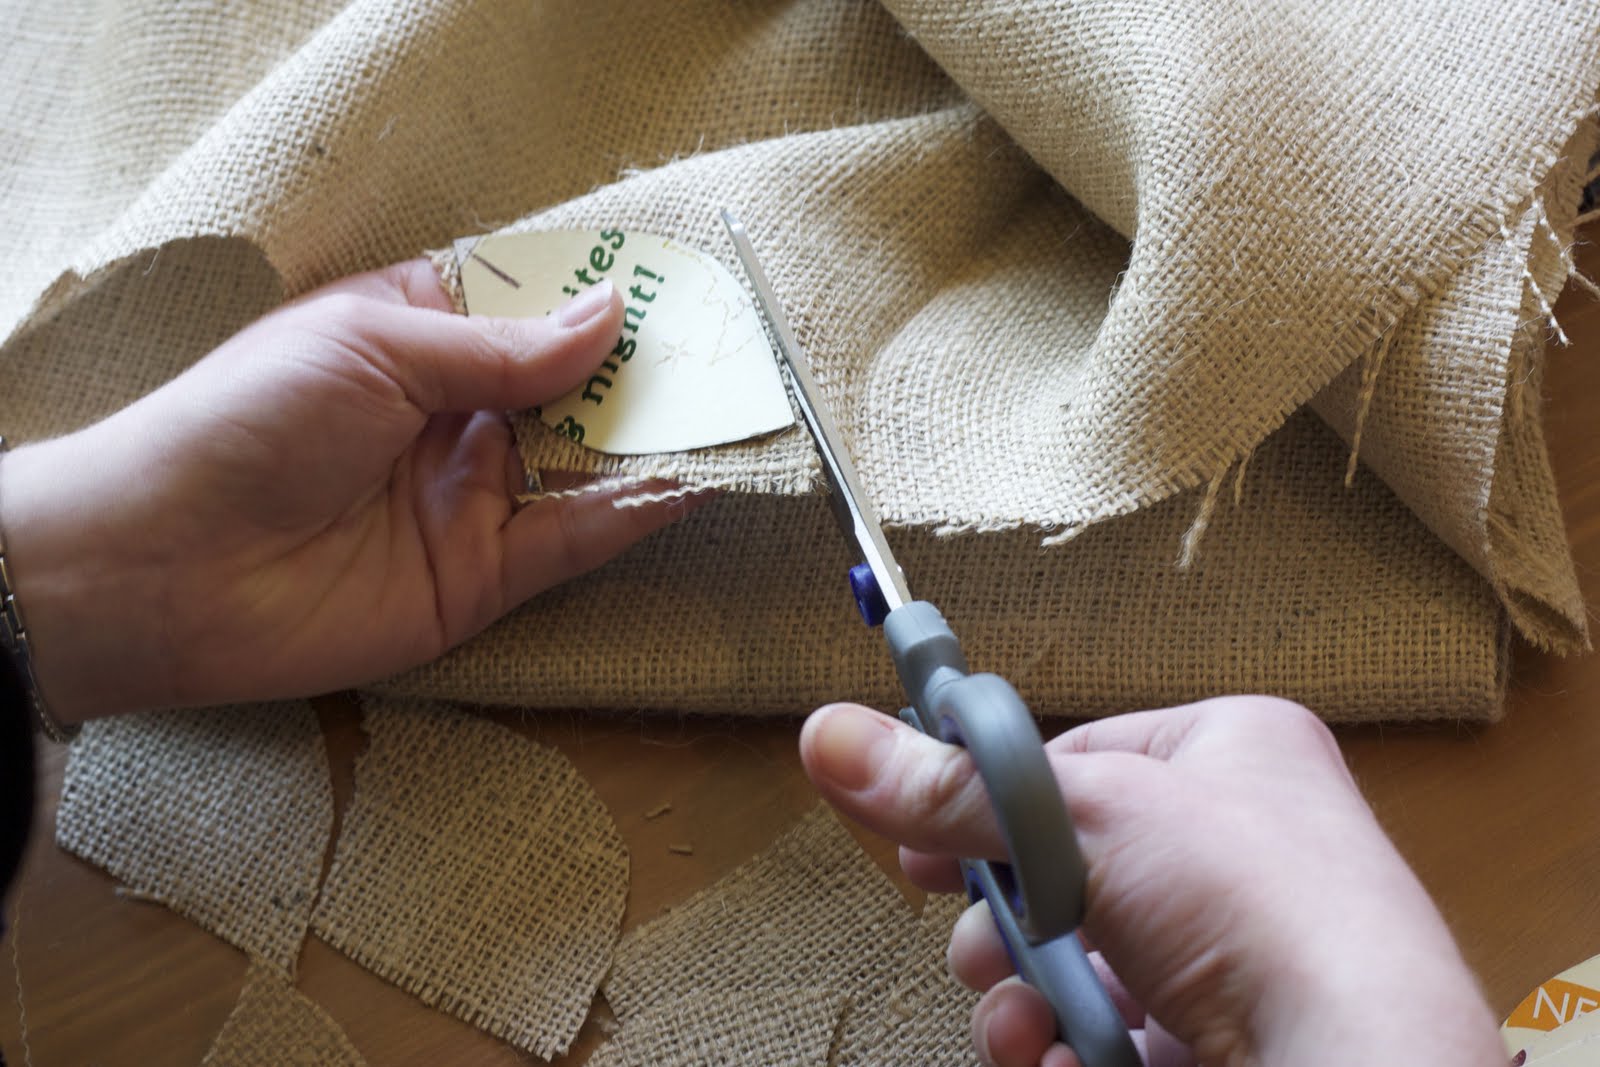
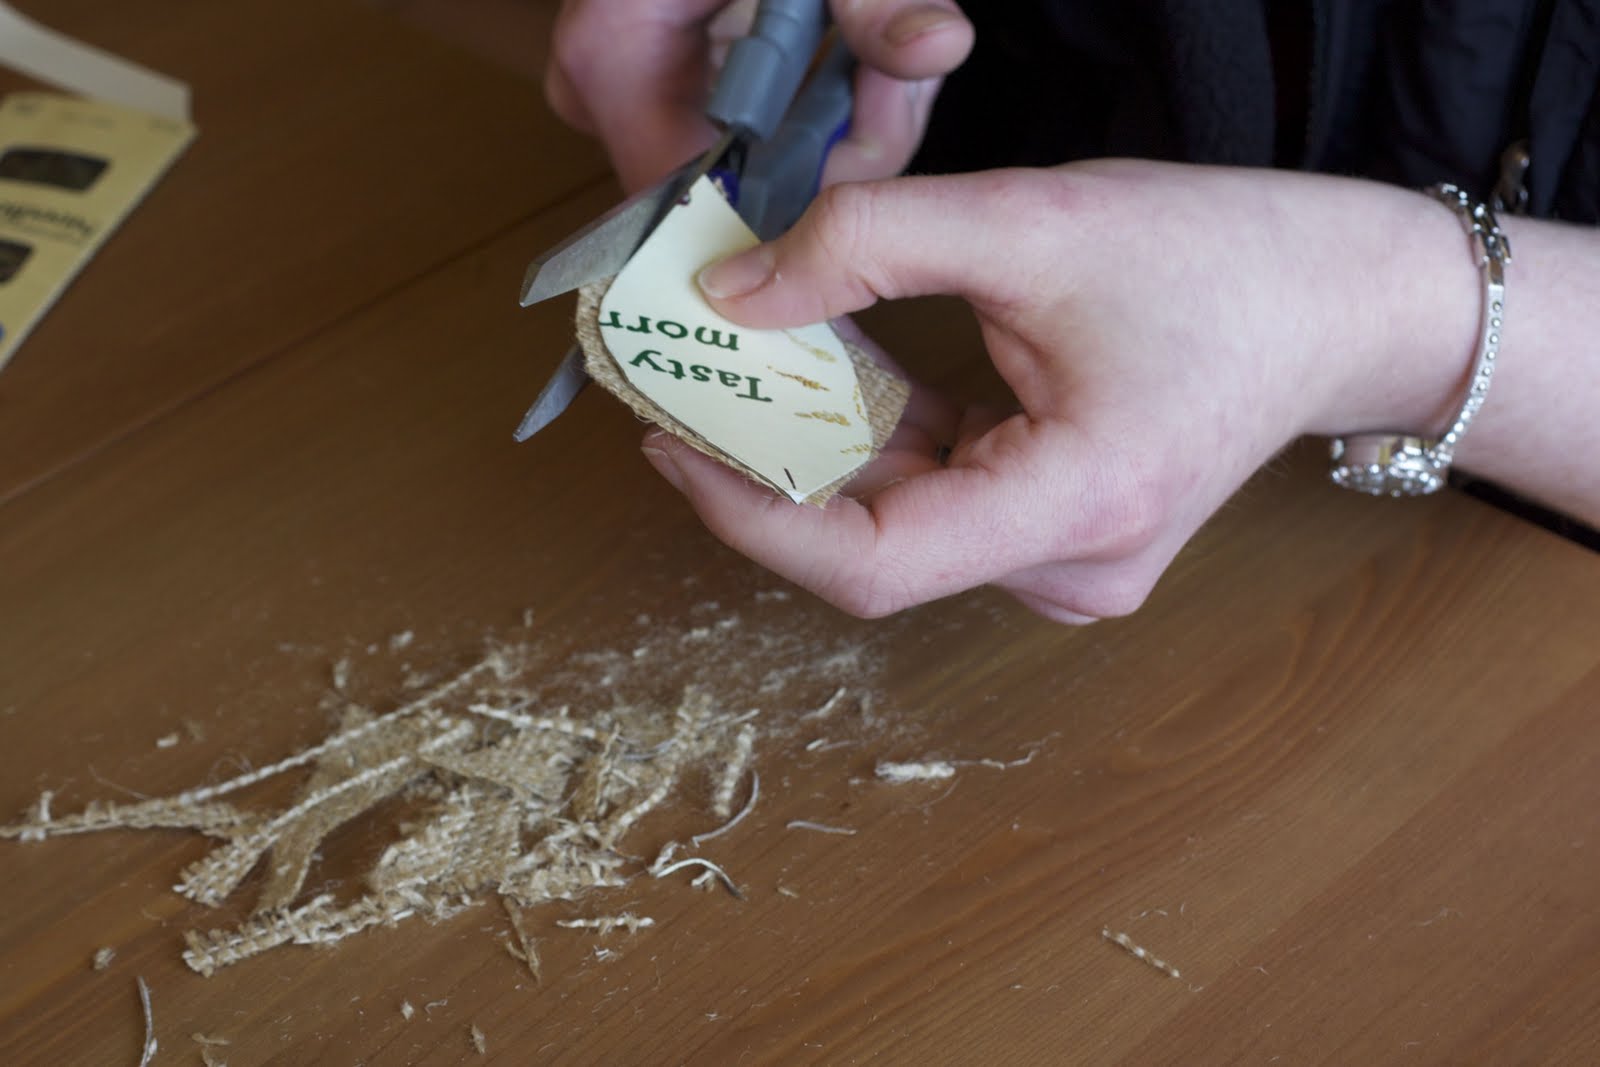
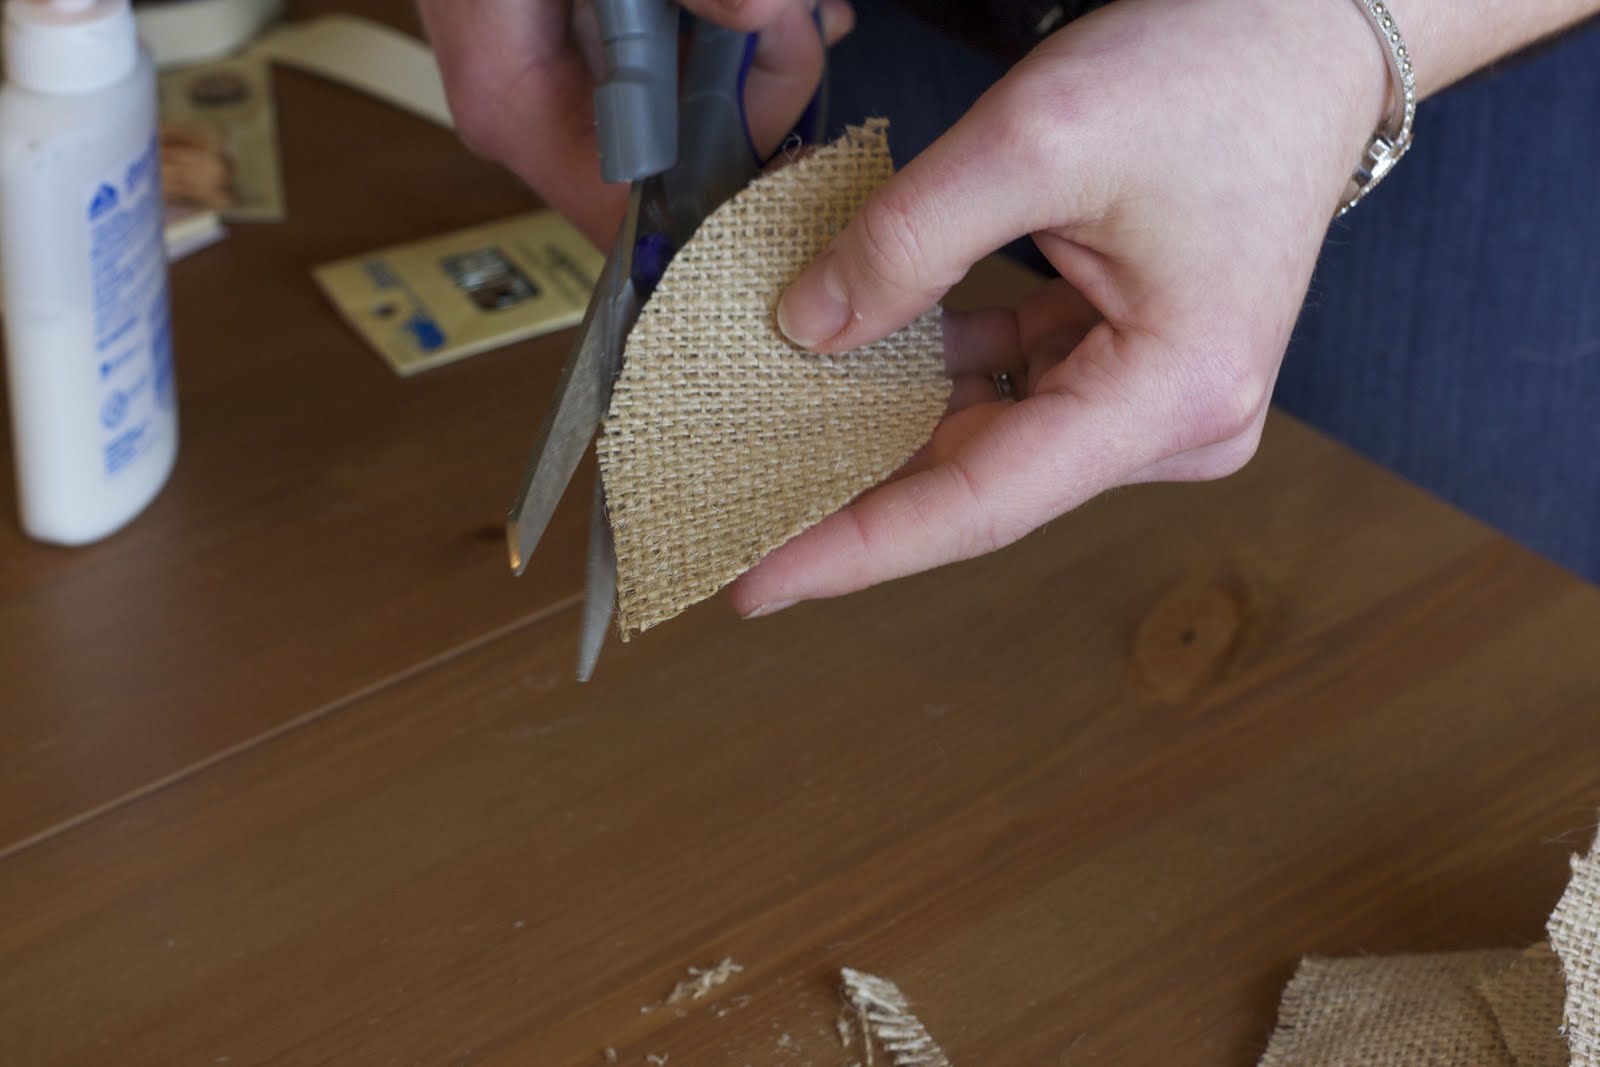
Use a cardboard teardrop as a pattern and cut out burlap shapes, one for each boutonniere. Be approximate--no need to be exact at this point.
-
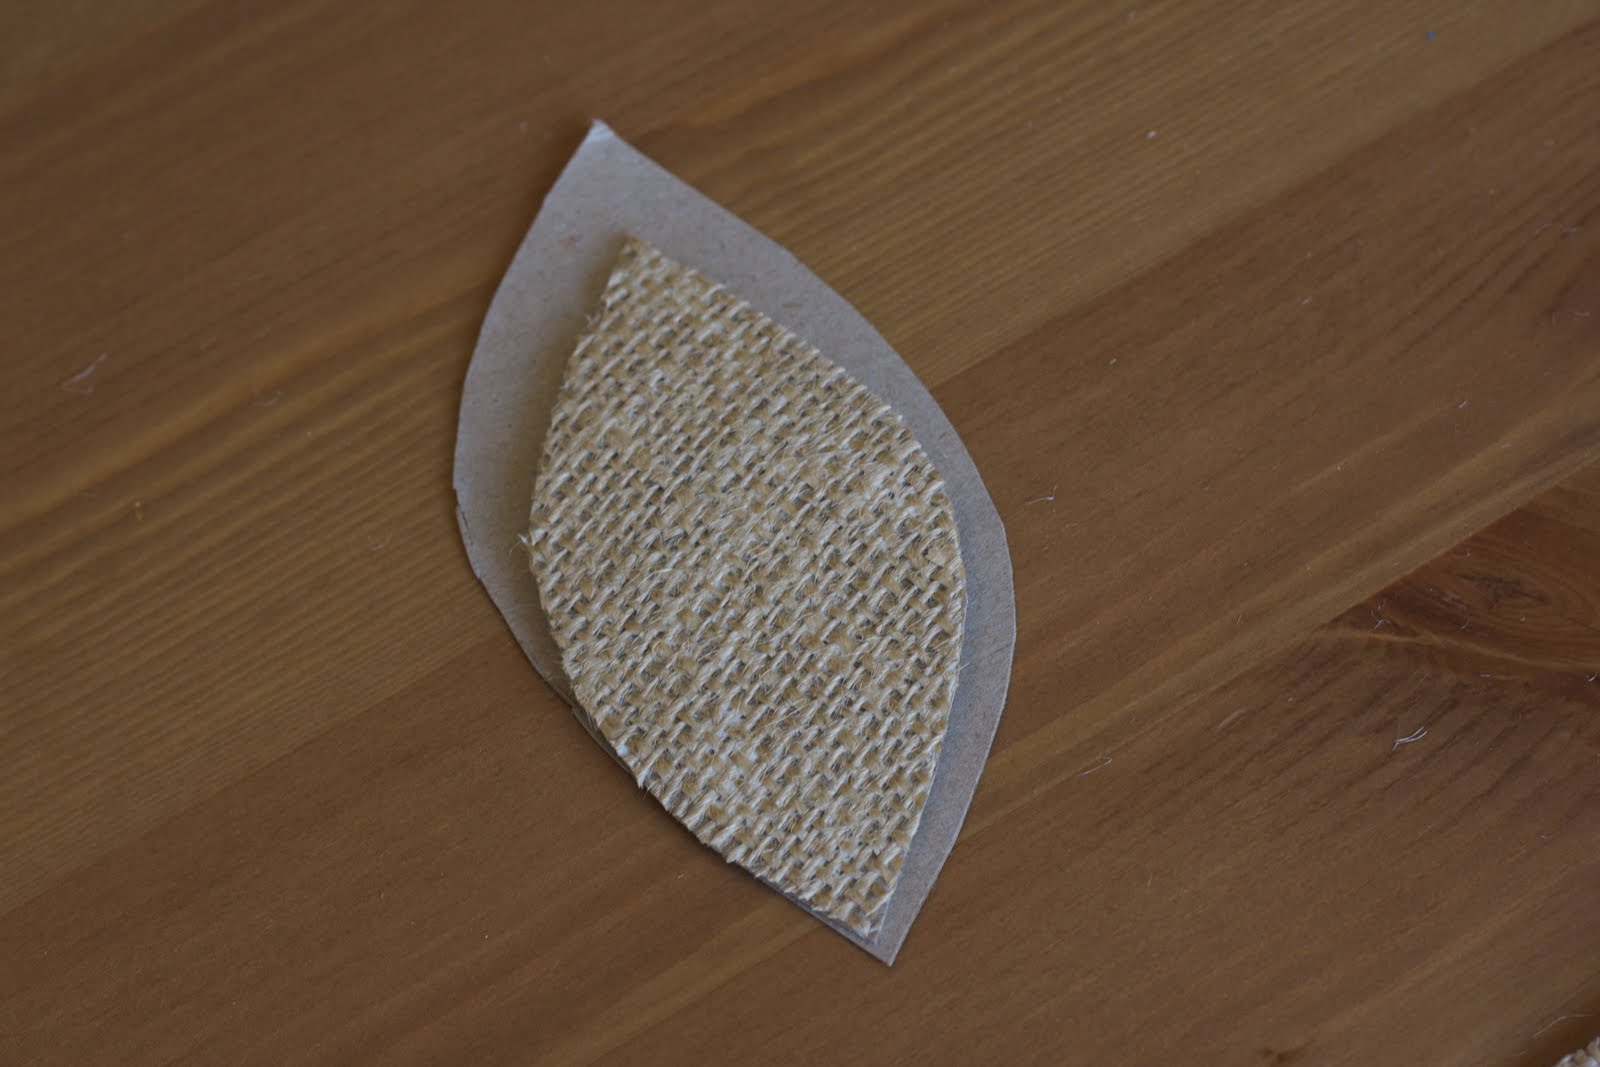
Put a little Elmer's Glue on each cardboard piece (the natural-colored side) and glue the burlap down.
-
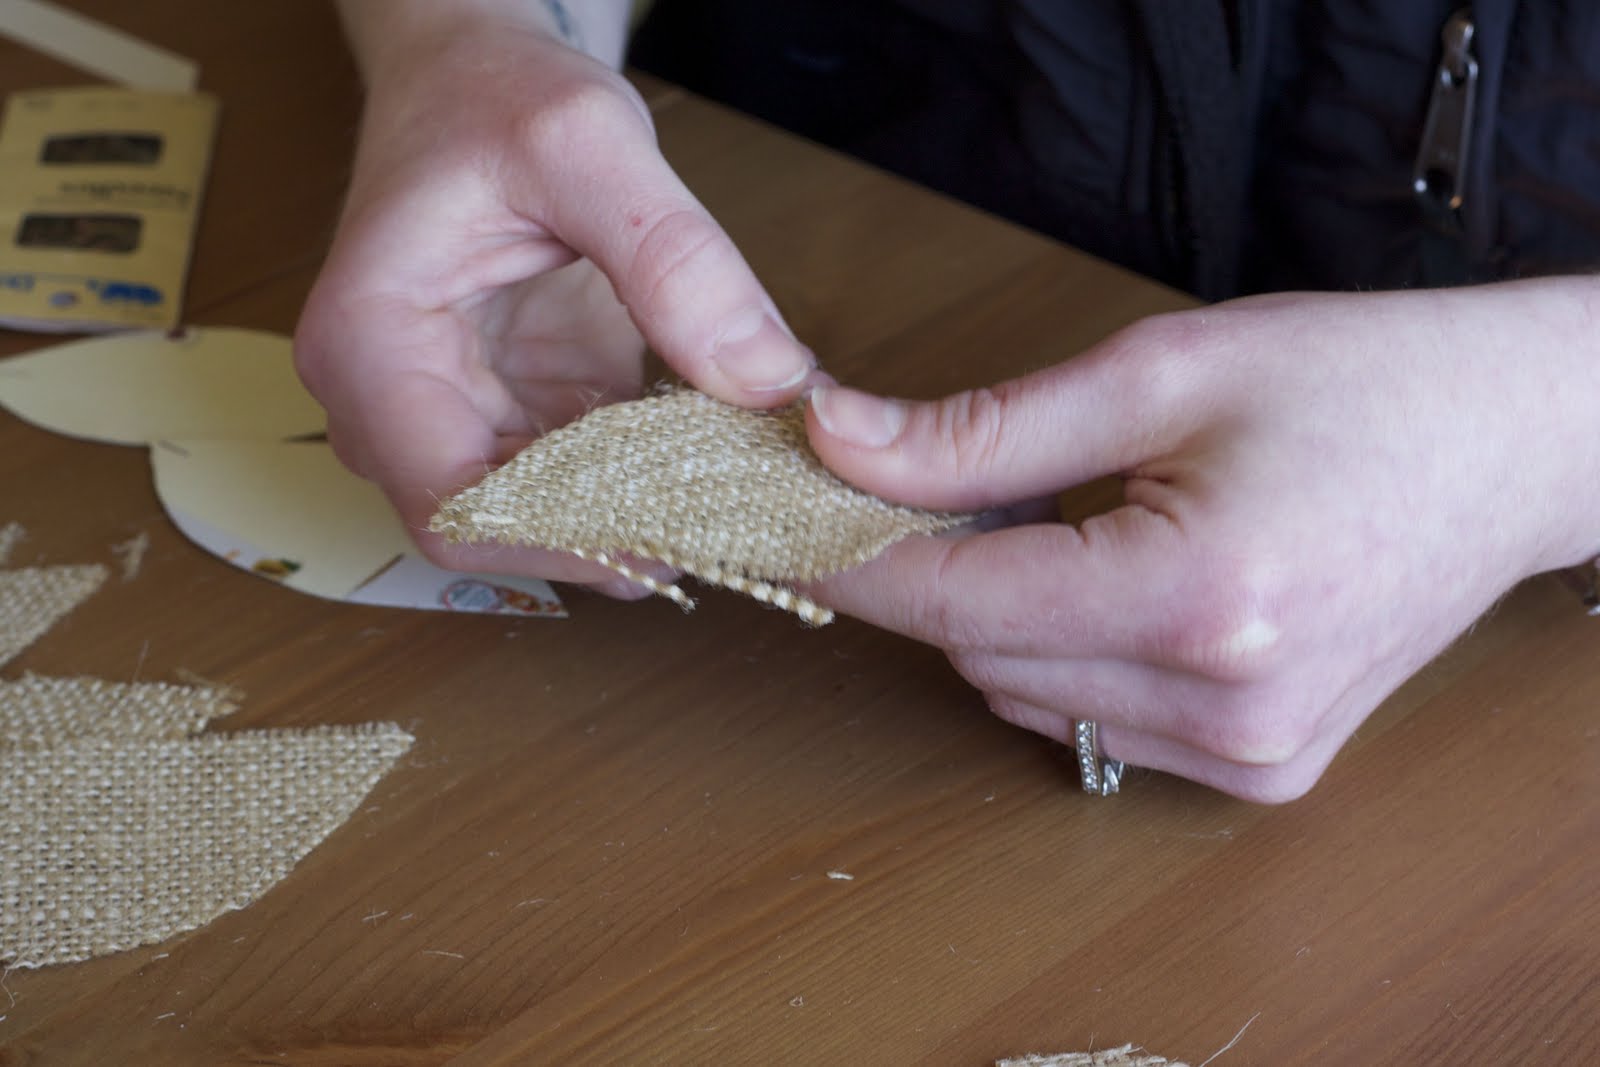
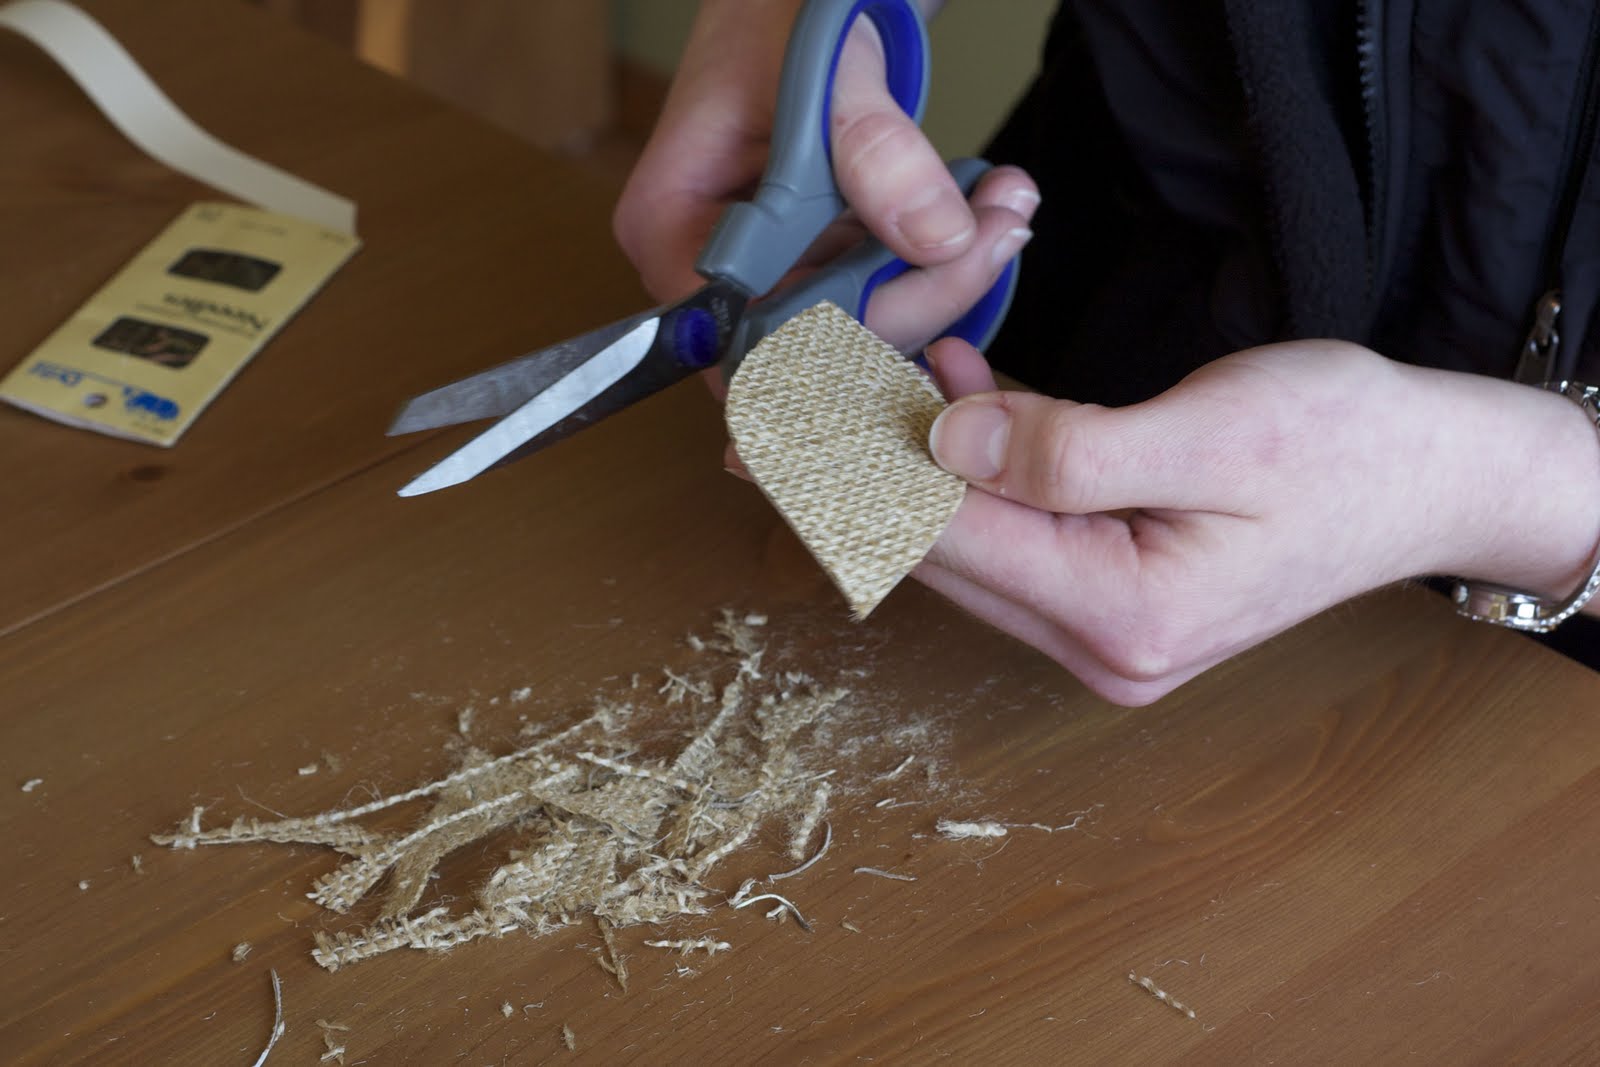
Trim off the remaining fabric.
-
We chose to get out the cardboard again (or use regular paper) and make a pattern piece for a slightly larger leaf, to give the boutonniere more depth and make our original piece a little bigger. The original doesn't have this--it's optional, of course!
-
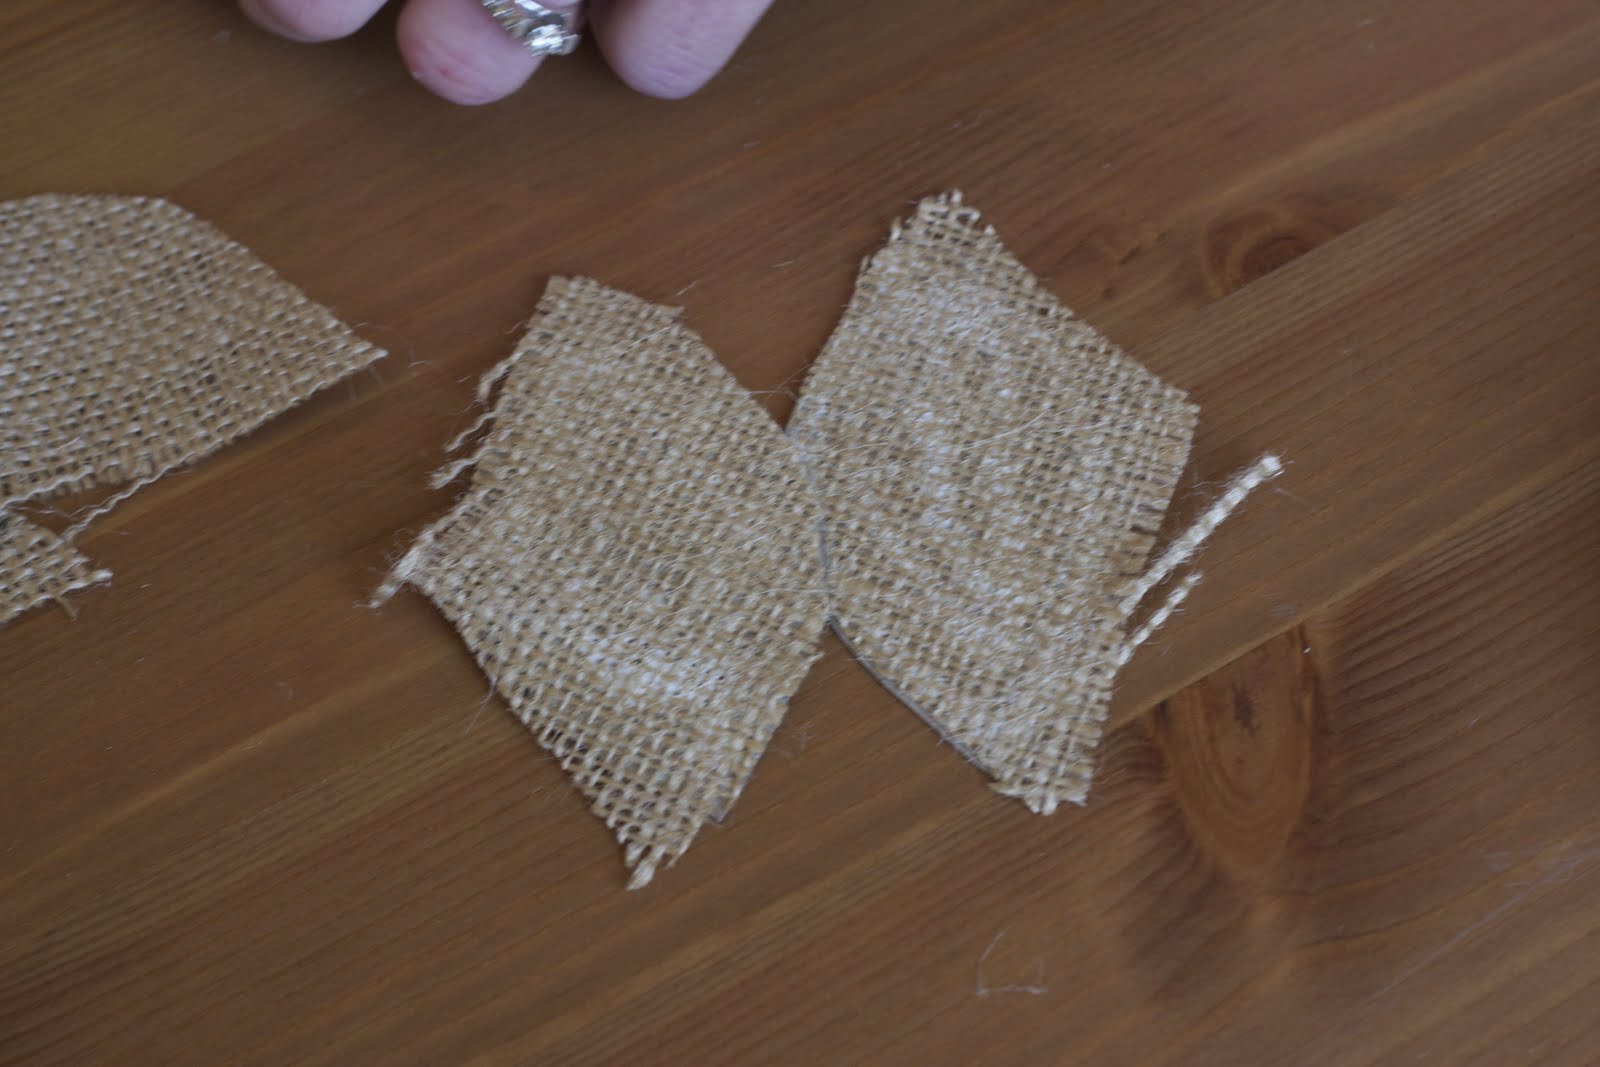
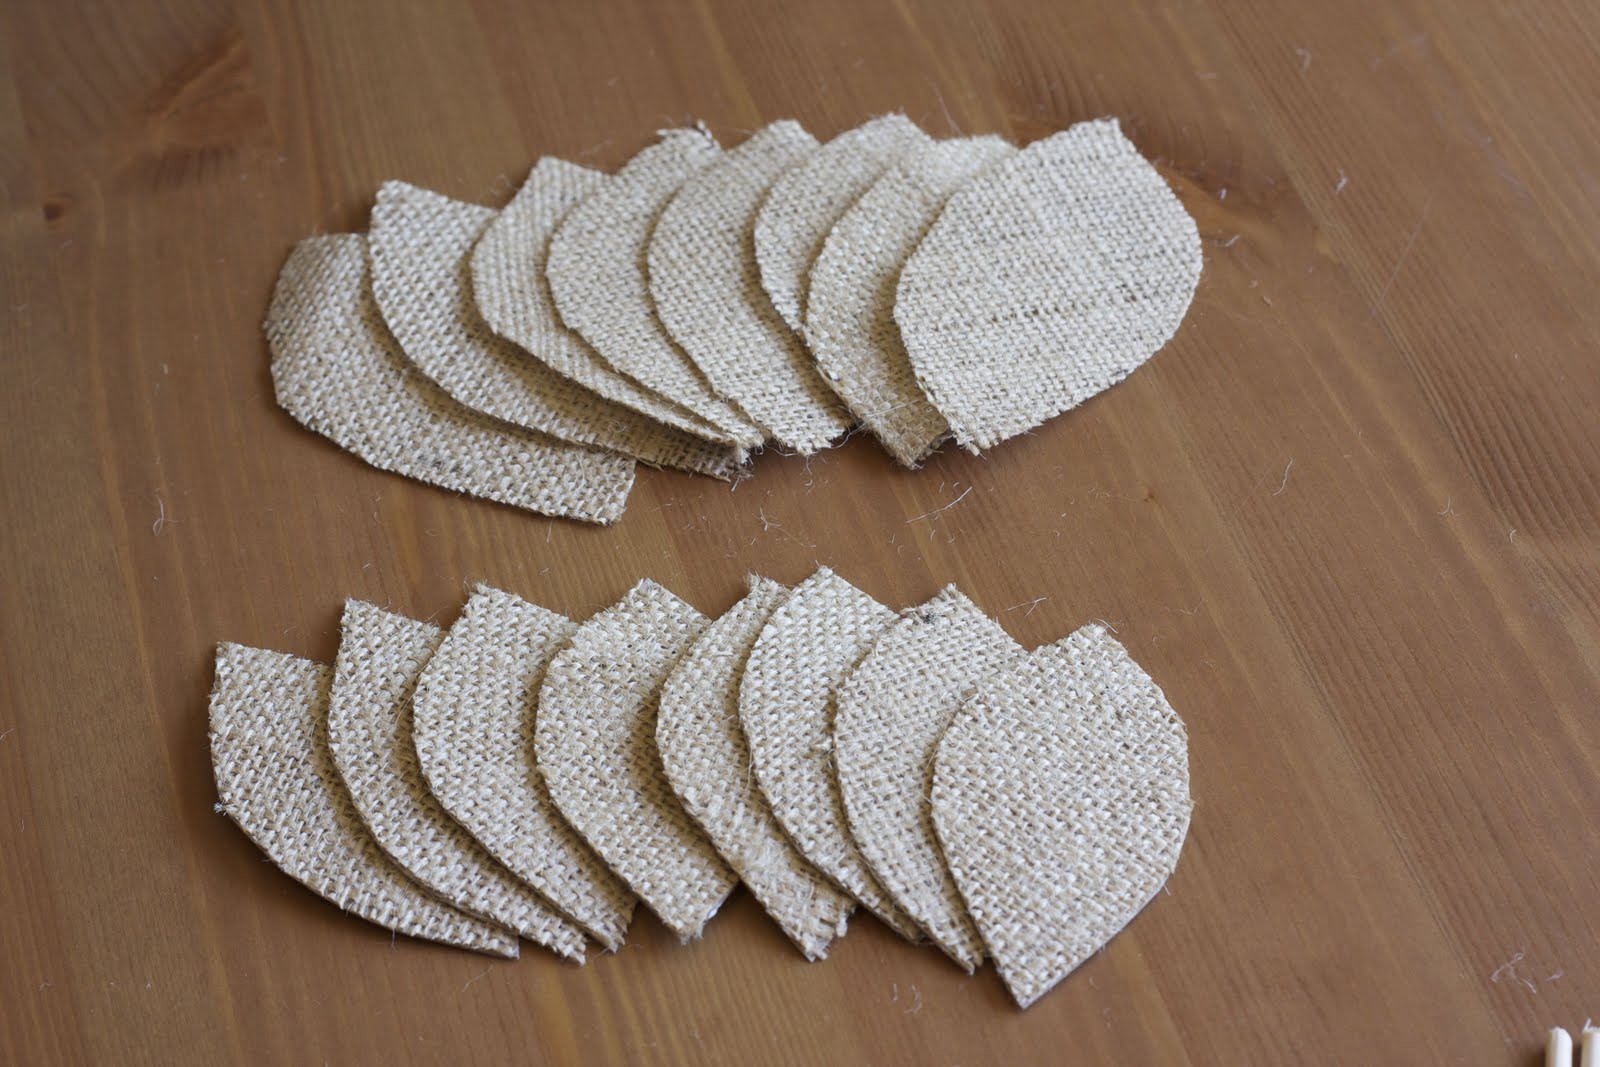
Cut out a larger burlap teardrop for each boutonniere, using your new pattern.
-
We now had nine big burlap teardrops and nine cardboard-backed smaller teardrops.
-
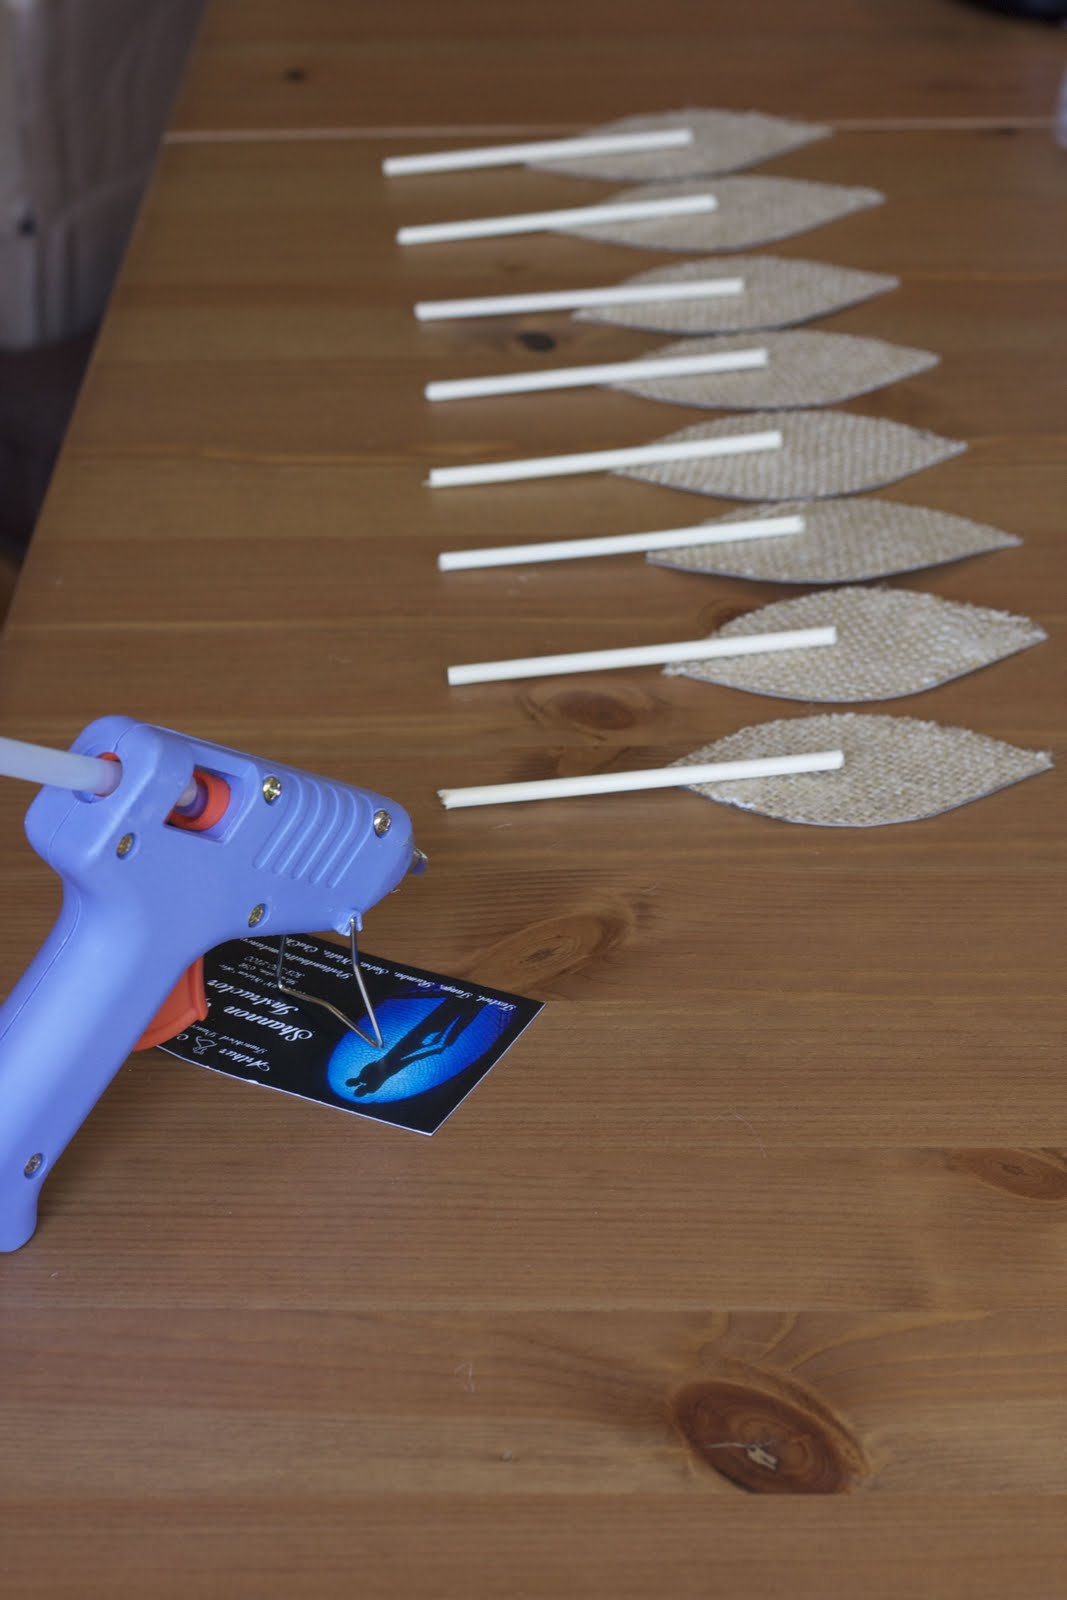
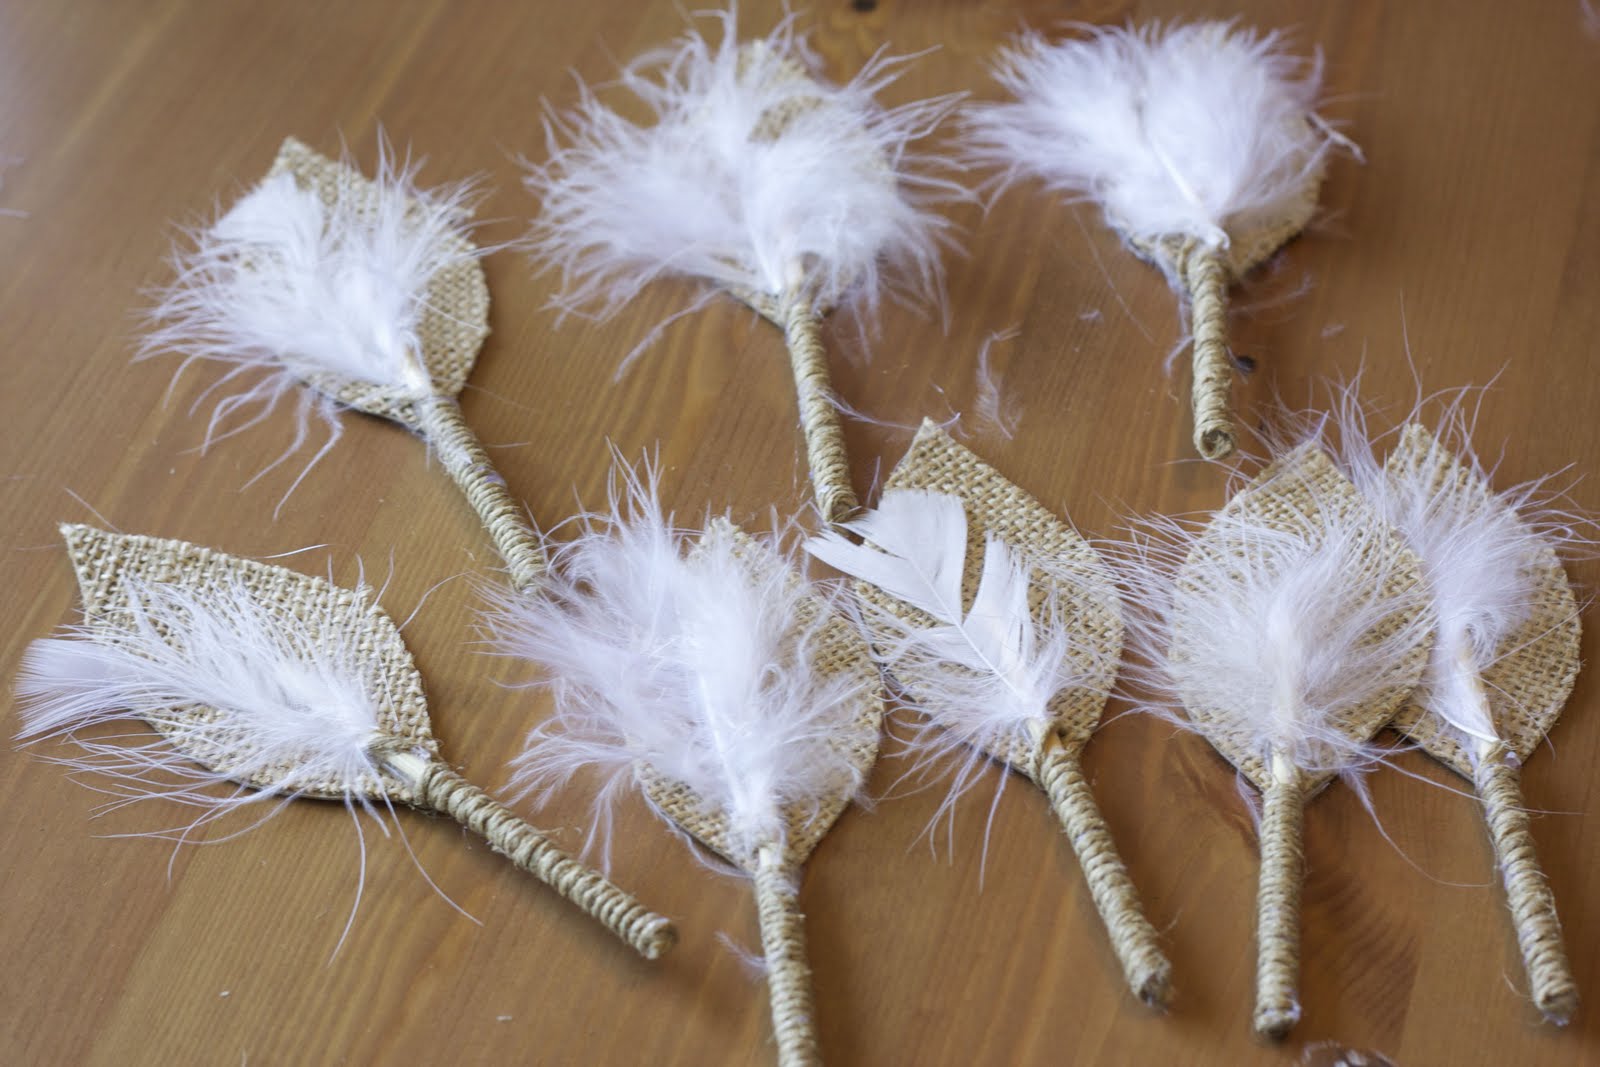
Now for the sticks. Measure your skewers to 3.75" or so, score them with scissors, and break. Make one per boutonniere.
-
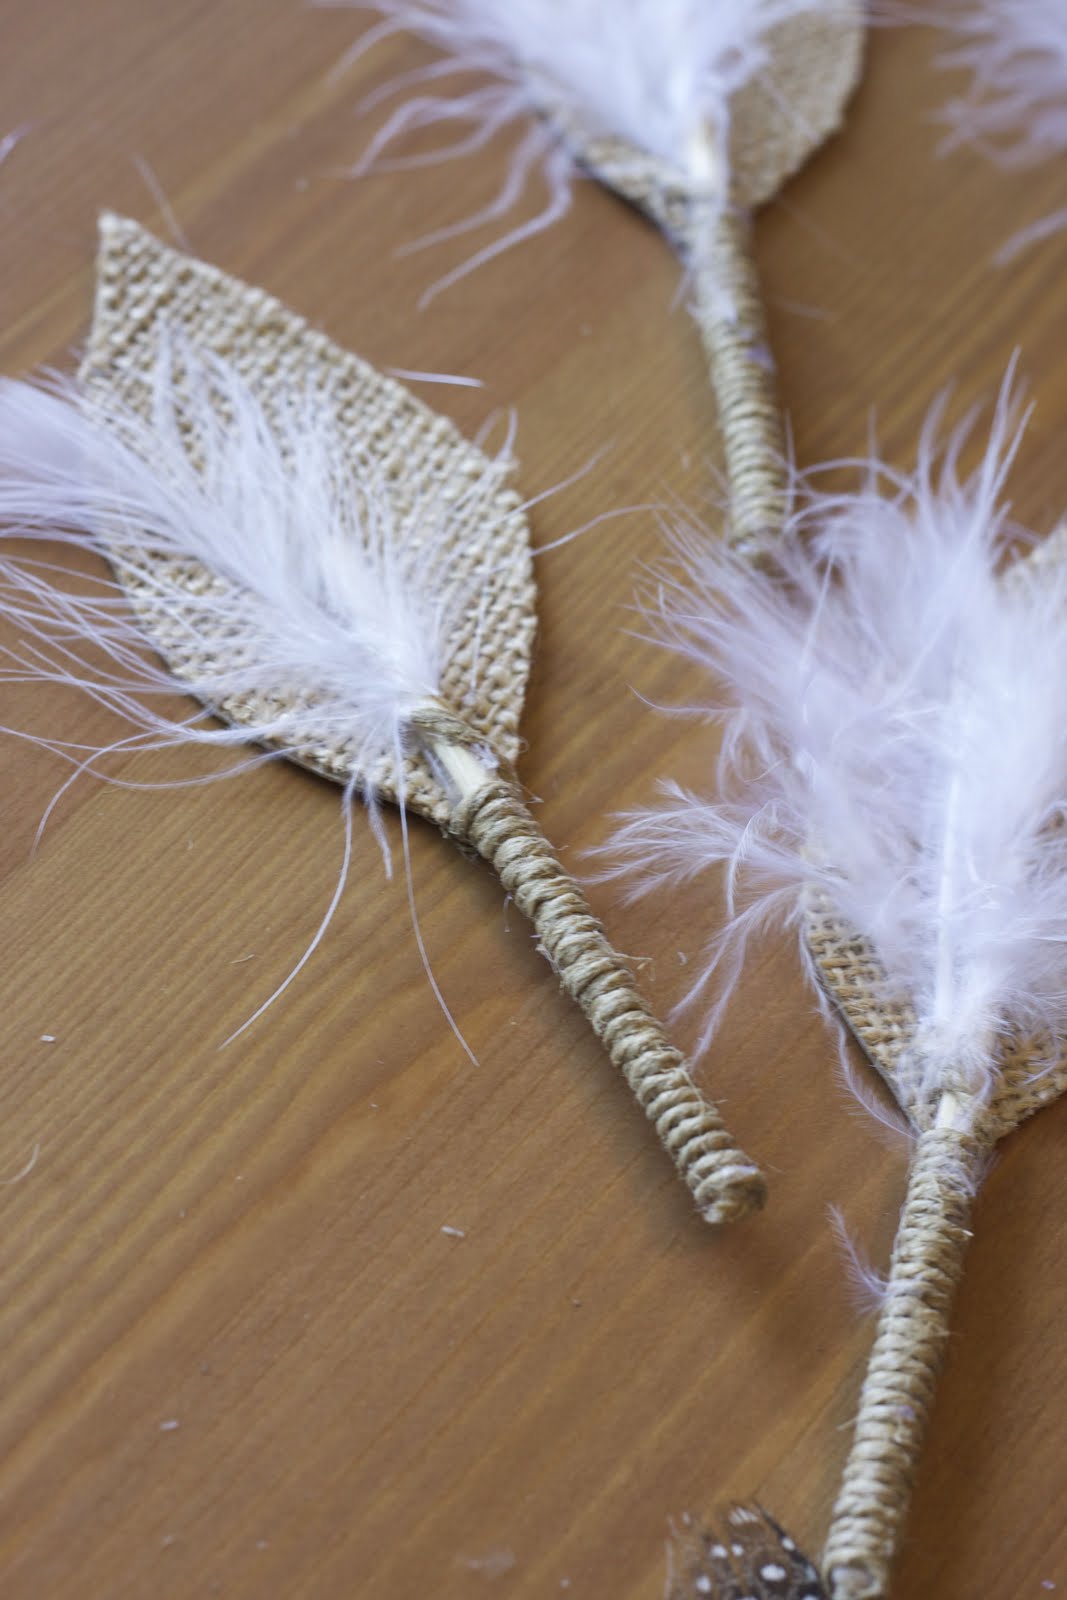
Glue each stick to the center of each cardboard-backed teardrop with hot glue.
-
Wrap the jewelry cord around the leaf stem, starting by gluing the end to the bottom of the stick (not really shown... sorry). I recommend one thin line of hot glue, up one side of the stick, and do only an inch or so at a time since the glue will cool before you get to the top! Glue the loose end down onto the front (burlap side) of the leaf (also not shown, again, sorry).
-
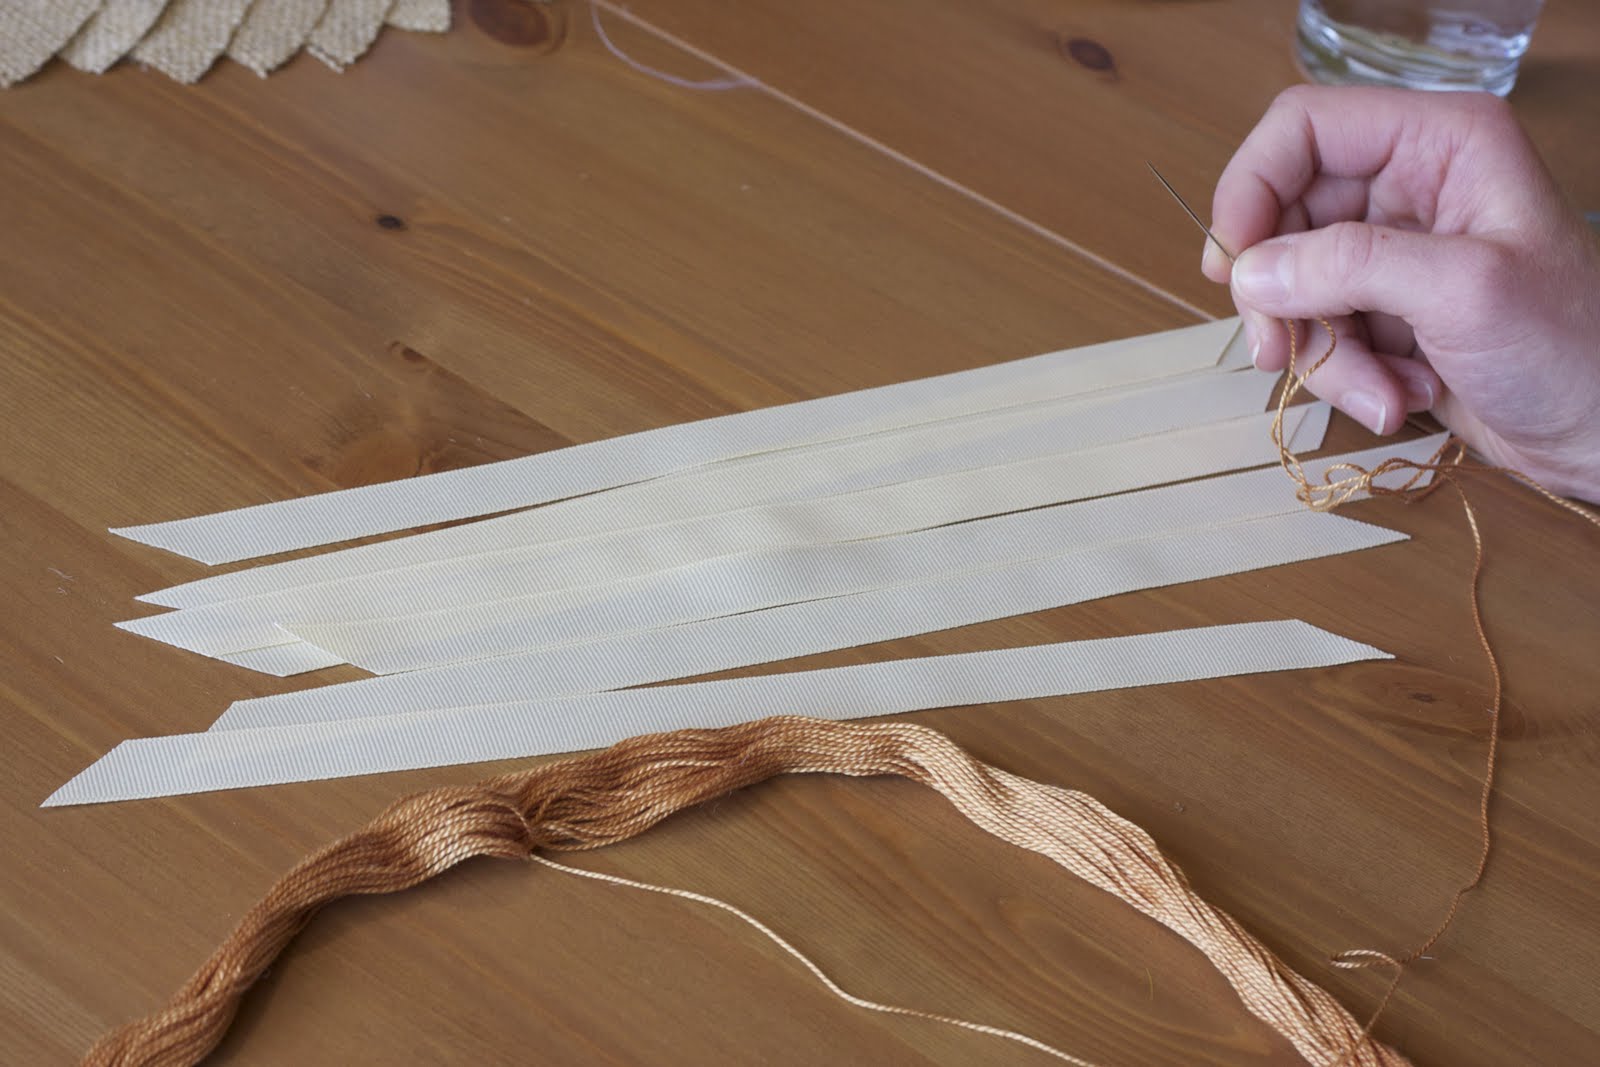
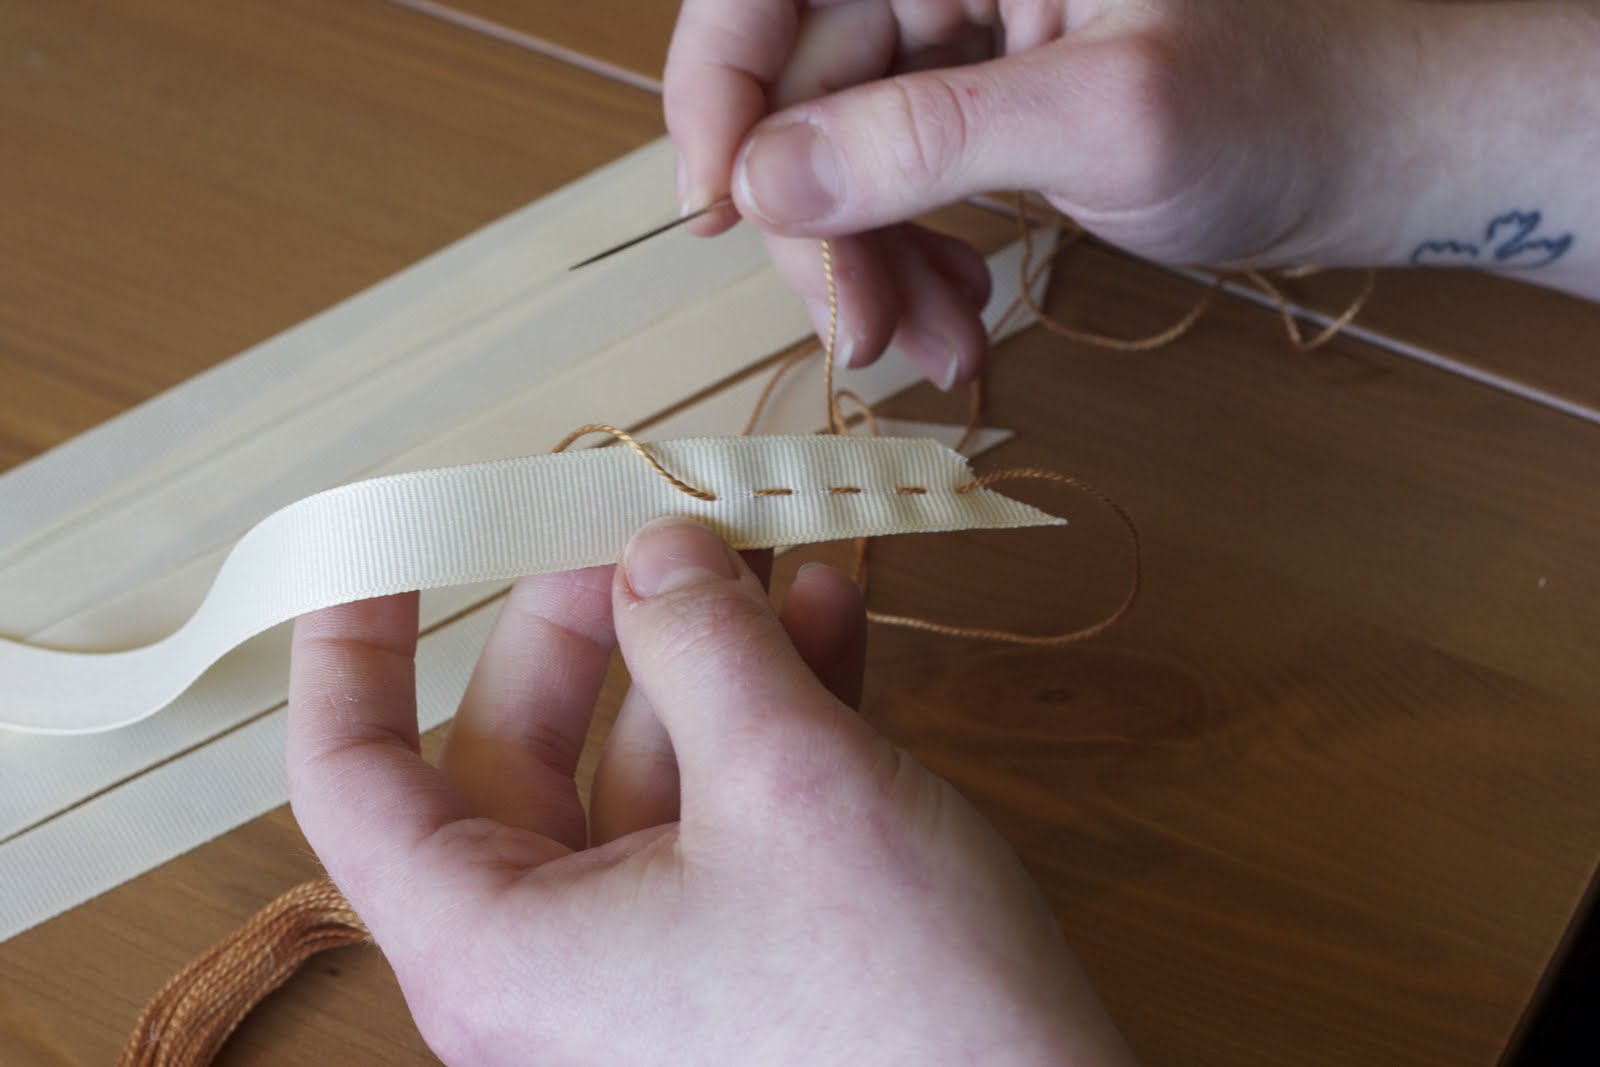
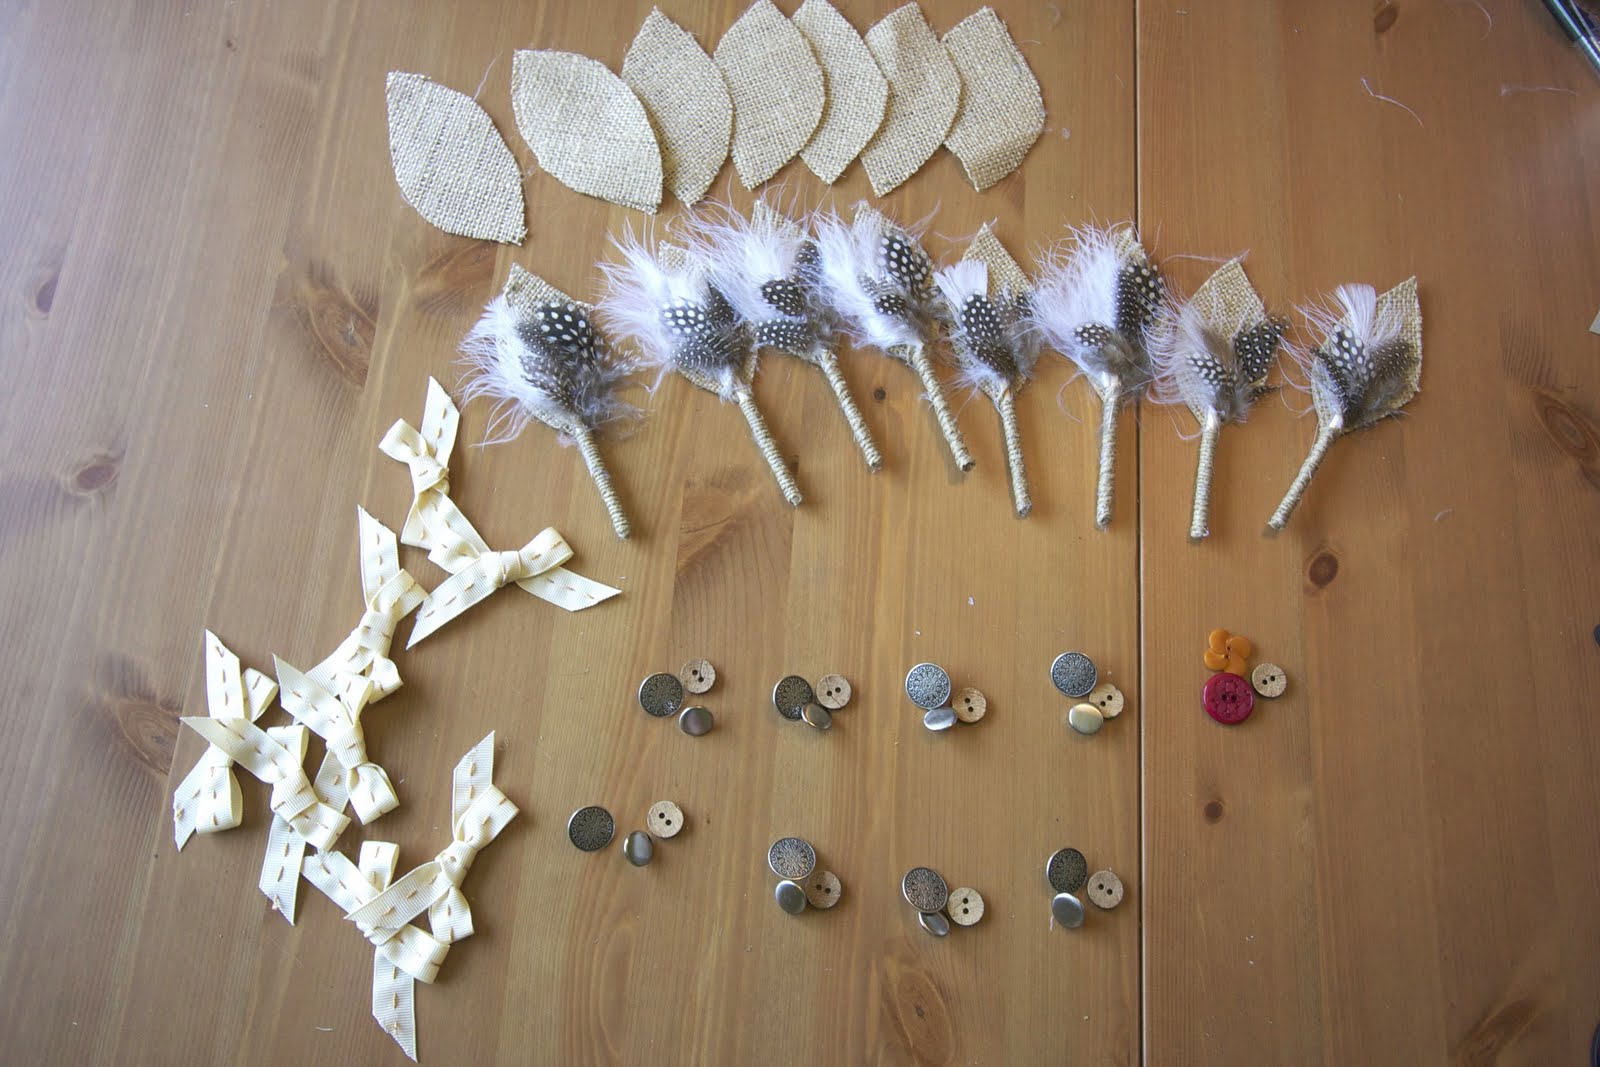
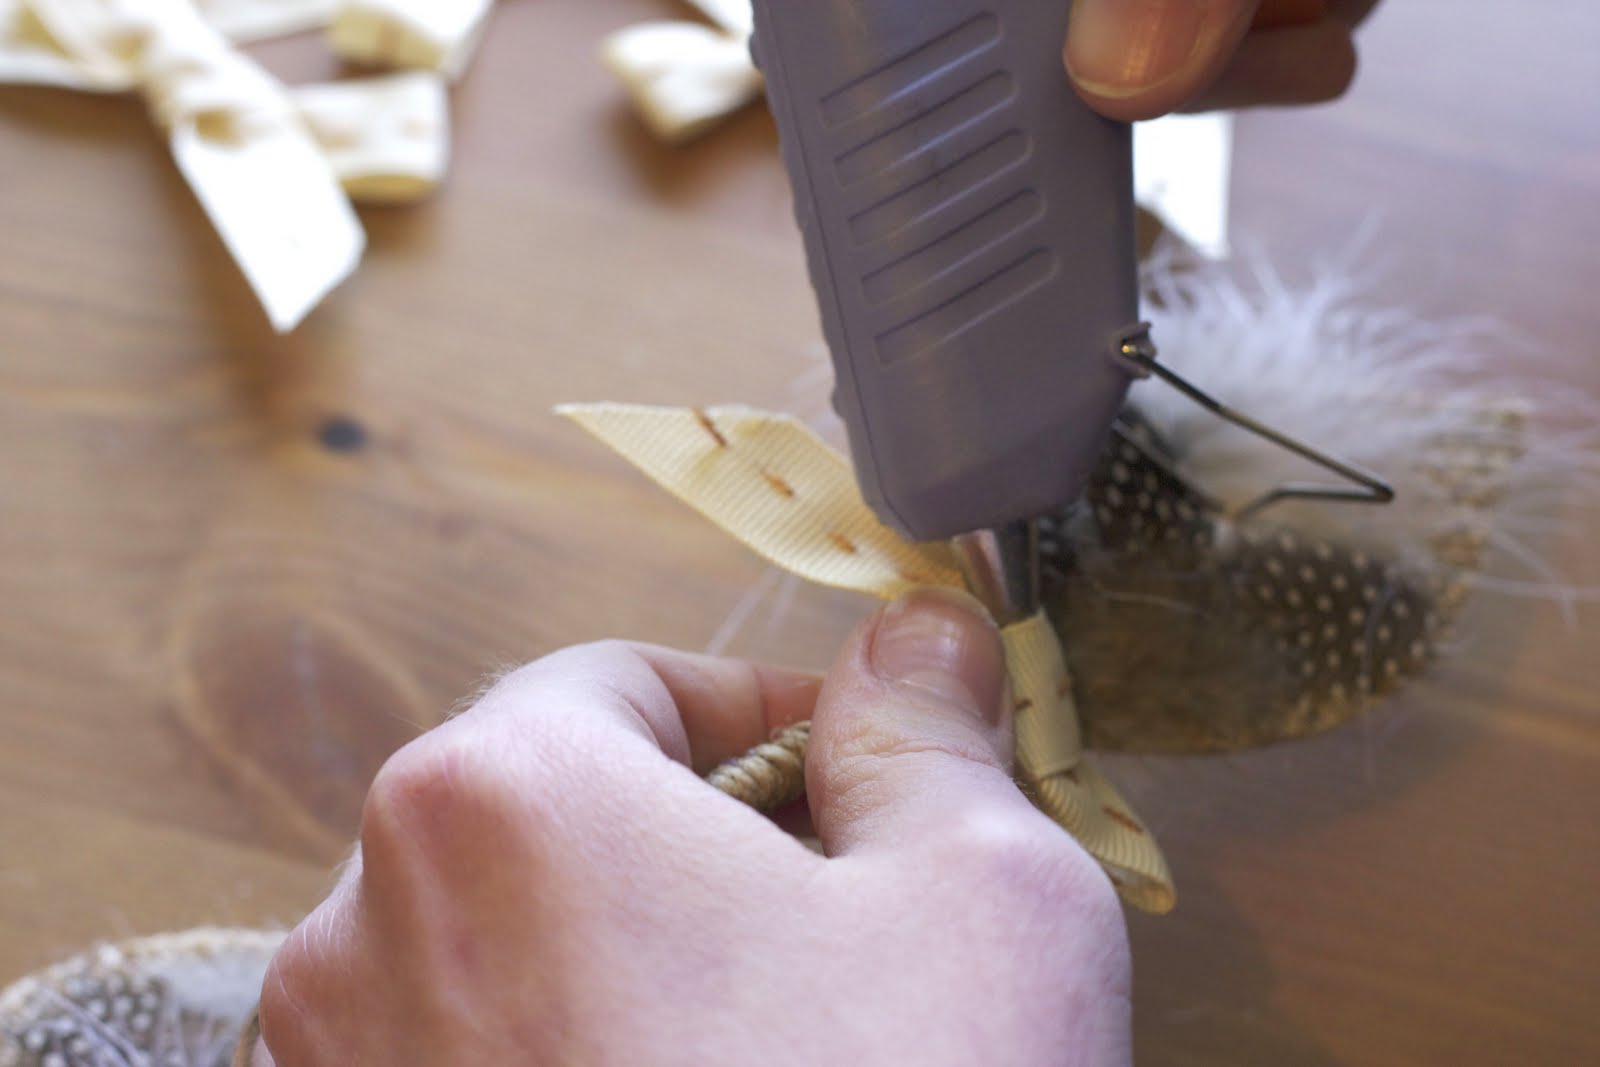
Now to make the cute ribbon bows. Some ribbons come already with cute running stitch detailing on the edges, for example--but we wanted to stick to the original so we made our own embroidered ribbon!
-
For 3/4" wide ribon, you'll need about 11" from the center of the ribbon longways to the center on the other end. Cut the ribbon with a slant cut.
-
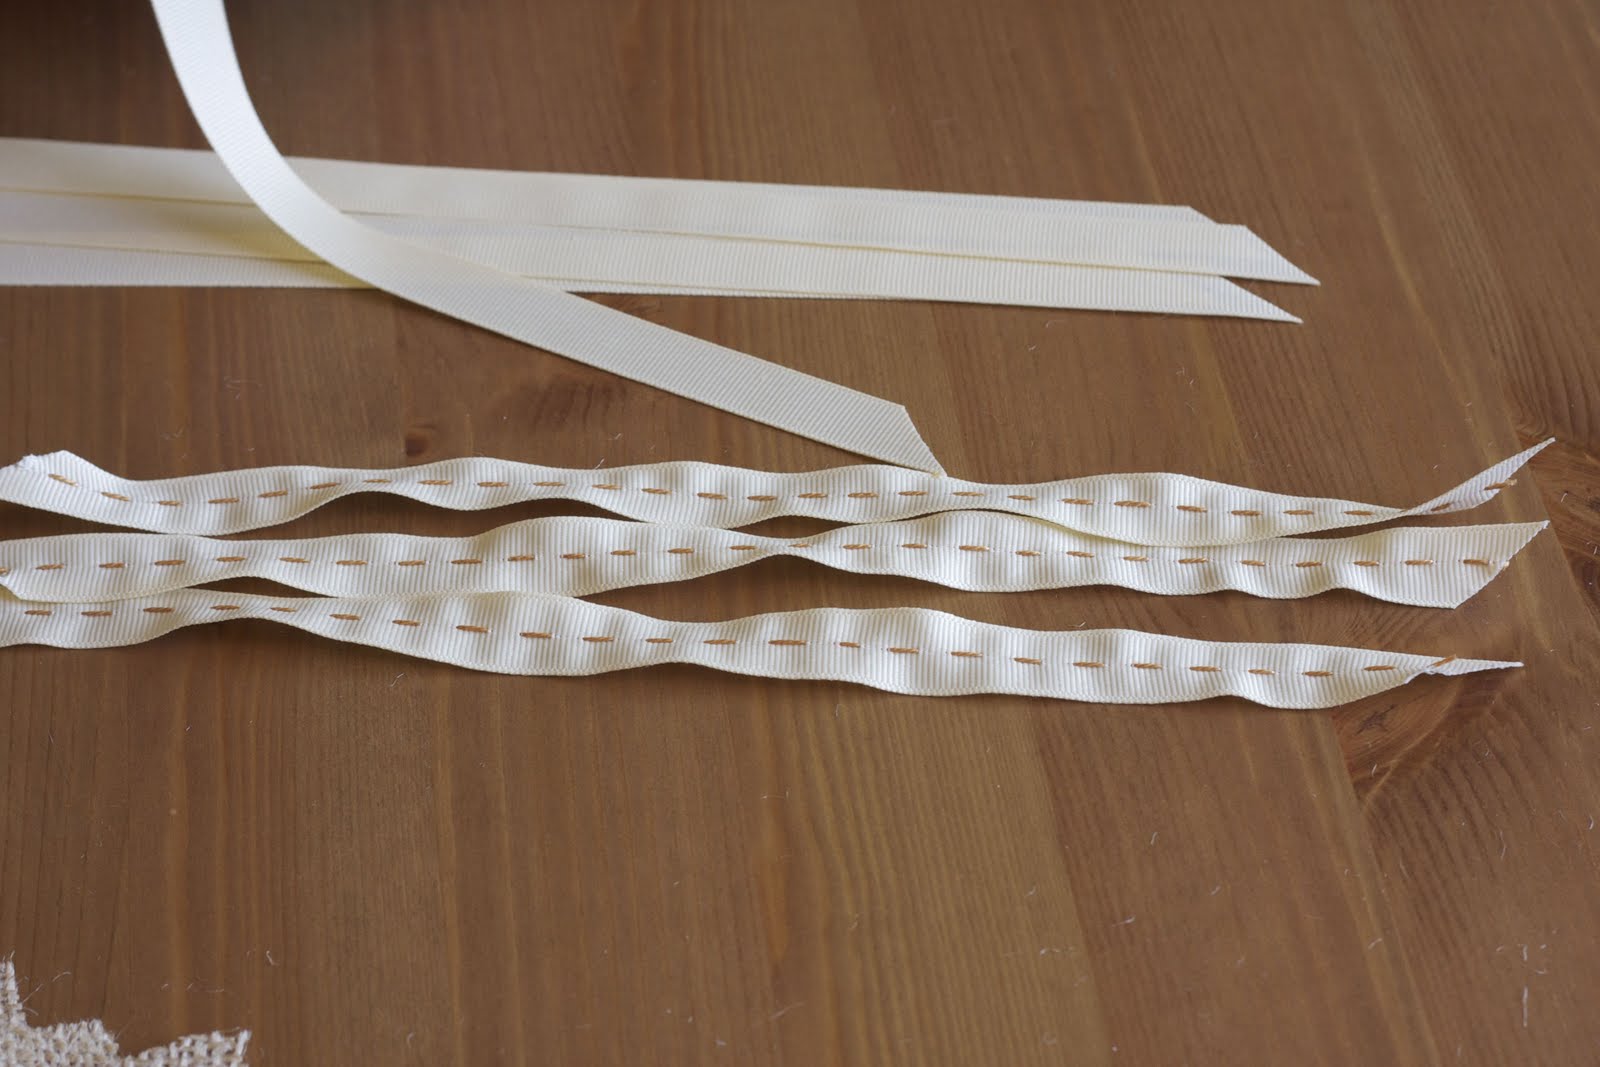
Using a big needle, do a running stitch down each ribbon piece.
-
Cut off the end of the embroider floss after you finish sewing each piece. They will be bumpy so you can flatten them as much as possible, pulling on them with your fingers.
-
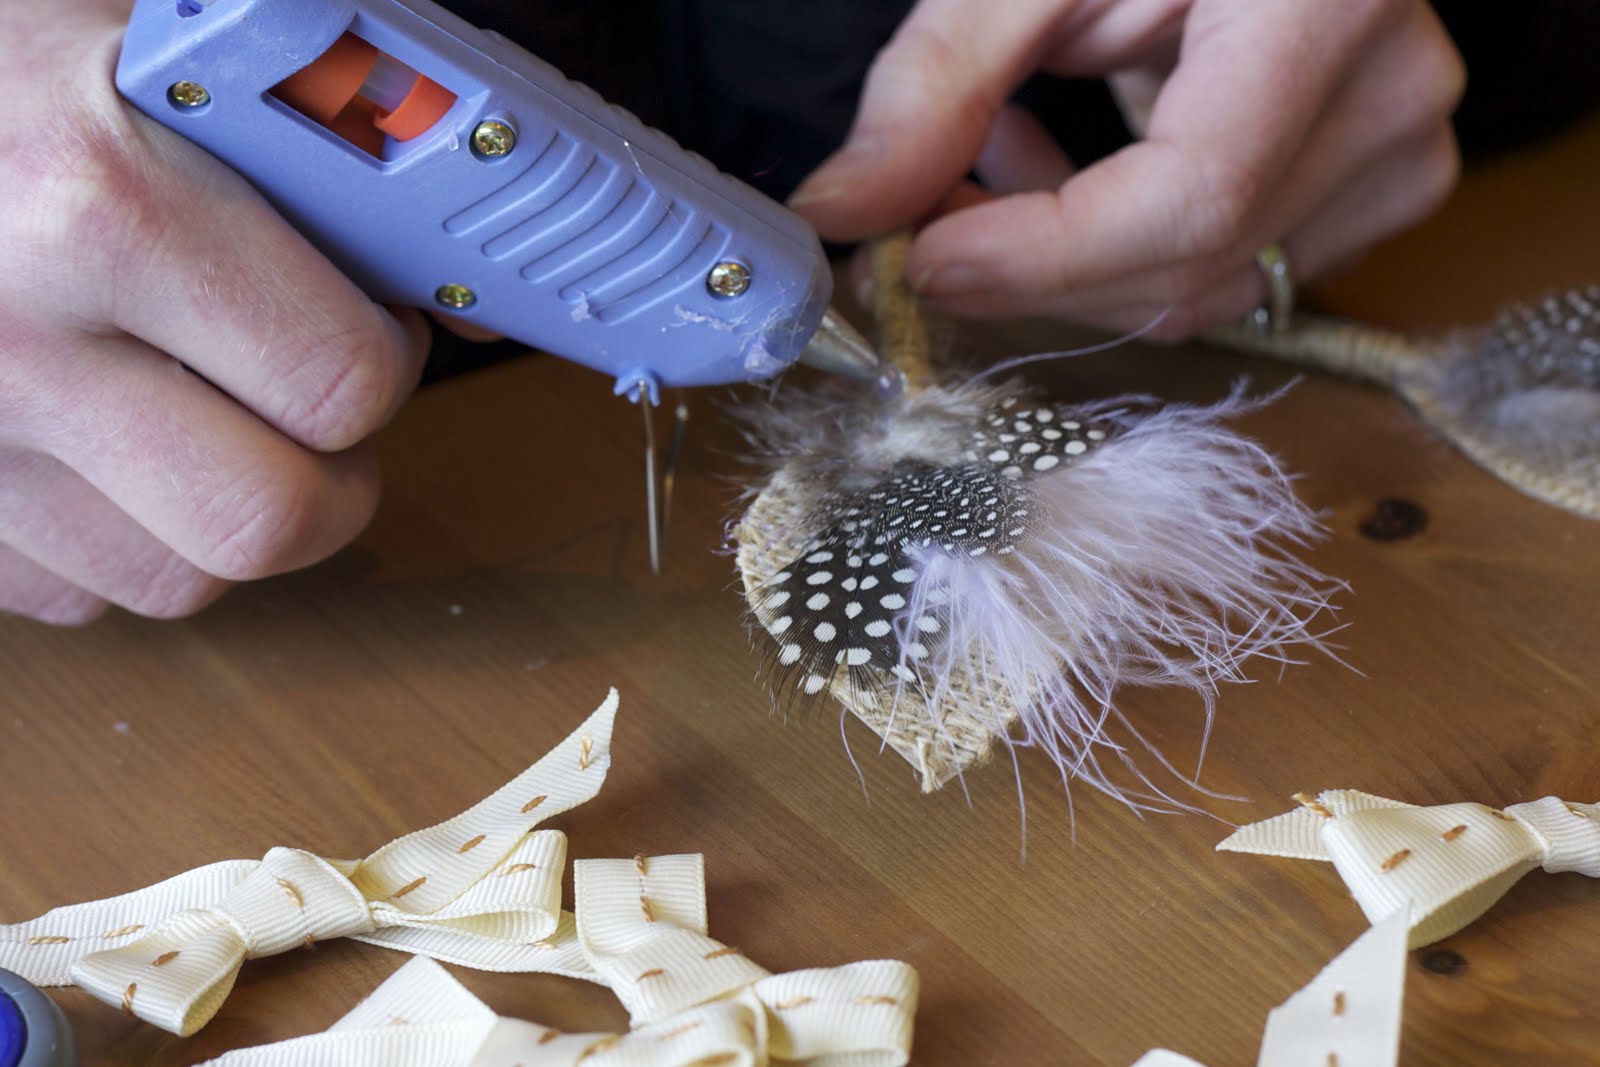
Now back to base pieces. Glue your first layer of feathers down--for us, that's the puffy white ones.
-
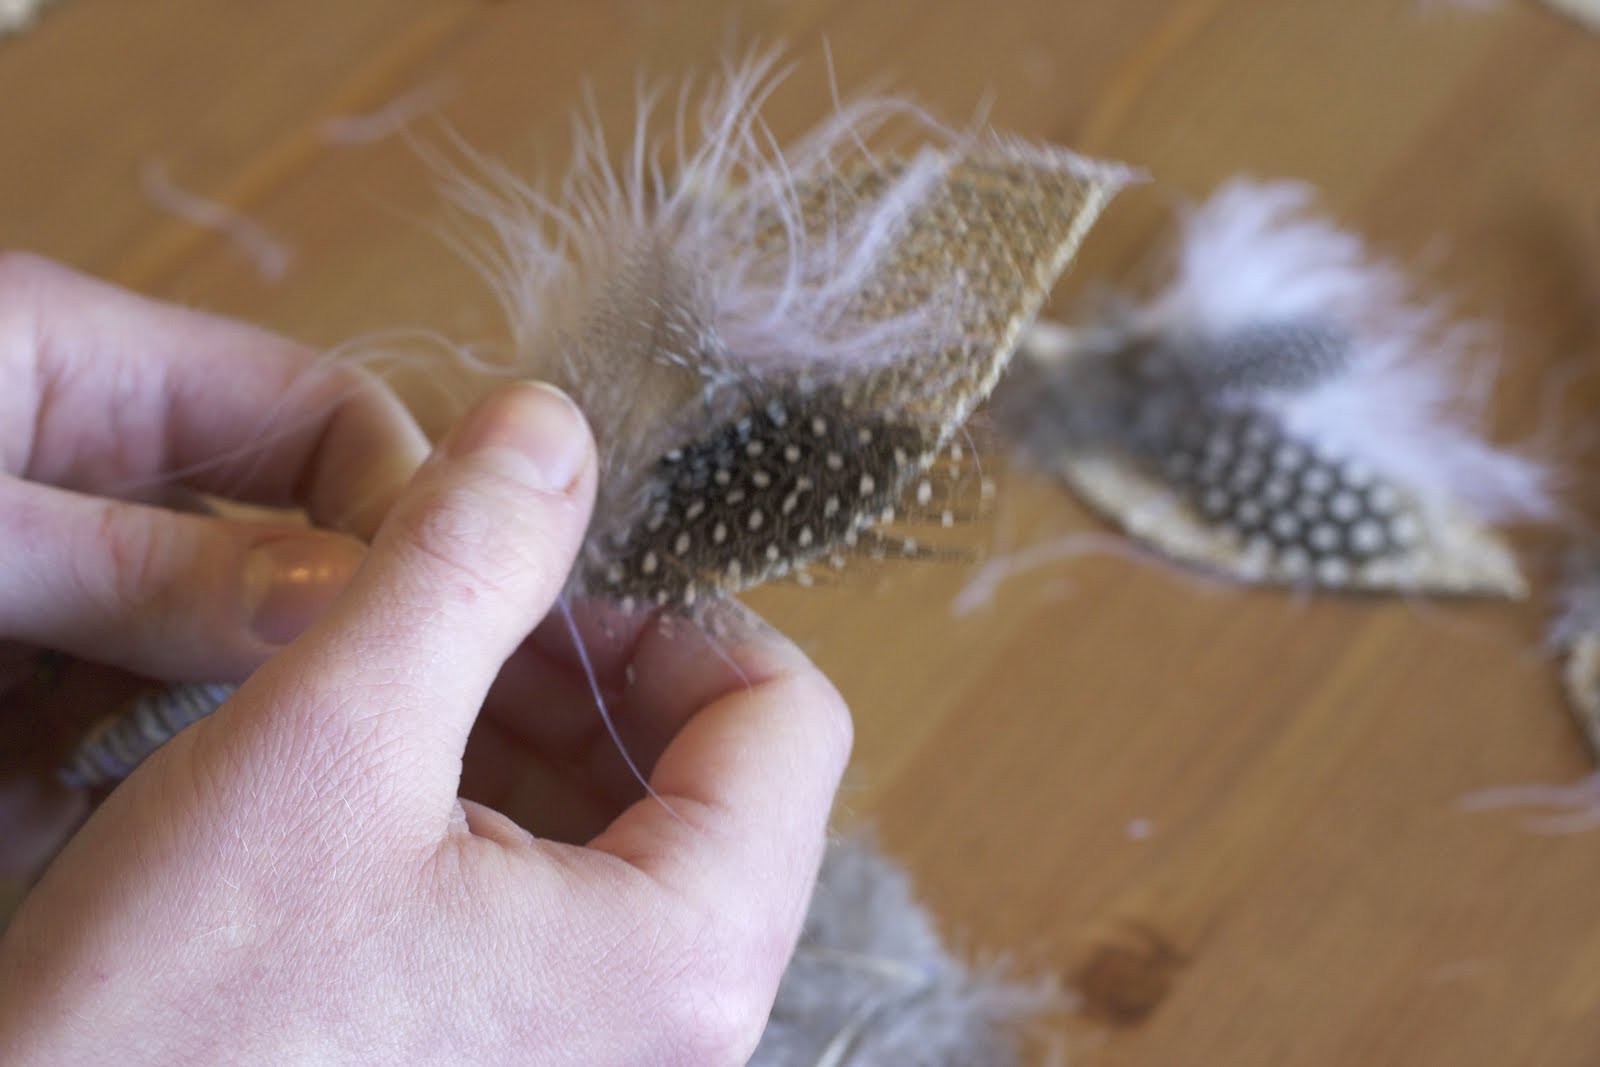
Now, you'll glue on the top layer of feathers--these polka dot-ey ones are so cute!!
-
Get your button sets ready...
-
Now you should have all the pieces.
-
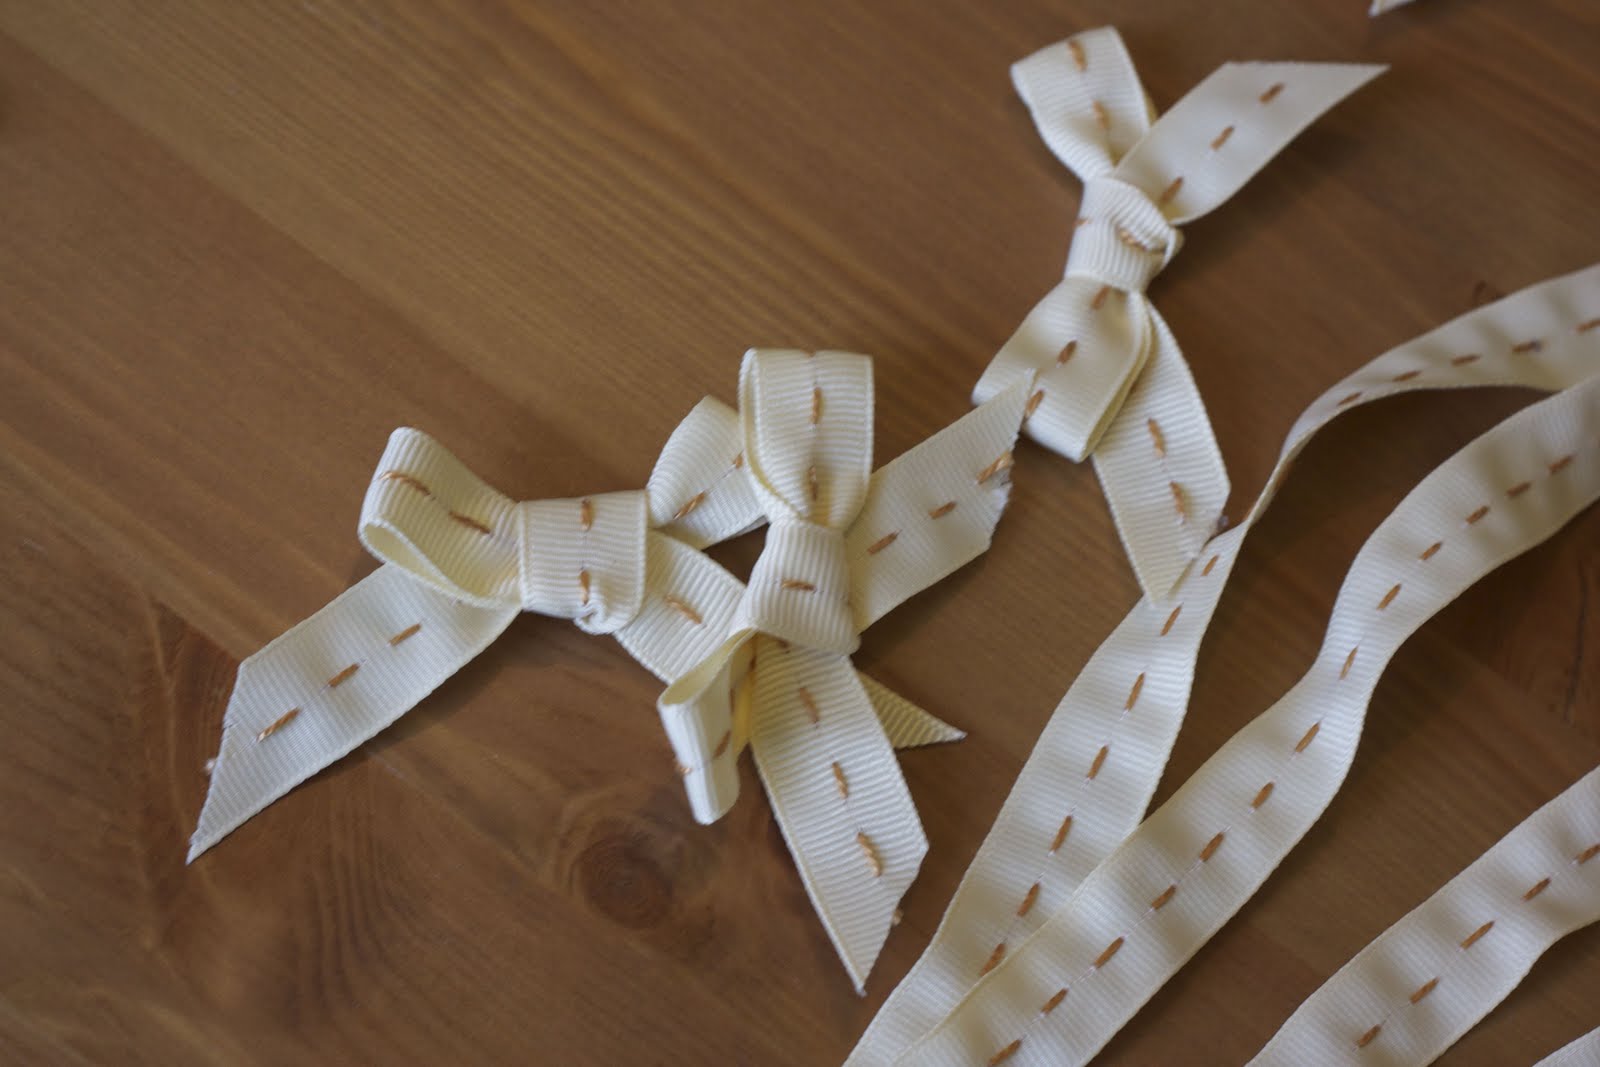
I recommend putting a tiny drop of hot glue inside the bow to keep it tied.
Процитировано 4 раз
Понравилось: 2 пользователям
-
2
Запись понравилась
-
4
Процитировали
-
0
Сохранили
-