завороты |
|
Using an 'Upright' log mould |
|
I had this idea going around in my mind for a while now, I wanted a soap with contrasting colours on each side and a swirl that doesn't look too contrived. I decided to go with the vertical position. If the log mould is horizontal you get a different style of swirl altogether so the brain was placed into gear and this is what I came up with…
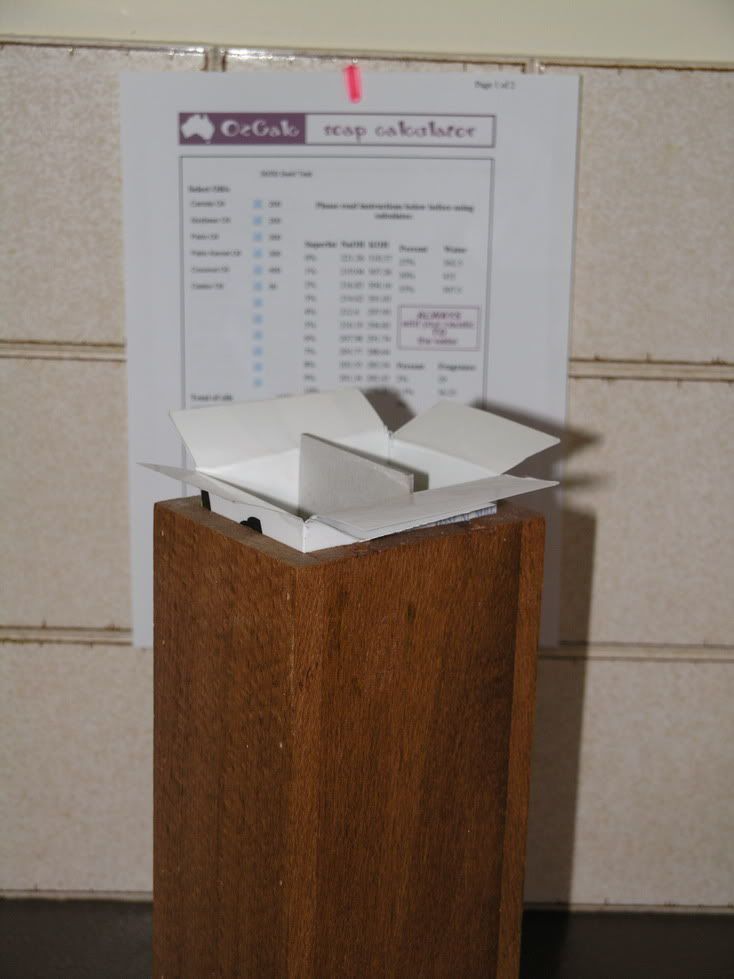
I have lined the sides and the base with laminating plastic. This one is an old laminated movie poster. I cut it to fit and taped it together. It’s a very snug fit, I was very exact with my measurements. The log mould has a removable base, like a plug, I taped that into position so nothing leaked out the base.
The same result can be achieved by using a piece of stiff cardboard or similar, cut to the shape of the mould base then taped together, you can also use packaging tape. Make sure you tape it good and firm to stop any leakage. When filling the mould stand it in some sort of container or tray in case there is any spillage as a precaution.
To divide the mould into two sections I cut a piece of 'very' thick strong cardboard, it touched both sides real snugly and I just pushed it down to the base. It’s simply there to keep the two coloured soaps apart while they are in their liquid state.
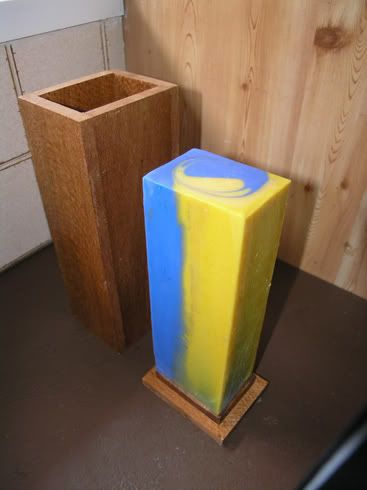
Photo number 01 shows you my wooden vertical log mould, I don’t know how much it takes I think it was about ten good sized bars of soap in the end with four small individuals, I just poured the excess into single moulds.
Photo 01
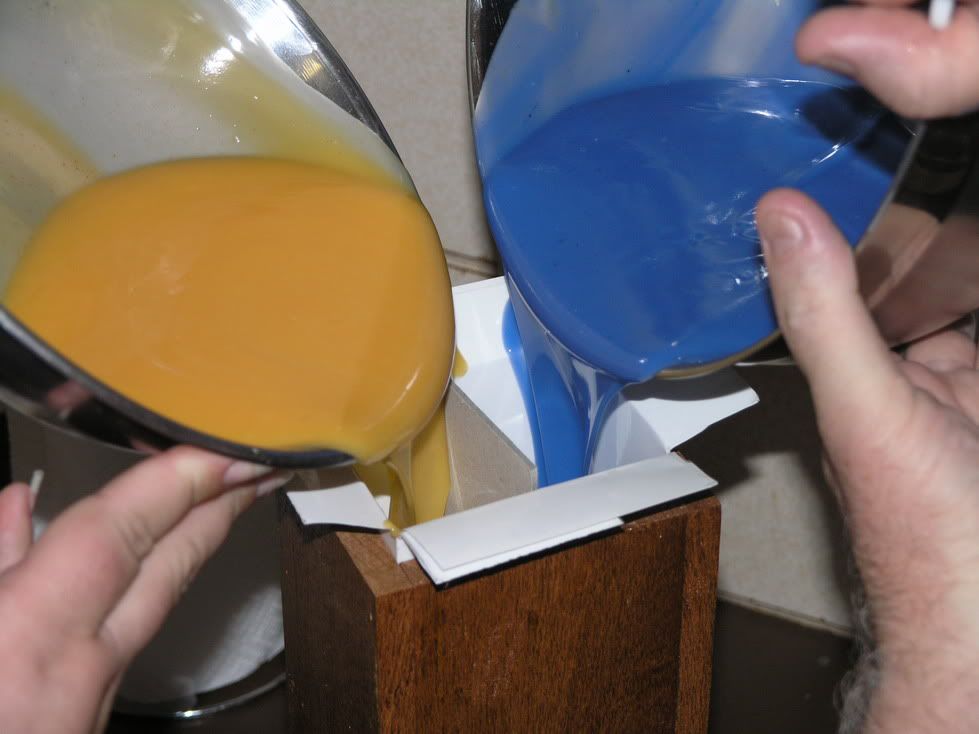
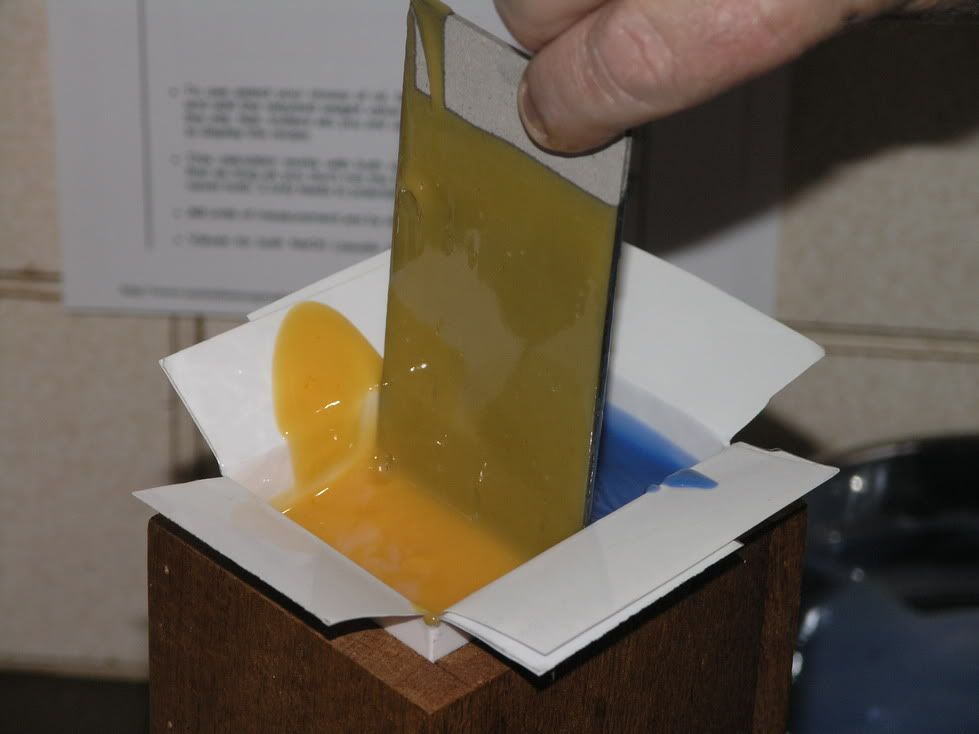
I made up the soap trying to take it at early or thin trace as I would be fiddling with it for a couple of minutes and praying the FO didn’t accelerate it. I was using Brambleberry’s Cool Water and I have had no trouble with this FO before so I felt pretty confident. I coloured and fragranced both bowls then poured them together into the two cavities at the top of the mould, my theory was if I pour them at the same pace then the cardboard divider strip won’t get pushed out of the way. It was a firm fit and in the end it held nicely.
Mind you I should think about a manicure for that left hand of mine eh? LOL….Just joking... that is the hand of my soaping buddy Lisa WB who joined me for the days experiment.
In hindsight I think I would mix the two halves in the plastic jugs I have then I could pick them up together, one in each hand but if you are lucky enough to have someone in the room then it helps but it can be done with just one person pouring.
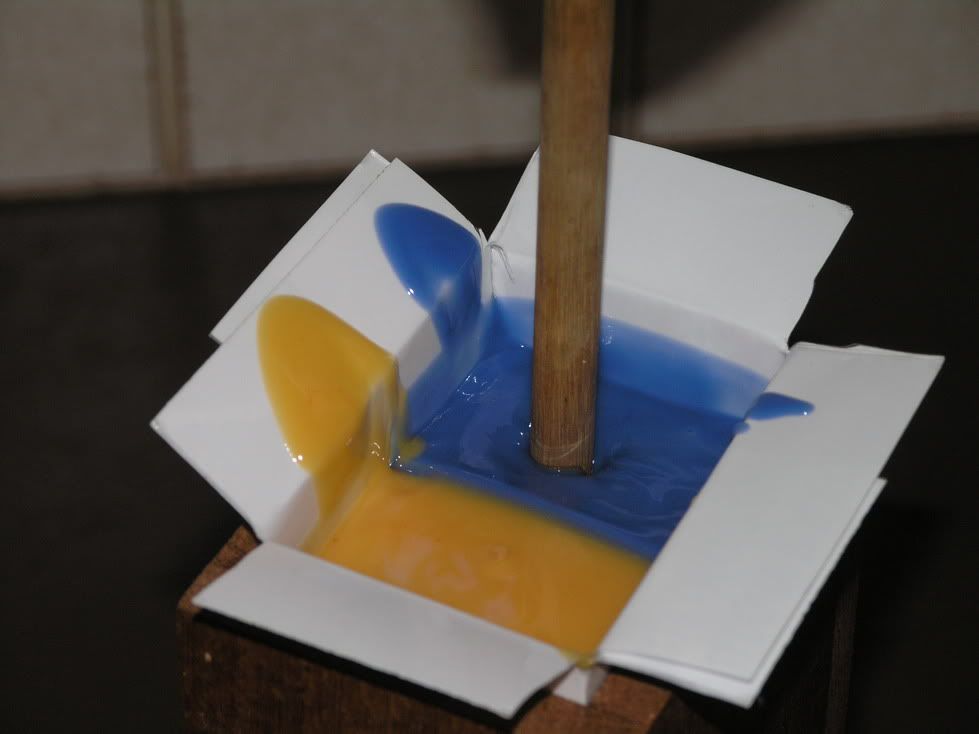
Photo 02
This is how it looked before removing the divider. You may want to use pliers to pull up the cardboard so you don't get any raw soap on your fingers, I could have cut the cardboard longer to allow myself to get a good firm grip on it. Mine pulled away easily enough though.
Photo 03
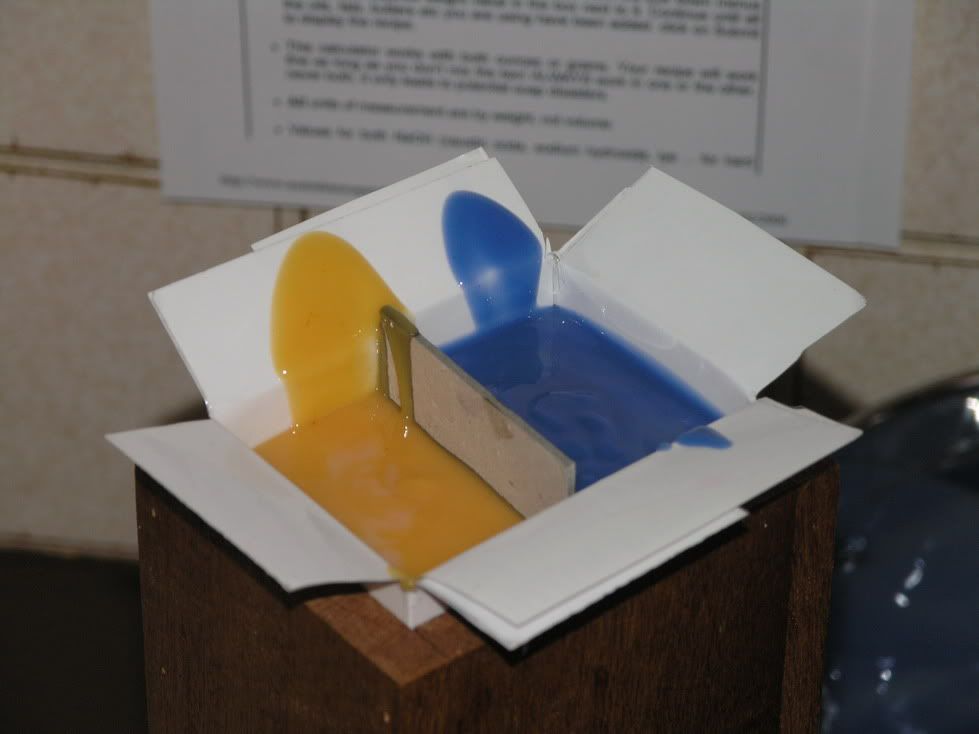
This photo shows me removing the divider, do it slowly so your not pulling too much of the liquid soap up with it. With a gloved hand you could place the cardboard between your fingers then pull it upwards and any soap sticking to the cardboard would fall back into the mould.
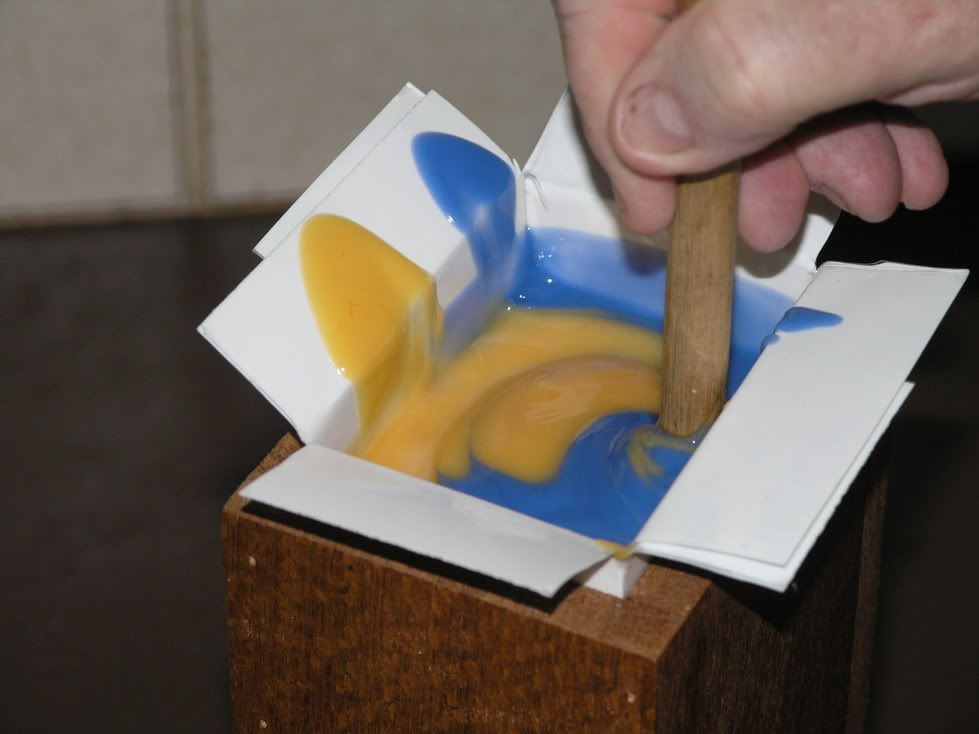
Photo 04
The wooden dowel I used here was about 12mm thick . I didn’t want it too thick or it would have made a thicker swirl, by the same token I didn't want the swirl to be too thin either, I was trying not to disturb the mix too much, just enough to drag one colour into the other.
Photo 05
I moved the dowel in two circular movements, then pulled it straight up.
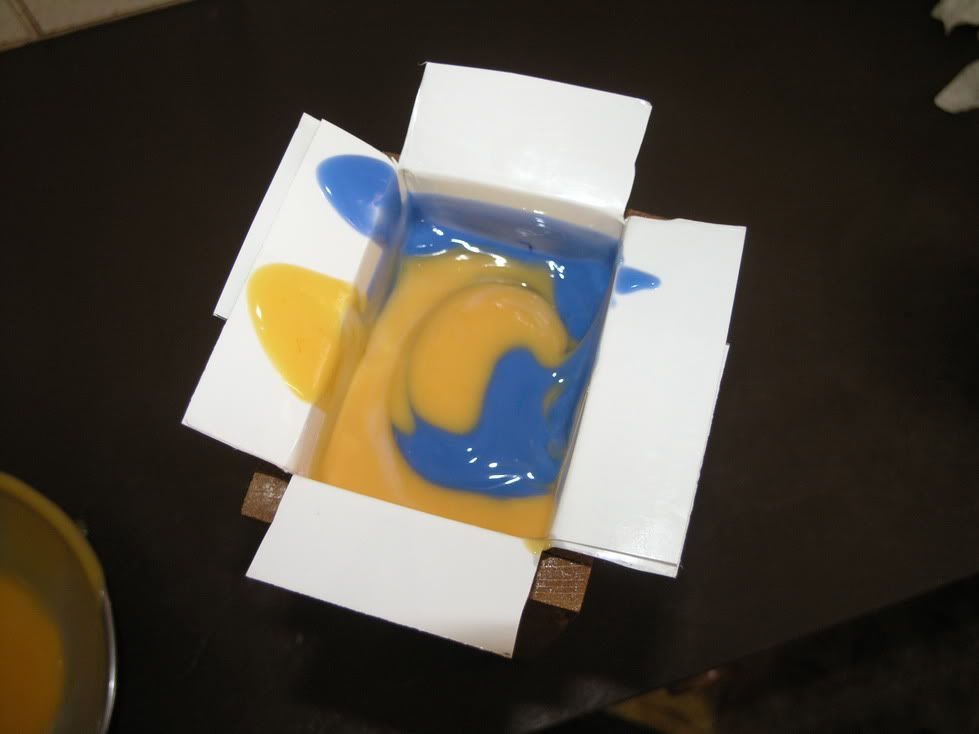
Photo 06
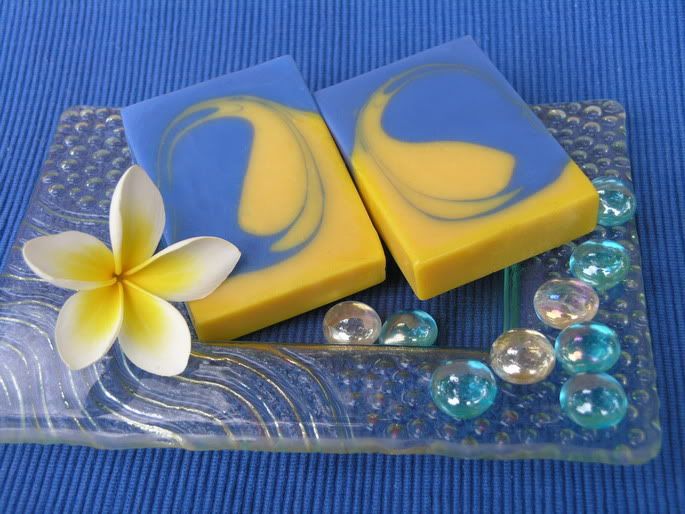
This is it finished, I achieved the swirl while maintaining that two separate coloured halves of soap.
Photo 07
This was the following day, the soap actually went into gel within 10 minutes of finishing the swirls, it even rose a little but luckily it settled. You can see the two distinct halves of different colours on the side angle of the log.
Photo 08
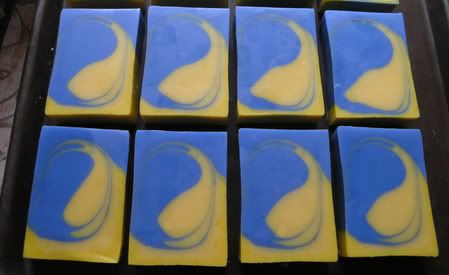
This is after cutting the log up using a thin wire.
Photo 09
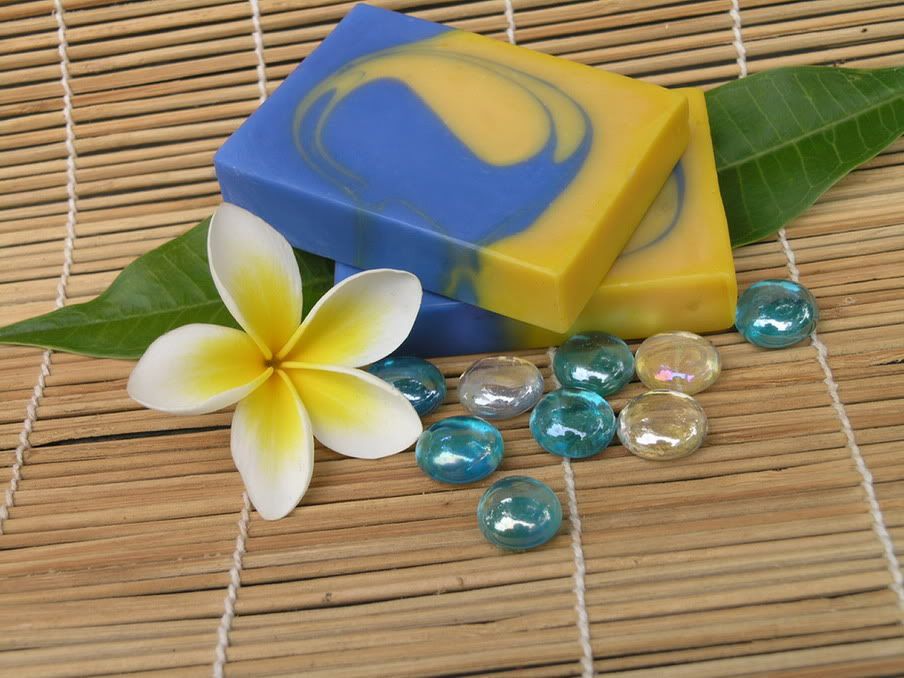
This is another arrangement of of the finished swirl.
Photo 10
It’s really easy once your set up. I also had to restrain myself from giving it a good old swirling with the wooden dowel, in this case 'less is more' It worked and I am more than happy with the results and can’t wait to try another one now :-)
Note: The colours used here were Blue Ultramarine and FD&C Yellow #5. I have a bar of this soap still in my cupboard I am keeping to watch for any changes and I am pleased to be able to report that the FO is still as strong and true and the FD&C Yellow hasn’t bled into the Ultramarine Blue. From past experience I knew if I had used two FD&C dyes for this it would have become slightly muted by now so using two differing colouring agents was successful.
I now regularly use an FD&C for the background colour and an Ultramarine or Oxide for the swirl, the swirled pattern remains crisp.
| Рубрики: | Мыльные страсти |
| Комментировать | « Пред. запись — К дневнику — След. запись » | Страницы: [1] [Новые] |


