 Дешевые авиабилетыВыгодные цены, удобный поиск, без комиссии, 24 часа. Бронируй сейчас – плати потом!
 Я - фотографПлагин для публикации фотографий в дневнике пользователя. Минимальные системные требования: Internet Explorer 6, Fire Fox 1.5, Opera 9.5, Safari 3.1.1 со включенным JavaScript. Возможно это будет рабо
 ОткрыткиПерерожденный каталог открыток на все случаи жизни
DIY: Glass Candle Lampshades |
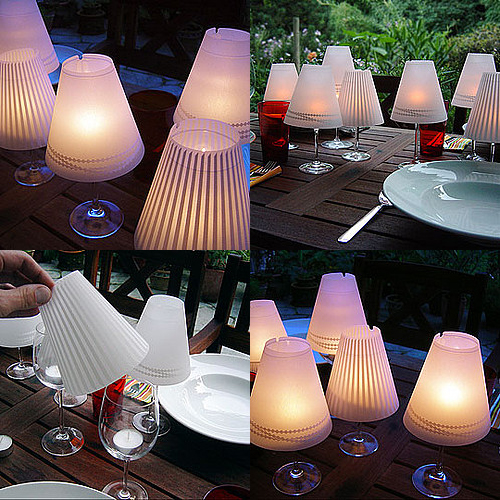
In your blog travels, you may have come across the Dekoop Gorgeous Helen Wine Shades ($20), which tops off your wine glasses to make easy votive lamps for your parties. I couldn't get them off my mind for months when I first saw them; I thought they were so clever. Then, lucky me, I came across a DIY to make them. The project is fairly simple, and allows a lot of room for creativity. You can leave yours as plain vellum, or punch decorative holes in them, screen-print them, or even paint them! It's up to you, but regardless, this project is fabulous, inexpensive, and perfect for that wedding you're planning! And for all of our wedding coverage, check out IDoSugar.
Supplies:
Here's how, from Save On Crafts:
Серия сообщений "Candles":
Часть 1 - candles out of baby jars
Часть 2 - candles
...
Часть 11 - Strange Candle Holder...
Часть 12 - Peacock Wedding Items
Часть 13 - DIY: Glass Candle Lampshades
Часть 14 - Sea Shells for Home
Часть 15 - Candlestick
...
Часть 39 - with coffee bean
Часть 40 - candle holder
Часть 41 - diy candleholder
| Рубрики: | DECOR |
| Комментировать | « Пред. запись — К дневнику — След. запись » | Страницы: [1] [Новые] |


