-—сылки
-÷итатник
√ламурные елочки 2 - (0)
ѕодарки на новый год http://stranamasterov.ru/node/652769 < »зысканное рождественское панно ...
1 часть подборки новогодних упаковочек. 8 мастер-классов - (0)1 часть подборки новогодних упаковочек. 8 мастер-классов. Ќовогодние упаковки своими руками. ...
»деи на Ќовый √од - (0)”крашалки 1. 2. 3. 4. 5. 6.
ѕоделки своими руками из шишек на Ќовый √од - (0)ѕоделки своими руками из шишек на Ќовый √од „то может быть при€тней,когда ты своими руками тв...
ардиган ѕереплетенных кос - (0)ардиган ѕереплетенных кос ќригинальный пуловер с переплетенными полосами ƒл€ работы по...
-ћетки
азиатский колосок бабушкин квадрат бисер в€зание в€зание крючком в€зание спицами в€занные мелочи в€занные украшени€ в€занные цветы гипертони€ дома елочка живопись здоровье зимний пейзаж игрушки интересное ирланди€ ирландка ирландское кружево истори€ картины крючком крючок кулинари€ ленточное кружево маги€ мастер класс мотивы крючком музыка натюрморт пейзаж пейзажи политика росси€ румынское кружево русские салат спицами спицы стихи украина фотошоп цветочна€ живопись цветочные натюрморты цветочный натюрморт цветы цветы в живописи цветы крючком юмор
-–убрики
- ¬€зание (545)
- уроки в€зани€ крючком (113)
- в€занные мелочи (108)
- ¬€зание крючком (94)
- »рландское в€зание (64)
- кофточки, жилеты, пуловеры (48)
- –умынское кружево. ”роки (37)
- ¬€зание спицами (33)
- ”роки в€зани€ спицами (25)
- Ўарфы, снуды, бактусы (23)
- ”роки Ќатальи —азоновой (20)
- ¬€занные сумки (18)
- головные уборы (13)
- в€занные украшени€ (9)
- в€зание + ткань (9)
- јзиатский колосок (8)
- Ѕрюггское кружево (7)
- ¬оротнички (7)
- Ћенточное кружево (6)
- ћаечки и топы (5)
- ёбки (5)
- ∆ивопись (261)
- ѕейзаж (58)
- ÷веточна€ живопись (55)
- Ќатюрморт (29)
- ∆анрова€ (27)
- ќткрытки, плакаты, реклама, иллюстраци€ (25)
- ѕортретна€ (18)
- ёмористические (15)
- ƒуховна€ (6)
- ƒети (5)
- «имний пейзаж (4)
- ћорской пейзаж (4)
- ѕќЋ»“» ј (55)
- «доровье (54)
- »стори€ (51)
- ћузыка (32)
- ёмор (30)
- —тихи (29)
- ‘асончик (10)
- ”роки Ћиру (10)
- –емонт (8)
- »деи уютного дома (7)
- Ѕытова€ техника (1)
- ѕутешестви€ (7)
- фотографии (5)
- ‘ильмы (4)
- омнатные цветы (4)
- √ибискус (1)
- —ад и огород (2)
- скульптура (1)
- улинари€ (121)
- ¬ыпечка (38)
- салаты (17)
- –ыбные блюда (13)
- солень€ (7)
- вторые блюда (7)
- Ќапитки (6)
- бутерброды, тарталетки и т.д. (6)
- интересное сочетание продуктов (4)
- молочные продукты (2)
- ћороженное (1)
- м€сные блюда (1)
- ѕомощь дл€ "чайников" (5)
- –укоделие (120)
- —оветы дл€ дневника (27)
- Ќе так страшен ‘Ў (16)
- Ёто интересно (127)
-ћузыка
- ƒжони
- —лушали: 5991 омментарии: 0
- «акрой, блин, тюбик!
- —лушали: 4869 омментарии: 0
- ƒжулиана —трейнджлав - Libertango
- —лушали: 6797 омментарии: 0
- Neomaster - »з кинофильма "ќсенний марафон"
- —лушали: 2632 омментарии: 0
- √. —виридов. –оманс из к-фма "ќ¬ќƒ"
- —лушали: 40 омментарии: 0
-¬идео

- Ѕонжур, ¬ашей хате! »ли ≈вроинтеграци€
- —мотрели: 1 (0)
-ѕоиск по дневнику
-ѕодписка по e-mail
-—татистика
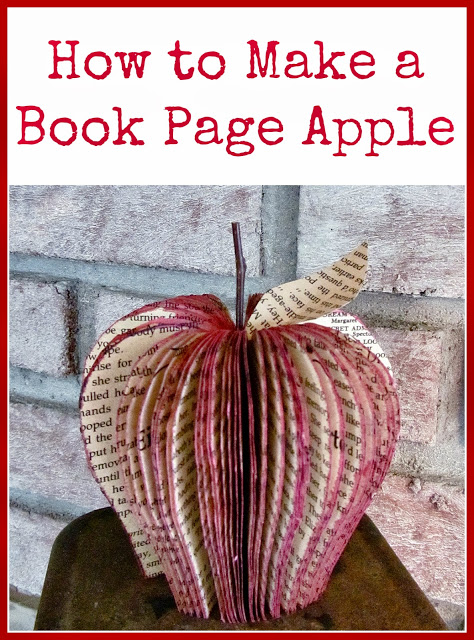
ќбъемное €блочко из книги |
«аинтересовало. »з книги , конечно удобнее, не надо склеивать страницы, но как то кощунственно. ” мен€ трепетное отношение к книгам.
How to Make a Book Page Apple
by DOREEN CAGNO filed under: UNCATEGORIZED 10 Comments
Today I’m going to show you how to make a book page apple. It’s a super easy and inexpensive project! Let’s get started!
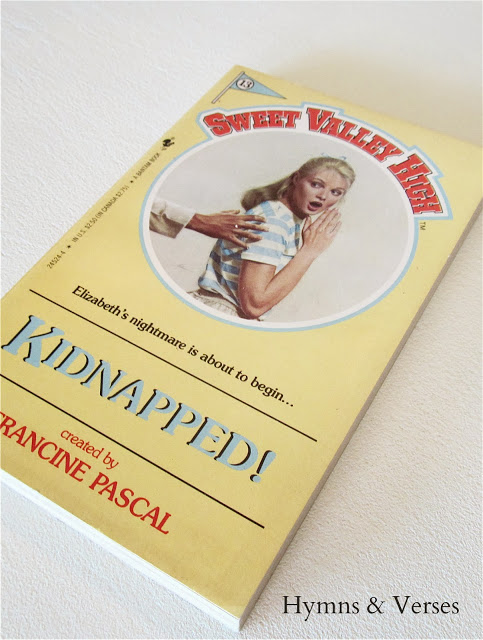
Step 1: You need an old paperback book. Choose the small, novel type book. I prefer a book that has some yellowing of the pages. If you don’t have any old paperbacks, stop by your local thrift shop for one. I got mine for 35 cents. On a side note, we made these this past weekend with a group and the ladies were reminiscing about when they read “Sweet Valley High” books when they were young!
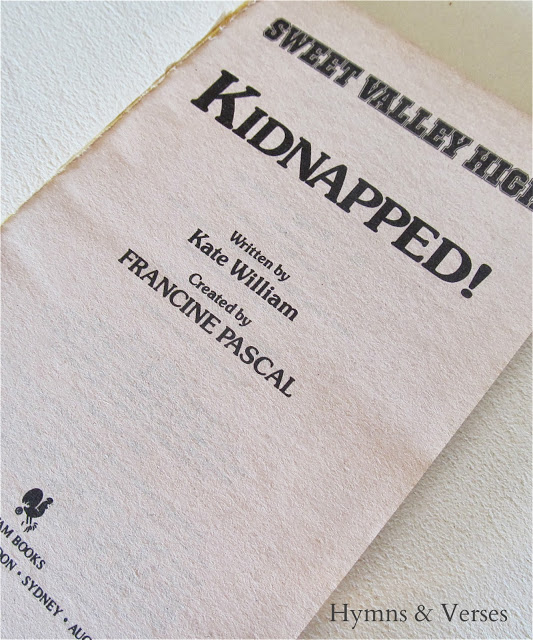
Step 2: Remove the front and back covers.
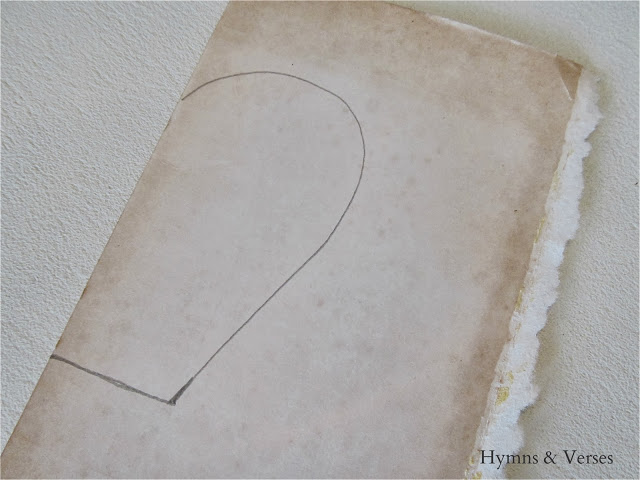
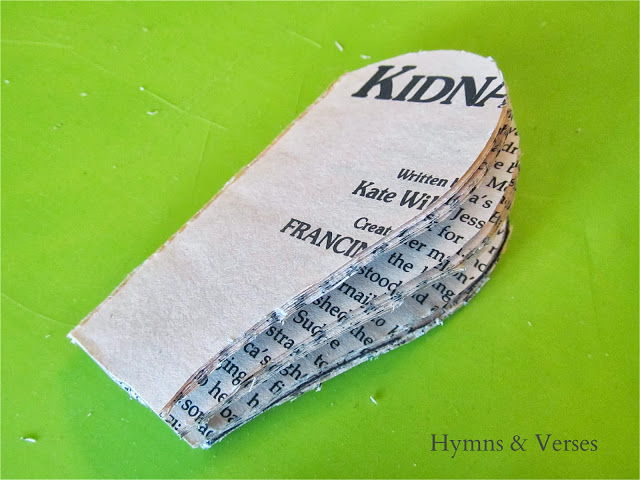
Step 3: Using the cover, draw a template for your apple as shown and cut it out.
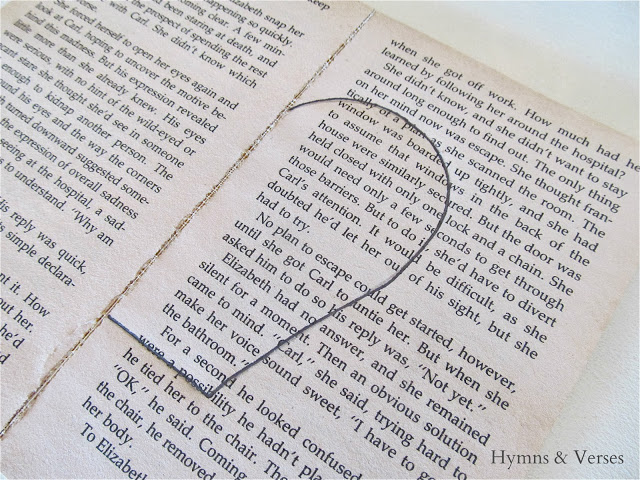
Step 4: Find the approximate center of your book and open it up so it lays flat. Use the template you cut out and trace around it on the right side as shown.
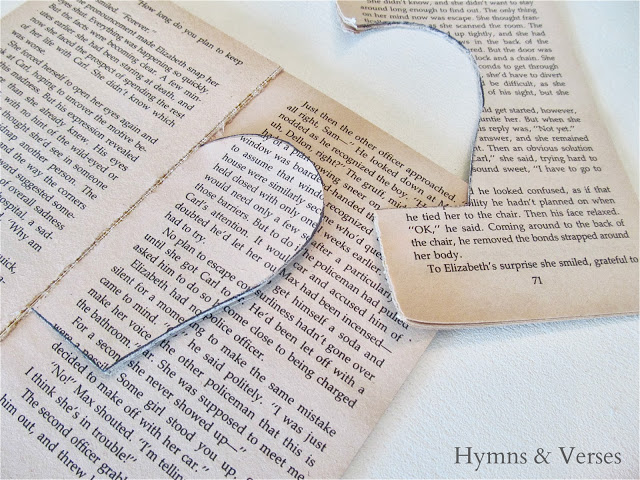
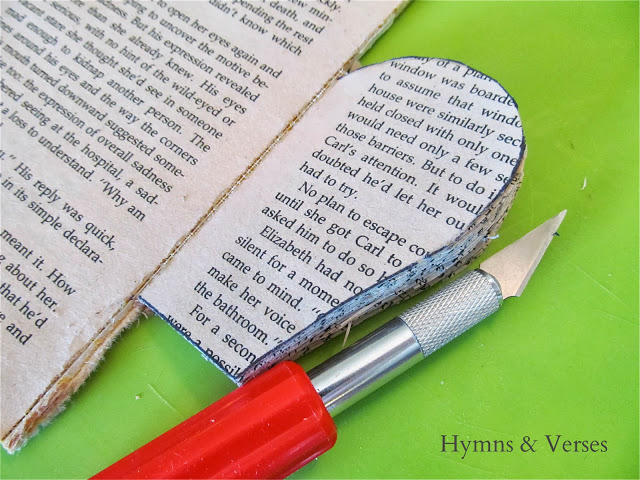
Step 5: Using an Exacto knife, carefully cut on the apple outline. You will want to press firmly. If your knife is leaving a ragged edge and catching on the paper, you need a new blade.
Step 6: Once you have cut around the outline, remove the remainder of book page – leaving only the apple shape as shown.
Step 7: Continue this process until you have cut through all pages on the right side. Remember to protect your work surface. I used an inexpensive cutting mat that I purchased at Walmart. The mat came in a set of 3 and were near the cutting boards. These mats come in handy for crafting.
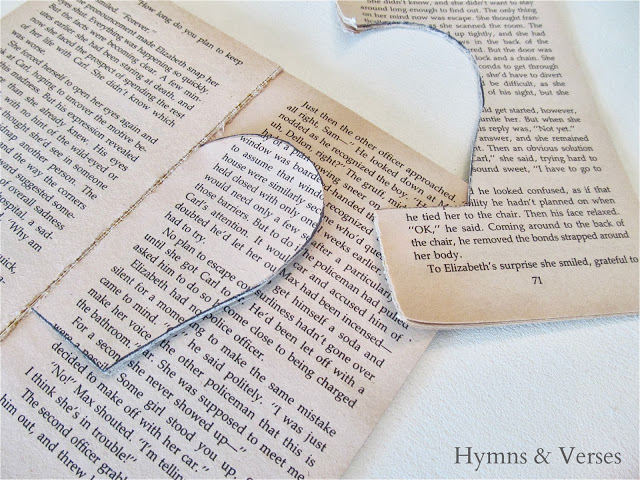
Step 8: Now repeat the process on the left hand side. When finished with all cutting, this is what you will have.
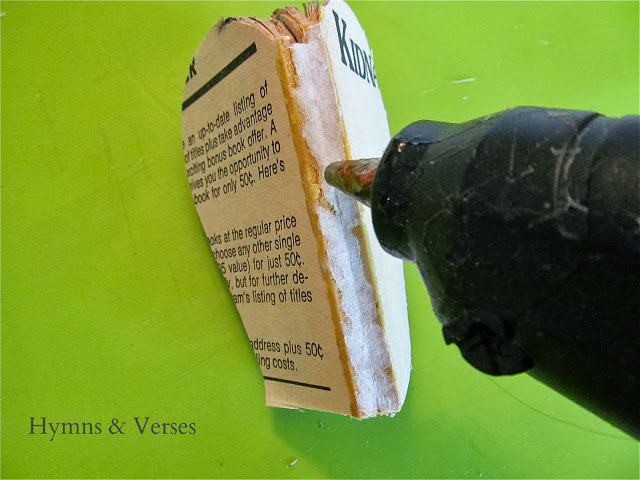
Step 9: Run a bead of hot glue down the spline and fold together to secure.
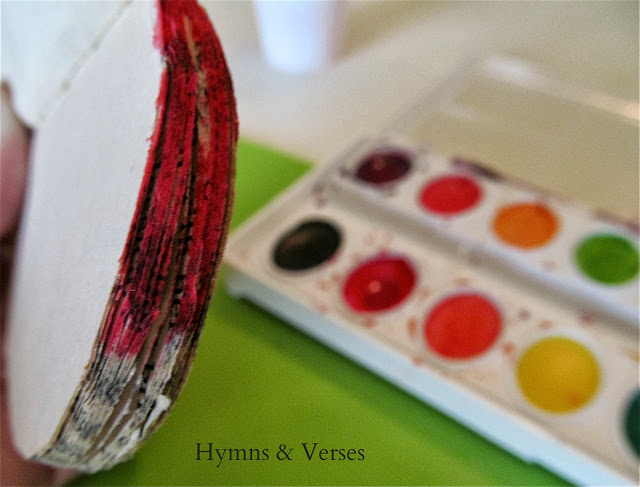
Step 10: Keep your book pages together and use watercolor paints to paint the edges red. Be liberal with the water so the paint soaks into the edges.
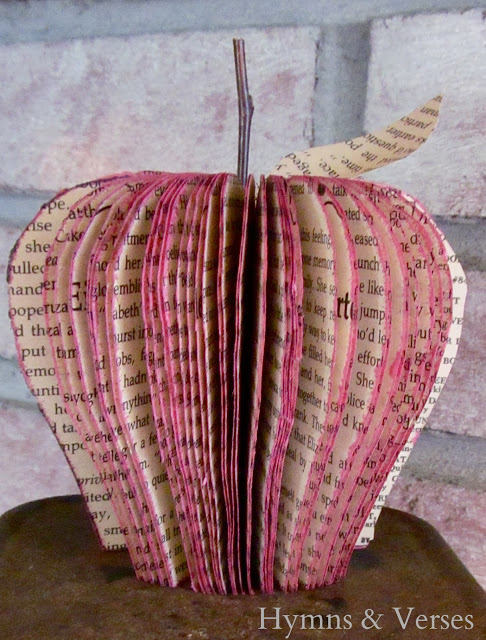
Step 11: Once your edges are painted. Fan out your pages as shown. Use a bit of hot glue to attach a twig stem. I cut out a leaf from one of the book pages and attached it with hot glue as well.
That’s it! Like I shared before, we made these this past weekend with a group of ladies from my church. There were some in their 20’s and some in their 80’s and everyone’s apple turned out beautifully! So, give it a try!
Thanks for stopping by! I’ll be back tomorrow with a free printable for you to use for Thanksgiving!
Sharing today at:
| –убрики: | –укоделие |
ѕонравилось: 42 пользовател€м
| омментировать | « ѕред. запись — дневнику — —лед. запись » | —траницы: [1] [Ќовые] |

