Поместите хорошо подготовленную глину в центр головки колеса и погладьте ее до конусообразной формы.
Используя весь размах обеих рук, приложите равномерное давление с обеих сторон глины, чтобы подтолкнуть ее к центру.
Это действие потребует твердости, но секрет успеха заключается в балансе давления-иногда вы можете чувствовать глину лучше с закрытыми глазами – попробуйте, чтобы увидеть, помогает ли это. Вам будет гораздо легче, если глина будет на мягкой стороне.
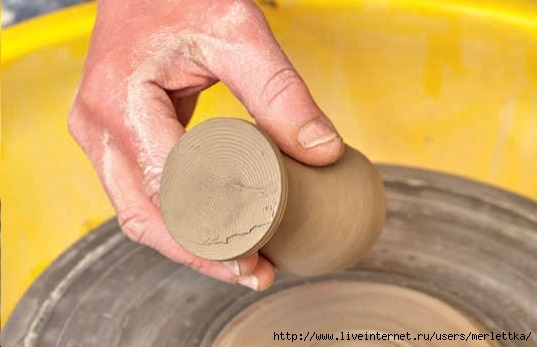
Затем измените положение рук, чтобы приложить равное давление с обеих сторон глины, Когда вы заставляете ее подниматься в конусообразную форму. Снова расплющите конус вниз, переместите руку так, чтобы левая была крепко прижата к одной стороне, в то время как ладонь правой руки толкает глину к центру, а пальцы сверху, чтобы выровнять массу.
Вы будете знать, когда он работает верно, когда нет колебаний, и он плавно проходит через ваши руки.
Глина должна иметь куполообразную форму со слегка приплюснутой вершиной, как только она правильно центрирована.Примечание: Вы должны знать, что, хотя вам будет легче работать с горба, если вся масса будет правильно центрирована, на самом деле только часть достаточно большая, чтобы сделать отдельные яичные чашечки действительно должны быть центрированы для успеха.
.
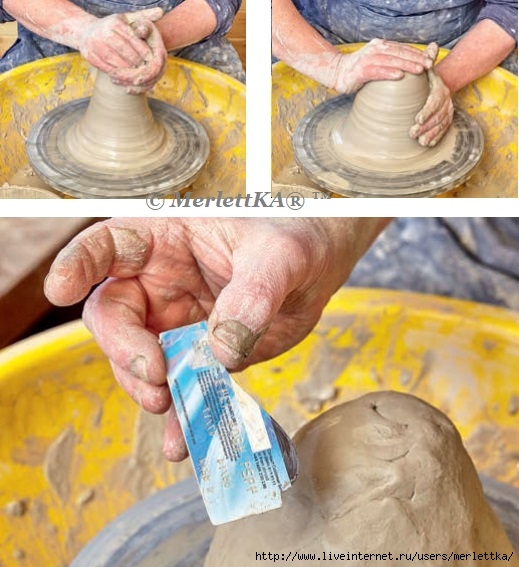
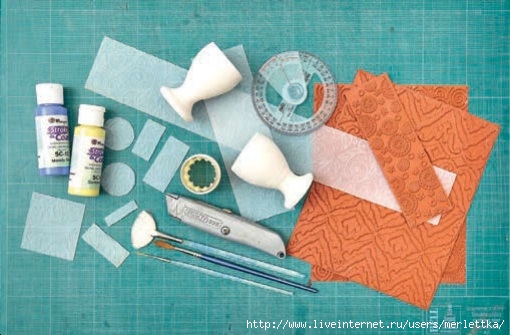
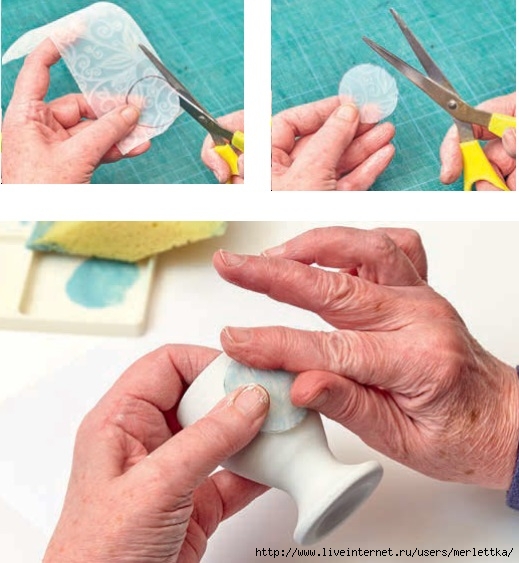
Make your template, like the one shown (above), from an old bank or store card.
The shape for the template is included in actual size. Simply trace the outline and transfer it onto card, then position it on the bank card and draw around it in marker pen.
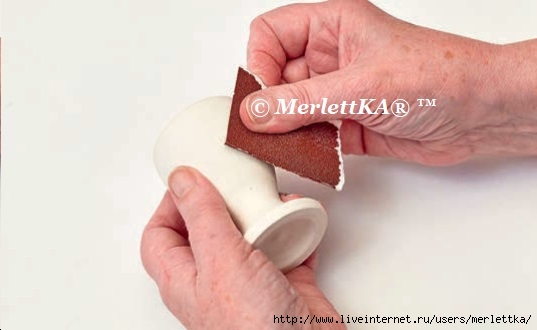
Bank cards can easily be cut with a pair of scissors and the cut edge refined with sandpaper or carborundum.
Сделайте свой шаблон, как показано выше, из старой банковской или магазинной карты.
Форма для шаблона включена в фактический размер. Просто проследите контур и перенесите его на карту, затем поместите его на банковскую карту и обведите вокруг нее маркером.
Банковские карты можно легко разрезать ножницами, а кромку среза обточить наждачной бумагой или карборундом.
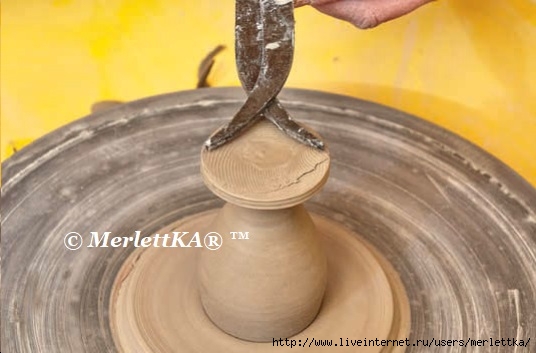
Isolate a knob at the top of the clay mass using the sides of your palms to collar or squeeze the clay in. This will form the rudimentary stem for the eggcup. The amount of clay required to make each eggcup is indicated by the line scored in the surface by Simon’s finger.
Using a rib, establish the base shape of the eggcup below the stem. The span of the base must be wide enough to support the cup securely.
Make the depth of the base edge about 5mm thick.
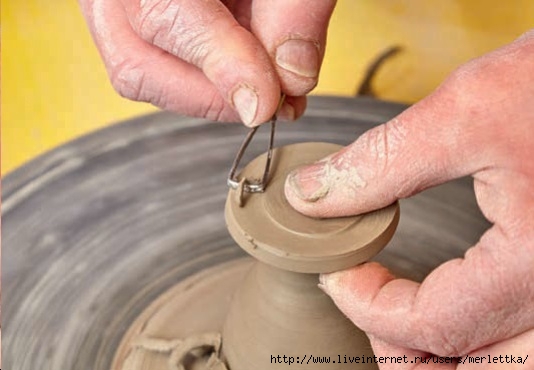
Once the base is established, narrow the stem once more to ensure it’s the correct size to balance the overall shape. Note, the final shape will be formed by the template later.
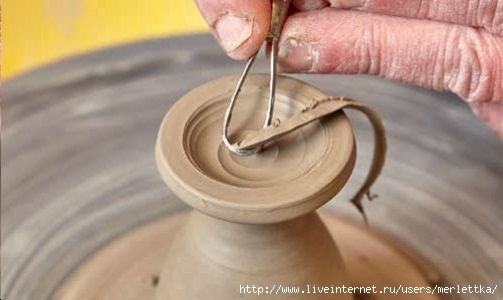
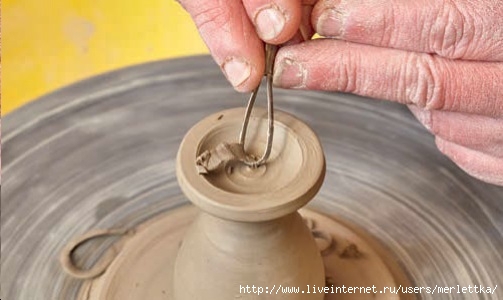
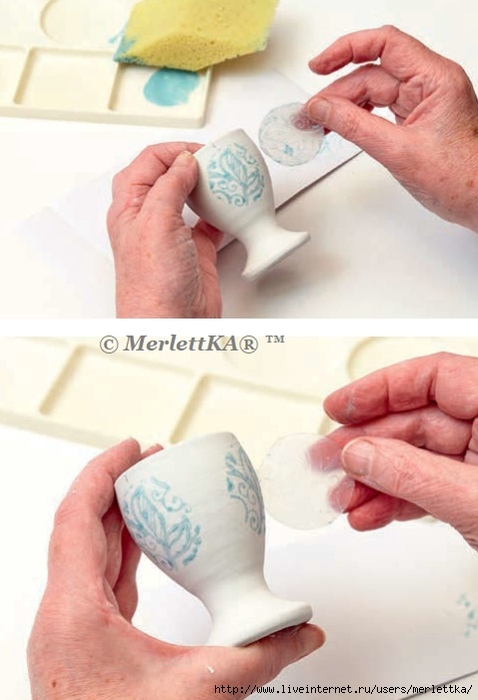
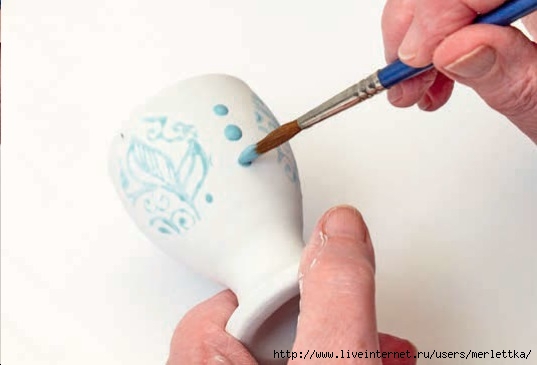
Position the template as close to the side of the eggcup as you can get it and with the wheel turning slowly and your left-hand fingers on the inside of the cup, ease the clay to the outline shape.
You must keep the template vertical as you do this; otherwise, the shape will distort.
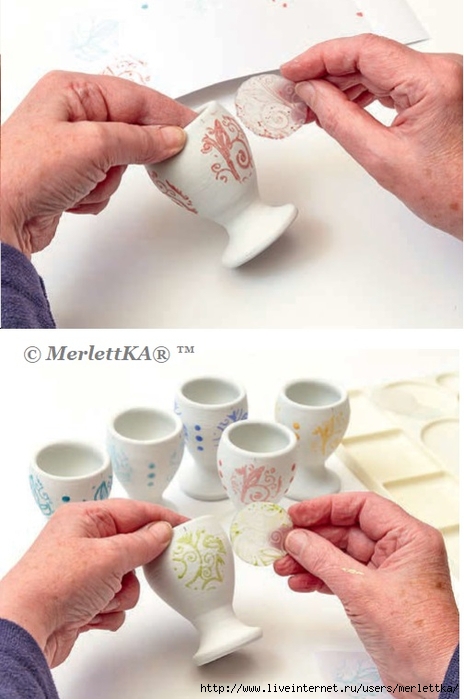
Lift the eggcup off the hump and place it on a waiting batt.
Make as many more eggcups as you require, following the procedure again after centering the clay at the top of
the hump.
Allow all the eggcups to firm to leather hard ready for trimming. Turn the cups regularly to ensure they firm up evenly.
The image clearly shows the part of the eggcup that needs to be turned, but to do this, you’ll need to throw a pad on the wheel head to hold the cup in place as you trim the base.
To throw the pad, prepare a small amount of clay 300-450g (10oz-1lb) will be more than adequate. Form it into a
cone and place the cone as close as possible to the centre of the wheel head.
Dribble some water over the clay and centre it following the method shown at claycraft.co.uk/how-to
Once centred, maintain the position of your left hand at the side of the clay with your thumb hooked over the rim, then open out the centre of the clay with the fingers of your right hand to a width of 10-12cm, with a slightly thicker rim. The pad should be about 10-15mm thick.
Run your sponge over the surface to remove excess moisture then use a rib to flatten it off.
55.
56.

57.
58.
59.

60.
61.
62.
63.
64.
65.
66.
67.
A note about the glaze and firing: These Mayco glazes fire from cone 06 – 6, which is 998°C-1285°C (1828°F-2232°F)
If you are firing at the lower range of the glaze, support each eggcup on a star stilt to avoid the glaze coming into contact with the kiln shelf.
If you want to fire the eggcups to a higher temperature, you must avoid applying glaze to the
underside so that they can sit directly on the kiln shelf. The reason for this is that items fired at higher temperatures will slump over stilts.
The eggcups in this project were fired to cone 05, 1031°C (1888°F) on stilts.
A note about star stilts:
These are stilts with metal pins that can be used
over and over again. They are available in several sizes and shapes for firing work of all proportions. Once an item is fired, the stilt is easily knocked off the bottom, and the remaining marks can be tempered with a carborundum stick, diamond sanding pad or similar.
These stilts are available from most ceramic suppliers.
Примечание о глазури и обжиге: эти глазури Mayco горят от конуса 06-6, который составляет 998°C-1285°C (1828°F-2232°F)
Если вы стреляете в нижнем диапазоне глазури, поддерживайте каждую яичную чашку на звездообразном ходуле, чтобы глазурь не соприкасалась с полкой печи.
Если вы хотите обжечь баклажаны до более высокой температуры, вы должны избегать нанесения глазури на баклажаны.
нижняя сторона так, что они смогут сидеть прямо на полке печи. Причина этого заключается в том, что предметы, обжигаемые при более высоких температурах, будут падать на сваи.
В eggcups в этом проекте были выпущены конусная 05, 1031°с (1888°F) на сваях.
Заметка о звездных ходулях:
Это ходули с металлическими штифтами, которые можно использовать снова и снова. Они доступны в нескольких размерах и формах для обжига работ всех пропорций. Как только предмет выстрелен, ходуль легко сбивается со дна, а оставшиеся следы можно закалить карборундовой палочкой, алмазной шлифовальной площадкой или чем-то подобным.
Эти подставки доступны от большинства поставщиков керамики.